RSS Feed

Posts Tagged ‘spices’

  1. Mynce Pyes

    December 12, 2021 by sarah

    The past few years I have become increasingly interested in historical cooking. So much so that my husband bought an original 18th century cook book for me for a Birthday a few years ago (and spend an obscene amount of money to purchase it). In particular mediaeval and Tudor cookery has particularly interested me. And so hence this weekend I decided that it was only right and proper that I recreated a Tudor mince pie as it is advent.

    Modern mince pies lost their meat only about 150 years ago and until that time were a combination of minced meat, dried fruit and spices contained in a pastry container. The combination of sweet and savoury may be unusual to our tastes but it really shouldn’t be – it is still common in Asian and Persian cookery. Personally, I love the combination as long as the sweet doesn’t over power and in this pie it doesn’t.

    Spices have long been associated with celebration, originally because they were so exotic and expensive. They were worth more than their weight in gold. Saffron is the typical example of this, though I left it out of this pie firstly as I didn’t have it and secondarily I don’t like the flavour, because the golden glow it gives is reminiscent of actual gold.

    The pastry case used to be called a coffin (cofynne) and until recent centuries was only a vessel to hold the fillings and not made to be eaten, though perhaps they were recycled by the house staff for their meals or given to the needy as alms. I have used a hot-water crust pastry as per this recipe on the English Heritage website – it might not be be entirely authentic but I wanted to try making it (for the first time) and have a pie at the end that we could eat for dinner, pastry and all.

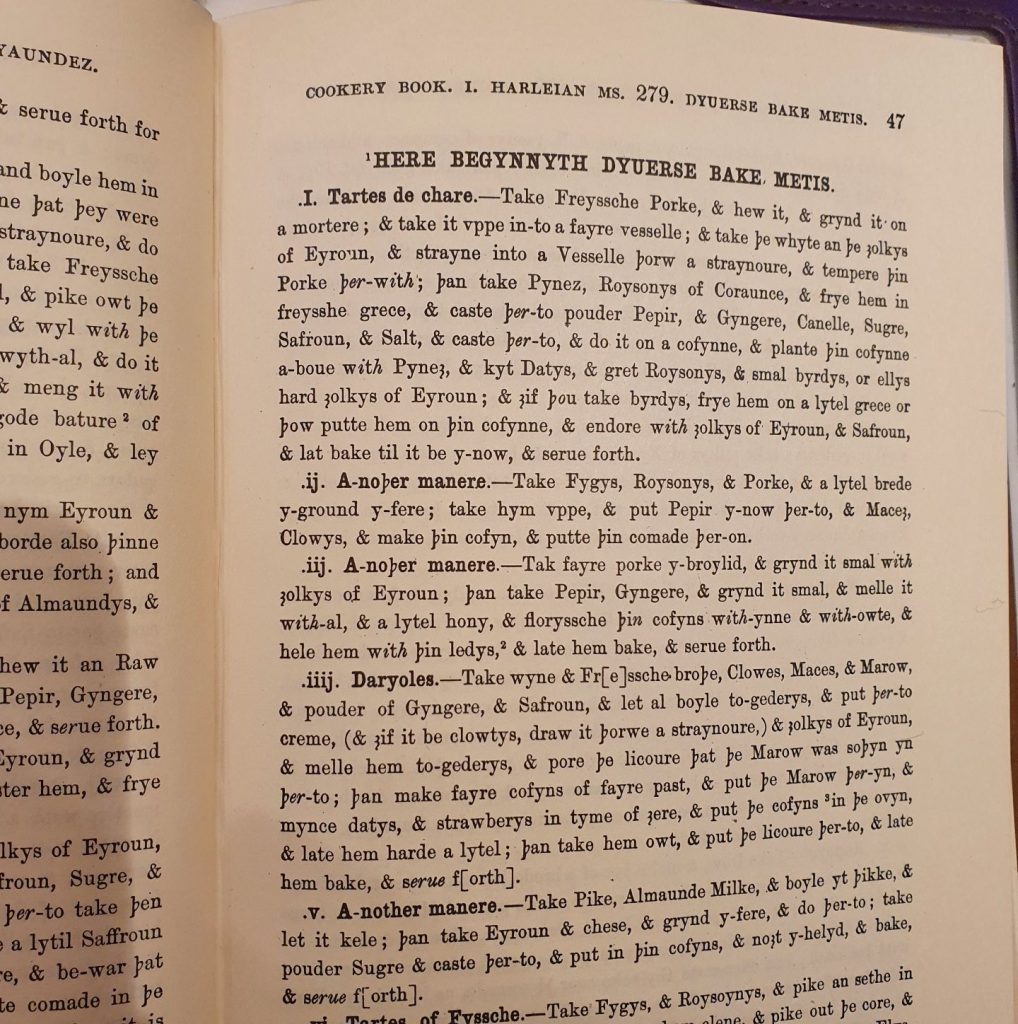
    My other source of information was a 15th century cookbook, a reprint which I picked up in the charity shop (Harleian MSS 279). Reading the text requires some deciphering as it is a mixture of old English, French and Latin but it is written phonetically so can be worked out.
    Mynce Pyes in 15th Century style

    • 750g minced beef or veal (mutton is traditional too)
    • 100g beef suet
    • 50g currants
    • 50g sultanas or raisins (roysonys of coruance – raisins or currants)
    • 100g dried figs, finely chopped (fygys) – could use dates instead
    • 50g prunes finely chopped
    • 50g pine nuts (pynez)
    • Spices – 1 tsp ground ginger, half a tsp cinnamon, half tsp ground pepper, 1 tsp brown sugar, quarter tsp ground cloves. Recipes often call for mace and saffron but I had neither. You can also add rose water or orange blossom water.
    • 1 tsp salt

    For the pastry (I made double this amount and it was more than enough to make two 15cm diameter pies, the English Heritage recipe says this amount is suitable for a 20cm diameter tin).

    • 450g plain flour
    • 1 tsp salt
    • 100g lard
    • 60ml milk
    • 150ml water

    Fry the mince and break up any lumps, put in a bowl and add the other filling ingredients and mix well. Mine looked a little dry so I added a little beer.

    To make the pastry, heat the lard, milk and water in a pan until the lard is melted and then bring to the boil. Then pour over the flour and salt and beat well with a wooden spoon before giving a knead to ensure it is smooth. Leave about one quarter of the dough to the side to form the lid. Press the dough into the tin to form base and sides.

    Sprinkle some ground almonds on the pastry case base to absorb excess liquid then pack in the filling – it needs to be packed fairly densely. Roll the remaining dough to make a lid. Moisten the top of the dough walls with water then place on the lid and squeeze closed with fingers and thumb. Cut a couple of slits in the lid to allow steam to escape.

    Cook at 200C fan oven for 15 minutes then turn the oven down to 160C fan and cook for a further 1 and a half hours. Check the interior is cooked with a thermometer (needs to be over 80C). Allow to cook before unmolding. Serve hot, warm or cold. I glazed the outside of the pye with melted medlar jelly to give it a nice glossy sheen.

    @EnglishHeritage

    The cut pye in all it’s glory!

  2. Spice 12 – Saffron – Cornish buns

    July 18, 2015 by sarah


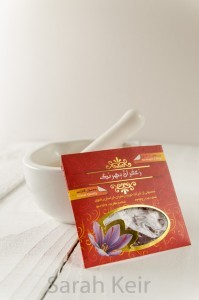
    I can say I have truely found a food I don’t like. It is rare and apart from dried fish and burnt rice tea, I can’t think of anything else I actually would chose not to eat. But I found another one – saffron. Until recently, I hadn’t appreciated the true flavour of saffron. I had added little pinches to my paellas and tagines but never was it a flavour on its own. The main reason for this is saffron, real saffron not any old cheap imitation, is hugely expensive. But when in Iran last year, I bought a 5g packet for $10 in the market in Tehran and after tasting the amazing Persian cuisine, most of which contains liberal amounts of saffron, I wanted to try it out further. So why don’t I like the flavour of saffron? Well, to me it tastes chemically and metallic almost like bleach! And my husband agrees with me. And it is not the saffron I bought because I tried some Spanish saffron and it tasted the same! But you might be one of the lucky people that find that saffron tastes of honey, the sea or smokey hay, so don’t let my experience of saffron put you off trying this recipe.

    saffron-002


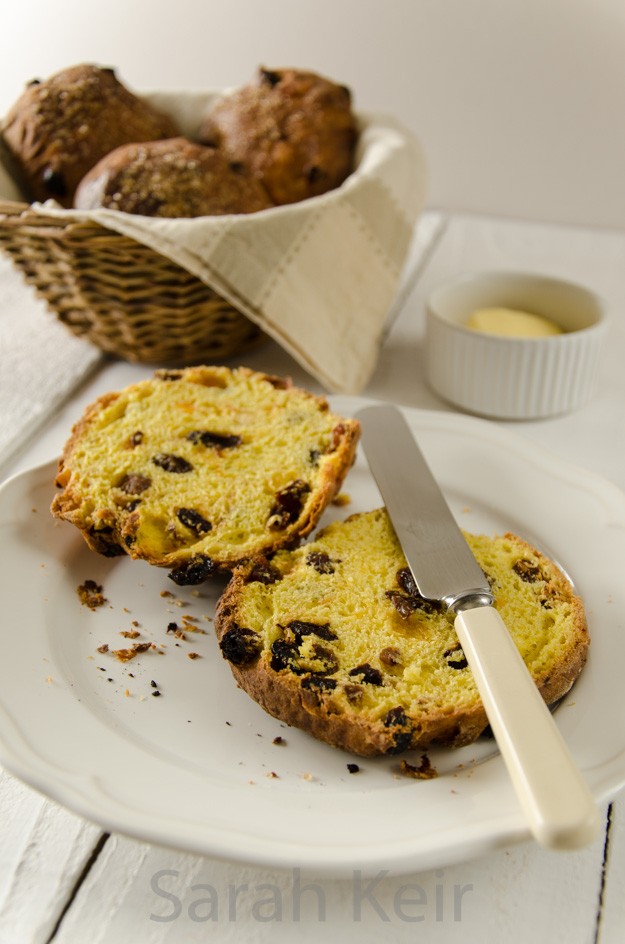
    I have to admit that saffron does lend a fantastic splash of colour to whatever recipe you use it in; a beautiful sunshine, egg-yolk, golden yellow. The colour really comes through in these buns. I also use saffron to colour rice in the Persian style as just a few grains of golden rice on top of the plain white, accompanied but shards of grass green pistachios, makes an eye catching dish. So perhaps in the case of saffron, I can allow appearance to trump flavour. Just this once you understand. And I have quite a lot of saffron to use up.

    saffron-005


    saffron-003


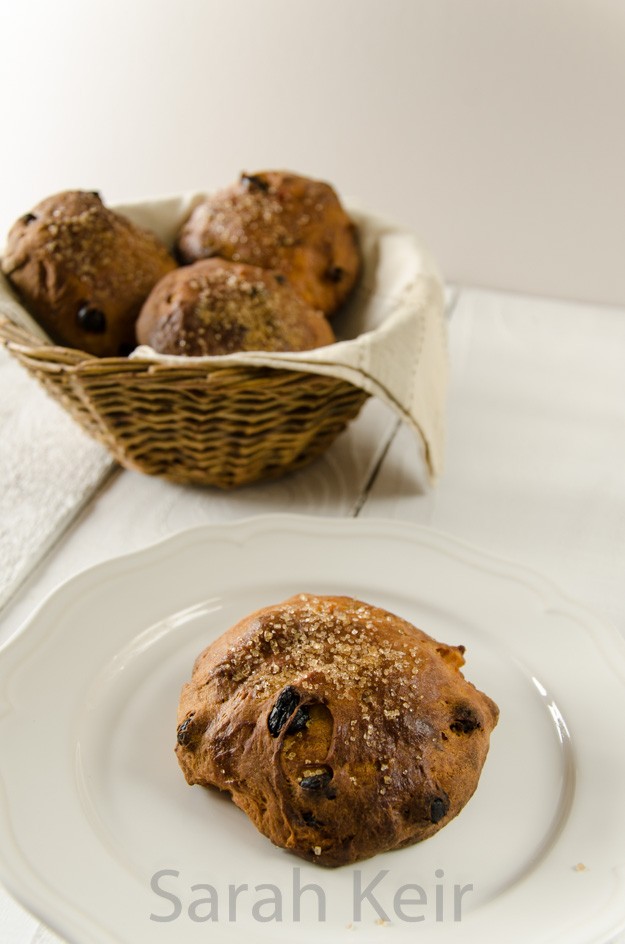
    These saffron buns come from Cornwall but a similar form is also traditional in Scandinavian countries as lussekatt or Lucia buns which are made and eaten around Lucia’s Day. I enjoyed these buns for breakfast, warmed up and with some good quality butter. Enjoy and please let me know what you flavour you get from saffron!

    Cornish Saffron Buns


    Makes 12 buns.

    2 large pinches of saffron threads
    60ml hot water
    500g strong white bread flour
    1/2 teaspoon salt
    200g unsalted butter
    80g caster sugar
    7g sachet easy-blend yeast
    220g mixed raisins, currants, sultanas, sour cherries, cranberries
    45g mixed candied peel
    about 170ml milk
    demerara sugar

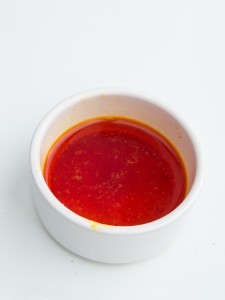
    Dry fry the saffron threads in a frying pan over a medium heat for a few seconds to toast them. In a small pestle and motar, grind the saffron with the salt until a fine powder. Put this powder in a small bowl and pour over the hot water; leave to sit.

    In a large bowl, rub the butter into the flour then add the sugar, yeast, dried fruit and candied peel. Pour in the saffron liquid and enough milk to make a soft and little bit sticky dough. Knead the dough for a good 10 minutes until it is soft, elastic and no longer sticky. Grease a large bowl with oil and place the dough in this bowl and cover with oiled cling film. Leave somewhere warm until doubled in bulk. Because this is an enriched dough, it will be slower than bread dough and could take 3-4 hours.

    Punch the dough down, knead again briefly and divide into 12 pieces. Using your hands, roll each into a ball. Place on greased baking trays, leaving about 5cm in each direction around the buns. Cover the trays with oiled cling film and leave somewhere warm until doubled again. This will take 2-3 hours.

    Preheat the oven to 200ºC/ 108ºC fan. Bake the buns for 20-25 minutes until golden brown. Remove from the oven, brush the tops with milk and sprinkle with demerara sugar; return to the oven for another 2 minutes to dry the glaze. Allow to cool completely on a wire rack.

    saffron-001


  3. Spice 11 – Caraway – Sauerkraut

    June 2, 2015 by sarah


    I’m experiencing a bit of writer’s block. I have a folder full of recipes and photos to share . . . but I can’t think of anything to say other than: they are all delicious. And of course they are delicious or I wouldn’t share them with you. The problem is that the more recipes and photos I pile up here and the more I tell myself I need to get writing, the harder it seems to get down to it. Surely there is an end in sight though? The past week of writer’s block will surely translate to a very prolific week of words now? Well, we’ll see. I also keep being distracted by the thought of the patisserie in Paris. I think I need to find a ‘how to’ patisserie course.


    caraway-002


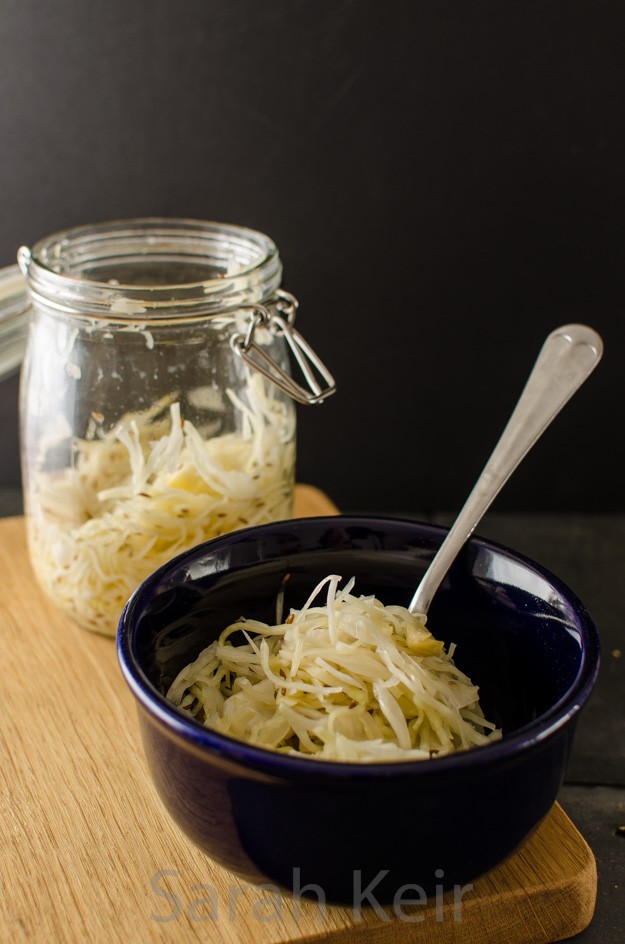
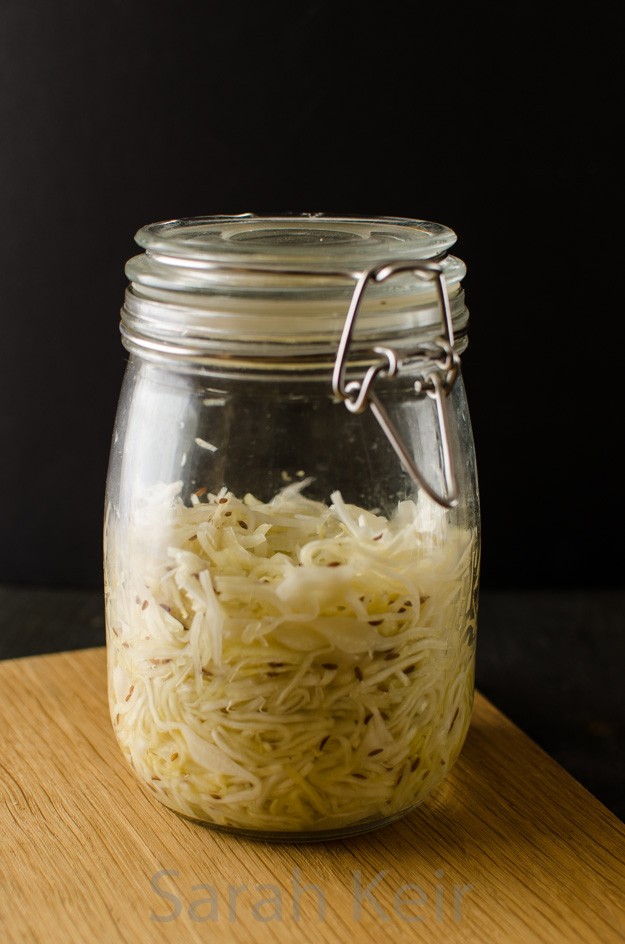
    Perhaps it is because my next spice is not really doing anything for me. Caraway has a pungent anise-like flavour and aroma, which is one group of tastes and smell I don’t get on with. Probably how it gets its alternaltive name of meridian fennel or Persian cumin. The seeds are actually fruits and are a member of the carrot family (thank you wikipedia). It is used extensively in Indian rice dishes and European rye breads, plus British seedy cake. The dish I came across in which I actually mildly liked its flavour was sauerkraut that I had a couple of years ago in Berlin. The recipes for making sauerkraut did not look hard, and indeed it was not difficult to make. The sharp-sour taste works well with pork and fish dishes.

    This recipe is from The Kitchn, altered by adding a  tablespoon of caraway seeds mixed with the cabbage. You can also try adding juniper berried too; lightly crush them first.

    Sauerkraut

    You need a large, or couple of, jars with wide necks. Probably the type you buy sauerkraut in from the supermarket. I used a couple of these jars from Ikea (they are like kilner jars) and they worked great too. The trick is making sure there is enough liquid to submerge the cabbage and to keep the cabbage submerged while it is fermenting.

    1 medium head of white cabbage
    1 and 1/2 tablespoons of table salt
    1 tablespoon caraway seeds

    1. Clean everything. You want good bacteria to ferment your cabbage so sterilise everything with boiling water.

    2. Prepare the cabbage. Remove the outer leaves, cut into quarters and remove the woody core. Then finely shred the cabbage and place in a bowl. I found my mandoline slicer invaluable for this step.

    3. Salt the cabbage. Sprinkle the salt over the cabbage in the bowl. Clean your hands and then massage the salt into the cabbage. You need to do this for 5-10 minutes until juice starts to flow from the cabbage. Mix in the caraway seeds.

    4. Pack the cabbage into the jars/s. Tamp down the cabbage to remove as much air as possible. Add any juice that collected in the massaging stage. You need to weight the cabbage down. The easiest way I found was to use one of the discarded outer cabbage leaves on top of the salted cabbage and place a full jam jar on top of this.

    5. Cover the jar but do not seal – a clean tea towel does fine. Leave out on the work top for several days, pushing down on the cabbage whenever you can. If the cabbage is not submerged in liquid by 24 hours then add some salt water (1 teaspoon in 250ml of water) to cover.

    6. Ferment the cabbage for 3-10 days at cool room temperature. The work top in my kitchen worked fine and meant I could keep an eye on the kraut. Start tasting it after 3 days and when it reaches your ideal of sourness then transfer to the fridge and seal the top to stop further fermentation. It will keep for a couple of months in the fridge.

    caraway-001


  4. Spice 10 – Nutmeg – Custard Tart

    April 28, 2015 by sarah


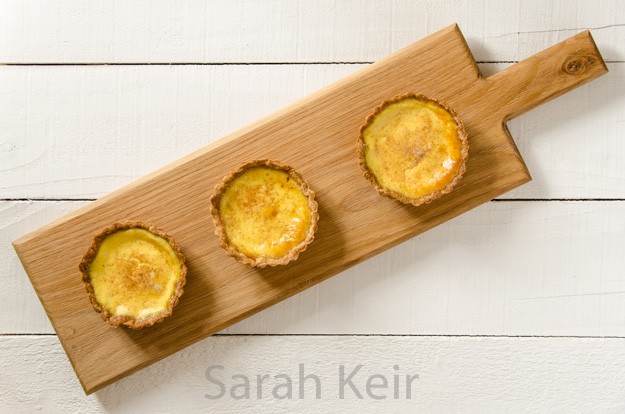
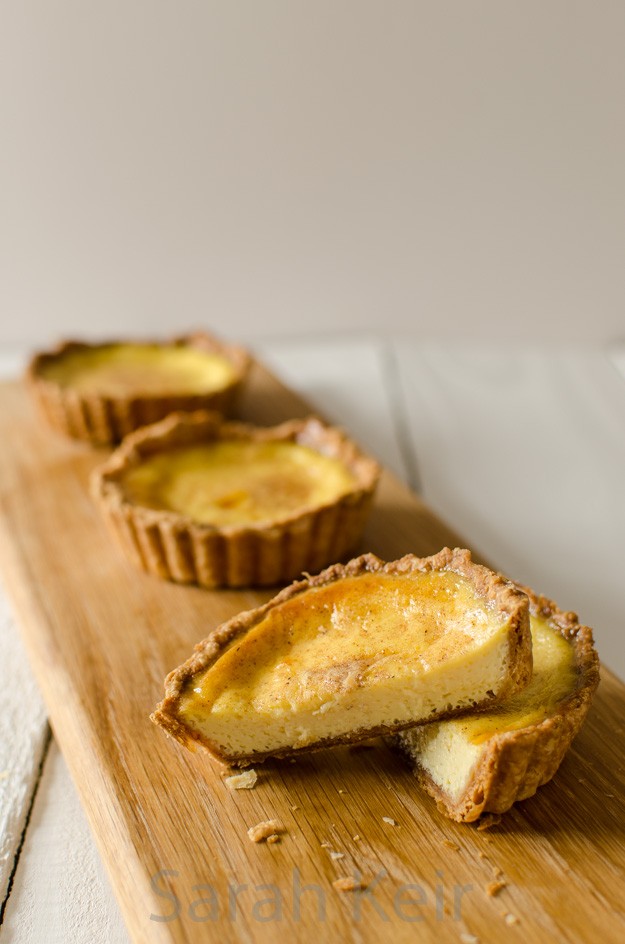
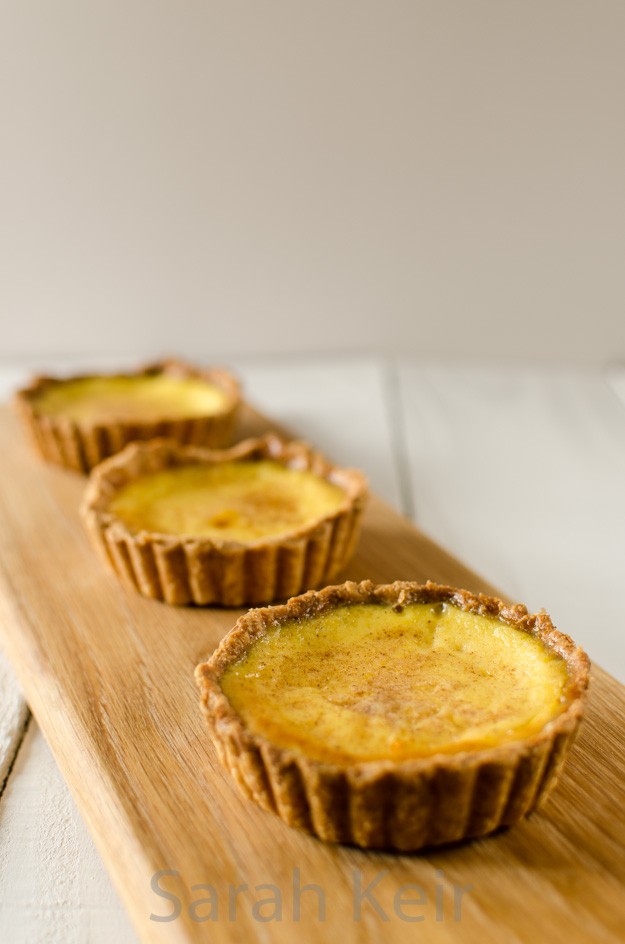
    Nutmeg is an unassuming spice. The brown kernel has a pleasing sweet aroma but the magic happens when it is added to dishes containing dairy products or eggs. Nutmeg has been used in European cuisine since medieval times so no wonder there is a multitude of unique recipes using it; custard tarts, bread sauce, rice pudding, mulled wine and even haggis!

    custart tart-003


    Nutmeg is the seed of a tree that indigenous to the Banda Islands in the Moluccas (or Spice Islands) of Indonesia, though now grown in the Caribbean and Kerala in India. Two spices are obtained from this tree, the other being mace which is the lacy outer wrapping to the nutmeg seed inside. Although mace and nutmeg are not identical in flavour, they are so similar that for most recipes they can be interchanged. Use mace for recipes requiring a whole form such as chutneys and pickles, and use nutmeg for when ground spice is required. It really does need to be ground fresh, as it quickly loses its power when ground; I keep a mini grater obtained from a Christmas cracker for this very purpose. As a little aside, nutmeg is supposedly a hallucinogen but you would have to eat rather a lot of it and the other side effects sound grim! Do not try at home!


    custart tart-002

    This recipe is adapted from ‘The Great British Book of Baking’ by Linda Collister.

    Custard Tart

    For the sweet shortcrust pastry:
    175g plain flour
    pinch of salt
    2 tablespoons caster sugar
    110g unsalted butter, chilled and diced
    1 medium egg yolk

    For the filling:
    400ml single cream
    200ml milk
    plenty of freshly grated nutmeg (to taste but at least half a kernel)
    3 medium eggs, plus 3 yolks
    75 caster sugar

    Make the pastry – rub the butter into the dry ingredients until makes fine crumbs. Use a round ended knife to mix in the egg yolk and some cold water until it comes together as a firm dough. Wrap in cling film and pop the the fridge for at least 30 minutes, but overnight is better.

    Roll out the pastry until thin and then use to line your tart tin; use a 22cm diameter round fluted tin with a removable base or several individual sized ones. Prick the bottoms all over with a fork. Chill in the fridge for at least 30 minutes (or freezer for 10 minutes if you are short of time). Preheat the oven to 200 ºC/180 ºC fan. Bake the pastry cases blind for 15-20 minutes. To do this, cut out a square of baking parchment a few inches larger than the tin, scrunch up the paper, flatten out and scrunch again. Flatten out the paper and lay over the pastry, fill with ceramic baking beans, dried pulses or even copper coins. Doing this cooks the base so you don’t get a soggy bottom and the baking beans stop the sides from collapsing. Remove the paper and baking beans and return to the oven for another 5-10 minutes. Take out of the oven and with a pastry brush, brush the pastry with one of the eggs (beaten) and return to the oven for 1-2 minutes. This egg layer means your pastry bottom really will not go soggy.

    Turn the oven down to 160 ºC/fan 140 ºc.

    custart tart-004


    Put the cream and milk into a pan and slowly bring to just below the boil, take off the heat and set aside for 5 minutes. Meanwhile eggs, egg yolks and sugar in a large bowl. Slowly pour over the hot cream/milk mixture, whisking constantly. Add about half of the amount of nutmeg you wish to add and transfer the mixture to a jug.

    Set you pre-cooked pastry case on a hot oven tray and place on the top shelf of the oven. Carefully pour in egg/milk mixture right to the brim, carefully slide it into the oven and close the door. Bake the tart for about 30 minutes. The middle of the tart should still have a bit of a wobble (the individual tarts took about 15 minutes). Leave to cool and serve warm or cool, with more grated nutmeg if wished. Best eaten the day it is made.

    custart tart-001


  5. Spice 9 – Nigella seeds or Kalonji – Mango Chutney

    January 11, 2015 by sarah


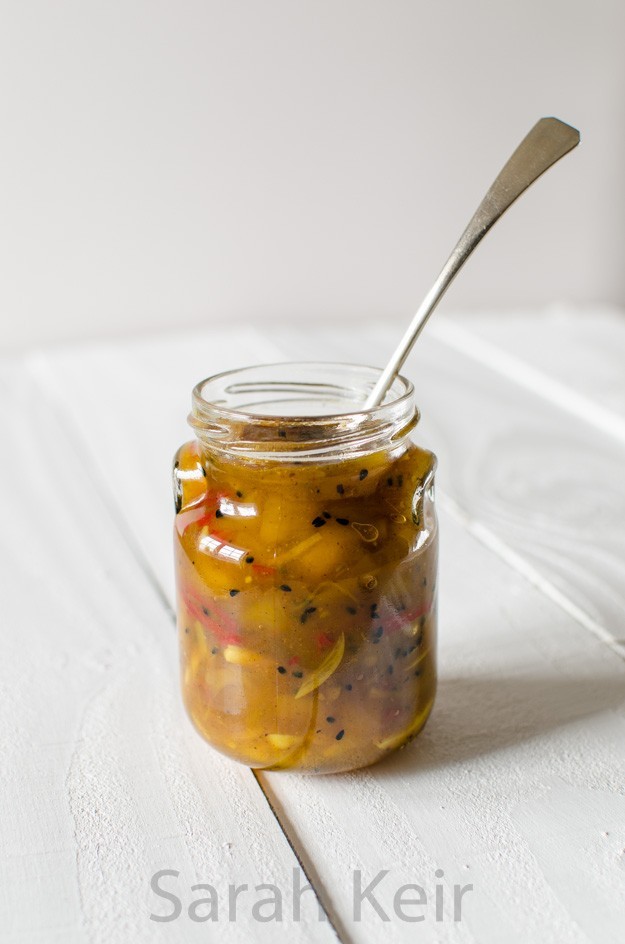
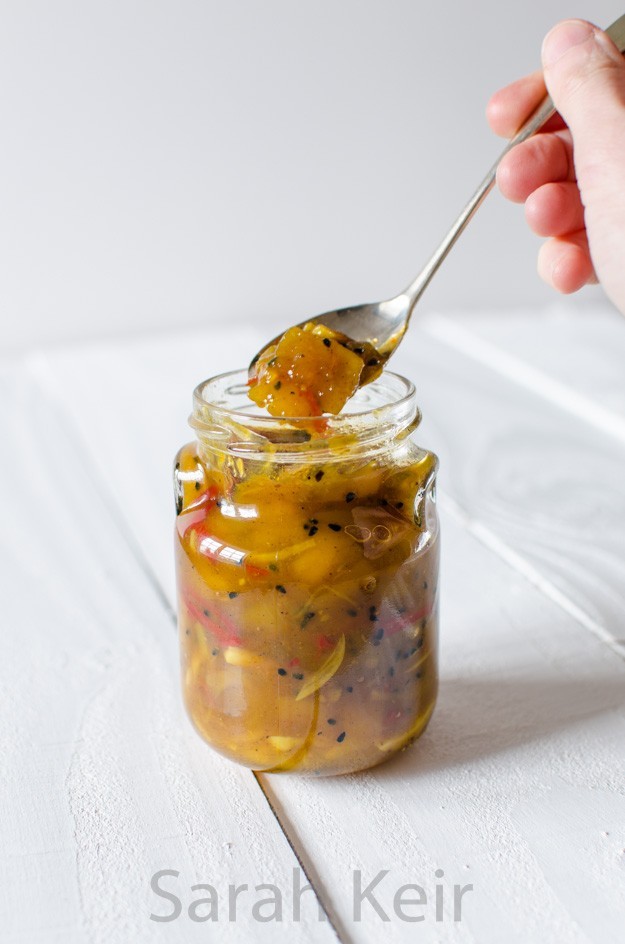
    You can buy a perfectly nice mango chutney in the supermarket to be honest, but when shopping last week I could not believe my luck when I found a 2kg crate of mangoes reduced to £1! If anyone is reading this in the future when inflation has taken its toll, £1 is how much a moderate loaf of bread costs. I like a chutney to go with curry that is not too spicy to counteract the heat of the curries it is served with. Probably why I like raita too, but my husband cannot understand why you would eat yogurt with a savoury dish and prefers the very hot spiced chutneys.This recipe is an almagmation of several. As normal for me, I cannot decide on one or I like components from several. You cannot really tell what a chutney is going to be like except after several months of maturing but I can feel this is going to be a good one. It smells so fragrant and I tasted a little and it has a lovely balance of sweet and vinegary.

    mango currie-001


    The spice that is particular to this dish is Nigella seeds, also known as Kalonji. They are sometimes called black onion seeds but are unrelated to onion and have a mild peppery flavour that can also be a little bitter. They are commonly used in Indian cooking such as this chutney and dhals, and are also used in a decorative way sprinkled over flat breads like naans.

    Sarah’s Mango Chutney

     
    2kg mangoes
    100g fresh root ginger, peeled and cut into julienne strips
    100g medium strength red chillis, deseeded and cut into julienne
    15g fresh garlic, peeled and cut into short lengths
    400g golden caster sugar
    500ml cider or white wine vinegar
    2 teaspoons salt
    1 teaspoon cumin seeds
    2 teaspoons corriander seends
    12 green cardamon pods, split and discard green case
    1 teaspoon tumeric
    1/2 teaspoon ground cloves
    1/2 teaspoon ground allspice
    2 teaspoons Nigella (black onion or kalonji) seeds
     
    Prepare the mango; peal, stone and chop roughly.
    Dry fry the dry spices except the nigella seeds until fragrant then grind in mortar and pestle or spice grinder until fine.
    Add all the ingredients to a large preserving pan and heat gently until all the sugar is dissolved.  Now simmer gently for about an hour, stirring frequently towards the end.
    When thick, pot hot into hot sterilised jars and seal.
    Leave for a couple of months to mature before using.
     
    mango currie-002

  6. Spice 8 – Mustard seeds – homemade mustard

    December 7, 2014 by sarah


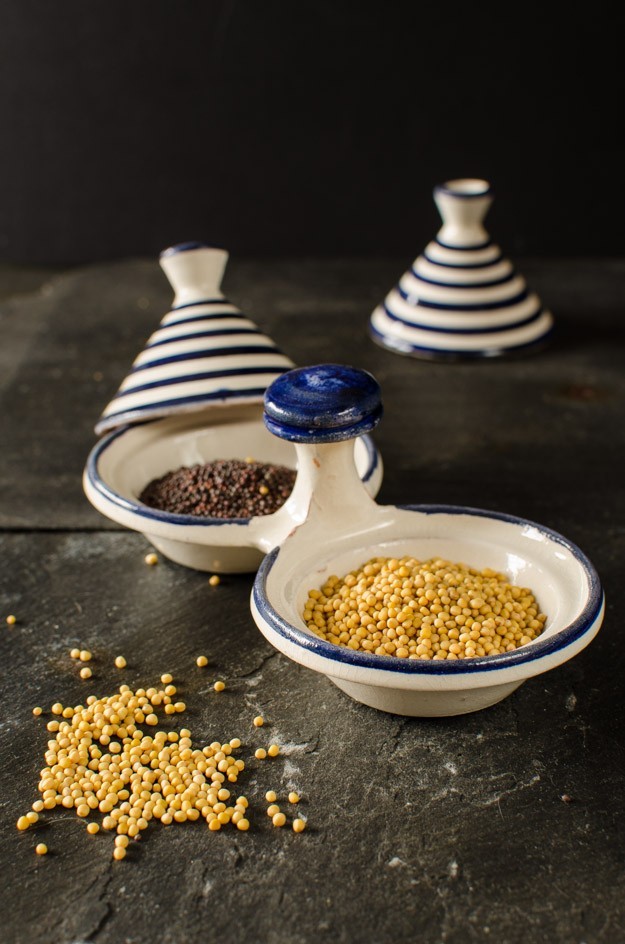
    Mustard seeds are small seeds of three related brassica (yes them of cabbage, turnip and broccoli fame) plants that give black, brown and white/yellow mustard. It is one of the few spices that will grow in the UK. The heat and fire in mustard seeds is only released once the seeds are broken down and this usually means grinding them and adding moisture. The heat molecules (icothiocyantes) are short lived unless something acidic (like vinegar) is added to the mix and are heat inactivated so once roasted like other spices often are, they remain with just a vague sense of mustardiness is left.

    Mustard seeds are a common ingredient in Indian cuisine and others of the region, especially in pickles, chutneys and vegetable dishes. Mustard oil, extracted from the seeds, is also often used. But perhaps the biggest use for mustard seeds in the cuisine of Western countries is as made into the condiment mustard in all its multitudinous varieties, for serving with cold meats, roast beef, and adding to mayonnaise, vinaigrettes, marinades and sauces. In its dry form, powdered mustard lacks potency; the addition of water releases the pungent compounds. The pungency of mustard is always reduced by heating; if added to a dish during cooking, it gives less pungency than if added afterwards. The many varieties of prepared mustards have a wide range of strengths and flavors, depending on the variety of mustard seed and the preparation method. The taste and “heat” of the mustard is determined largely by seed type, preparation and ingredients.Preparations from the white mustard plant have a less pungent flavor than preparations of black mustard. The temperature of the water and concentration of acids such as vinegar also determine the strength of a prepared mustard; hotter liquids and stronger acids denature the enzymes that make the strength-producing compounds. Thus, “hot” mustard is made with cold water, whereas using hot water produces a milder condiment, all else being equal.

    mustard-002


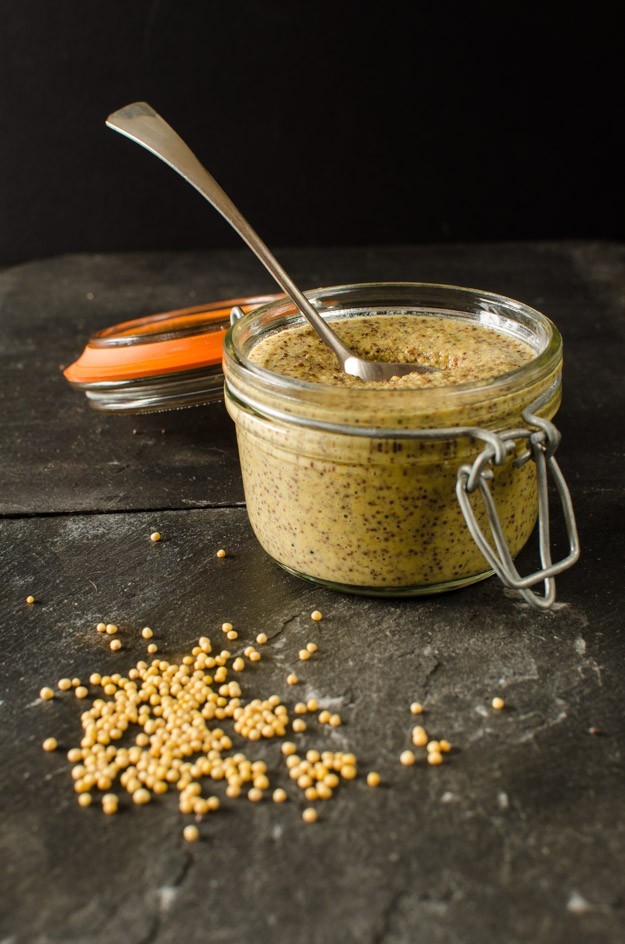
    Mustard seeds can easily be bought in bulk from Asian/Indian grocery shops. The advantage of making mustard condiment yourself, is that is infinitely customisable and you know exactly what has gone into it. You could use a local beer or mustard for a local feel or herbs from your garden (tarragon is traditional). You could alter the heat by increasing the proportion of black seeds or even adding a chili. This mustard will keep for at least a month in the fridge.

    Homemade Beer Mustard

     
    200g black mustard seeds
    150g yellow/white mustard seeds
    500ml beer or ale
    175ml cider vinegar or white wine vinegar
    1 tablespoon sea salt
    8 tablespoons runny honey
    1/4 teaspoon ground tumeric
    1 tablespoon ground mace
     
    Mix the mustard seeds and beer in a glass bowl, cover and leave overnight or 24 hours.
    Sterilise small jars for the mustard – clean well and set in an over set at about 120 ºC for 15 minutes or so, leave to cool in the oven.
    Tip all the ingredients (including the soaked mustard seeds and any excess beer) into a food processor and process until thick. You will need to scrape down the sides a couple of times. Stop when the mustard has achieved the desired consistency – I like mine more whole grain.
    Leave the mustard to sit for 15 minutes at least before tasting and adding more honey etc as you think it needs it.
    Spoon the mustard into the cooled jars, tapping gently on a a wooden board to release trapped air bubbles. Seal tightly and store in the fridge.
     
    mustard-003

  7. Spice 7 – Paprika – potatoes with chorizo

    November 22, 2014 by sarah


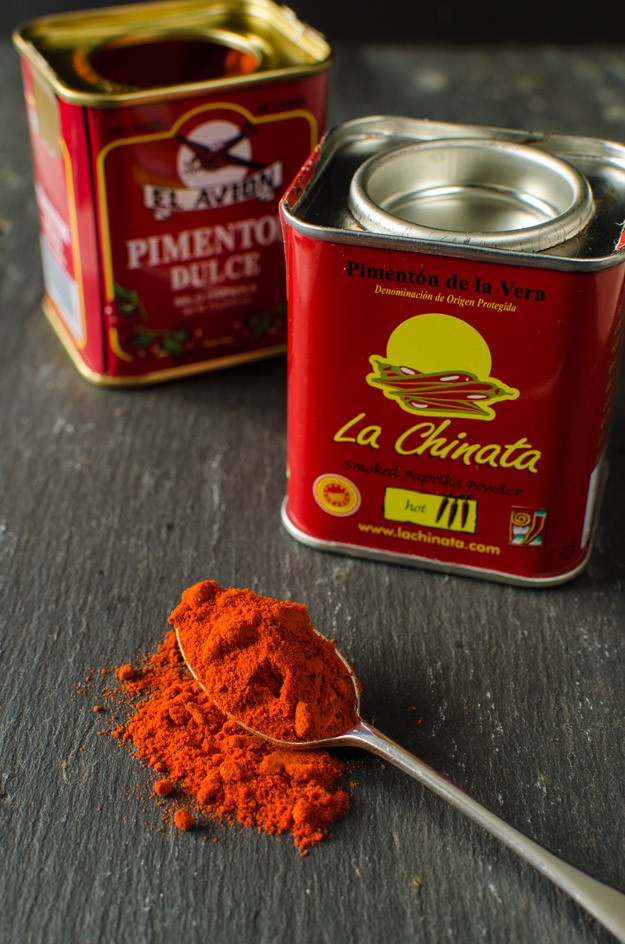
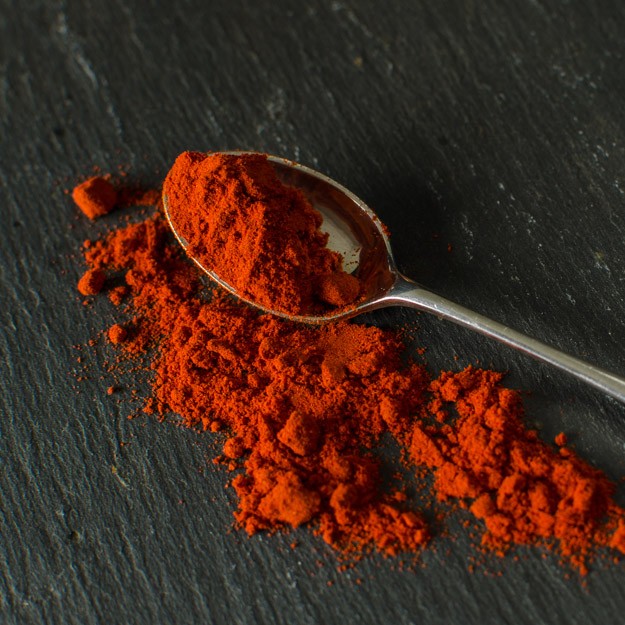
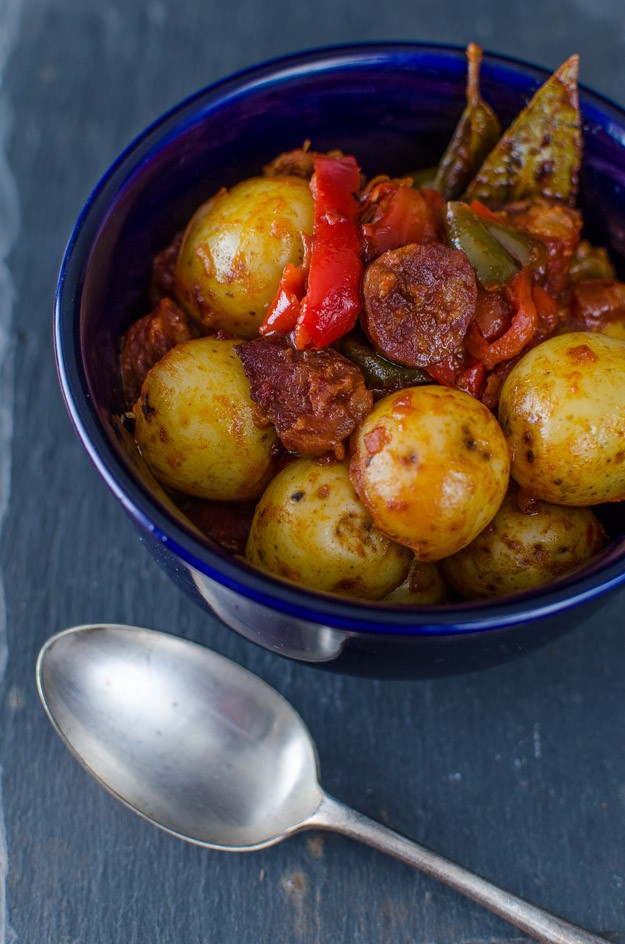
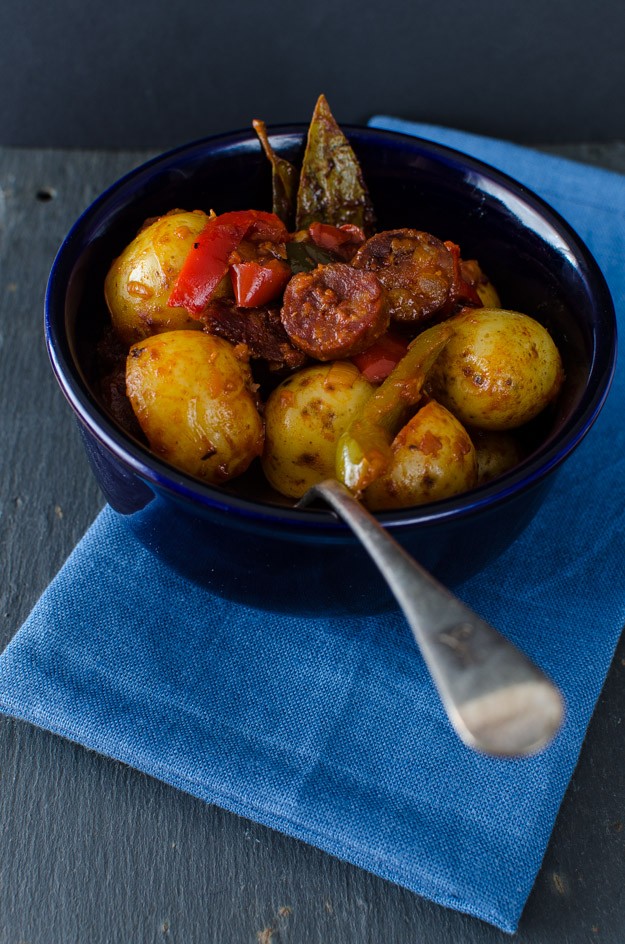
    I was unsure whether or not to give paprika its own entry in the 40 spices line up. The reason being that there is no clear distinction between paprika and ground chilli; both are made from ground dried Capsicum annum varieties. I suppose the biggest difference would be in the heat level and therefore the usage of the spice, but even then there is great overlap; ranging from mild and sweet to hot and fiery. Although paprika is most often associated with Hungarian and central European cuisine (goulash and such like), it is also widely used in Spanish cooking where it is known as pimentón and this is where my favourite paprika comes from. Pimentón de la Vera is dried over smoking oak logs that impart a deep smokey flavour and aroma to the paprika. And of course, the delicious and versatile chorizo sausage is flavoured with Spanish pimentón.

    _1SK8984 _1SK8989


    This Spanish dish is lovely as a simple one pot supper served with a green salad, or as part of a tapas type spread. This amount made enough for dinner for 4 people. I adapted this recipe from Sophie Grigson ‘Spices’.

    paprika-002

    Potatoes with chorizo – Patatas a la extremeña

     
    2 tablespoons olive oil (not extra virgin as the flavour will be overwhelmed)
    250g chorizo sausage from a ring (not the ready sliced, ready to eat type), skinned and roughly chopped
    1.5kg waxy potatoes cut into medium chunks (I used new potatoes)
    2 onions, sliced into thin half moons
    1 red pepper, cored, deseeded and sliced
    1 green pepper, cored, deseeded and sliced
    3 garlic cloves, peeled and crushed
    1 tablespoon smoked pimentón (I used agridulce – medium hot)
    2 bay leaves
    seasoning
     
    Heat the oil in a large heavy bottomed pan. Add the chopped chorizo and fry until oil is released.
    Add the onions and season with salt, cook gently until translucent (about 15 minutes). 
    Add the rest of the ingredients with enough water to just come up to the top of the potatoes.
    Bring to the boil and simmer gently until the potatoes are cooked (about 20-30 minutes depending on type and size).
    The juices should of almost completely disappeared. Taste and adjust the seasoning.
    It is ready to serve straight away but it also reheats very well the next day.
     
    paprika-003

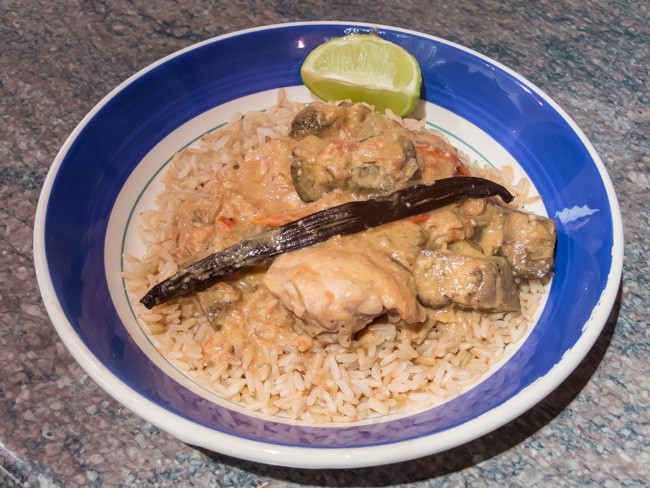
  8. Spice 6 – Vanilla – Madagascan spicy vanilla chicken

    July 22, 2014 by sarah


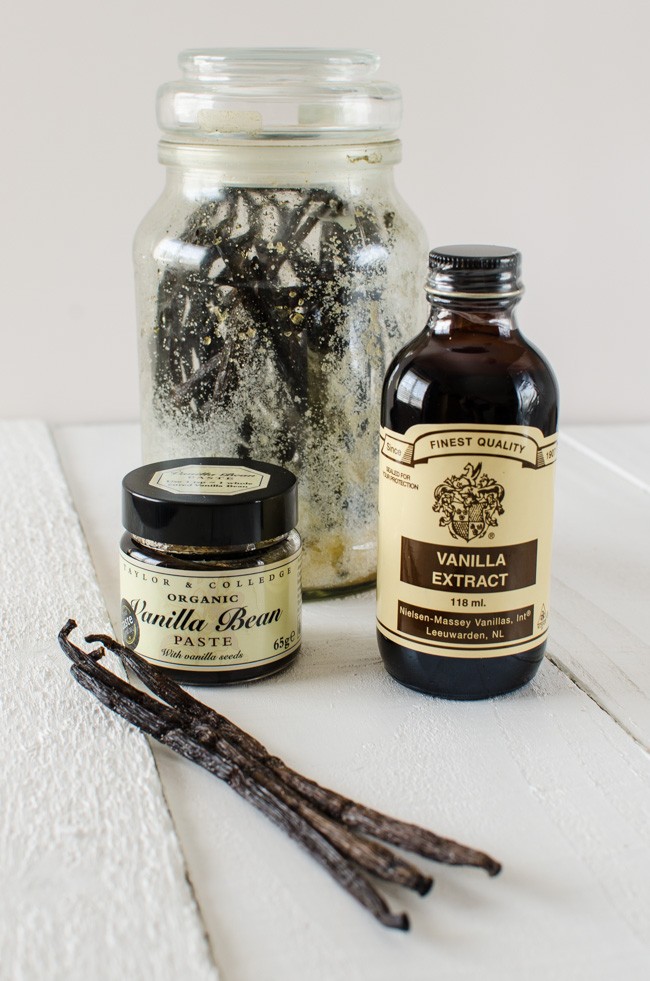
    Vanilla is one of the most expensive spices after saffron. It is a ubiquitous flavour in many sweet dishes – ice cream, custard – and yet under valued in savoury ones. So this post is hopefully going part of the way to address that and demystify the savoury uses of this delectable and exotic spice. It has a soft, sweet aroma and flavour which pairs so well with desserts and cakes. Vanilla also holds a  very special place in my heart as the vast majority of it comes from Madagascar where I spent a year as a child and on a return trip 20 years later, I met my future husband. From that trip I brought back half a kilo of the valuable beans, smuggled inside a smelly sleeping bag as the export limit was so tiny. I only have half a dozen of those beans left sadly; a good excuse to go back. But these days real vanilla is easily available. Please never use the ‘essence’, but a good quality extract is essential in baking.

    Vanilla beans are actually the pods of a climbing orchid native to Central America, though 75% of the world production is now in Madagascar. Vanilla growing is a labour intensive and slow process; the flowers must be pollinated by hand, the green pods must be harvested by hand and cured in the sun over several days, raised to high temperatures and ‘sweated’ in cloth to achieve the complex balance of sugars and aromatics, then dried and straightened out for several weeks.

    vanilla-7026

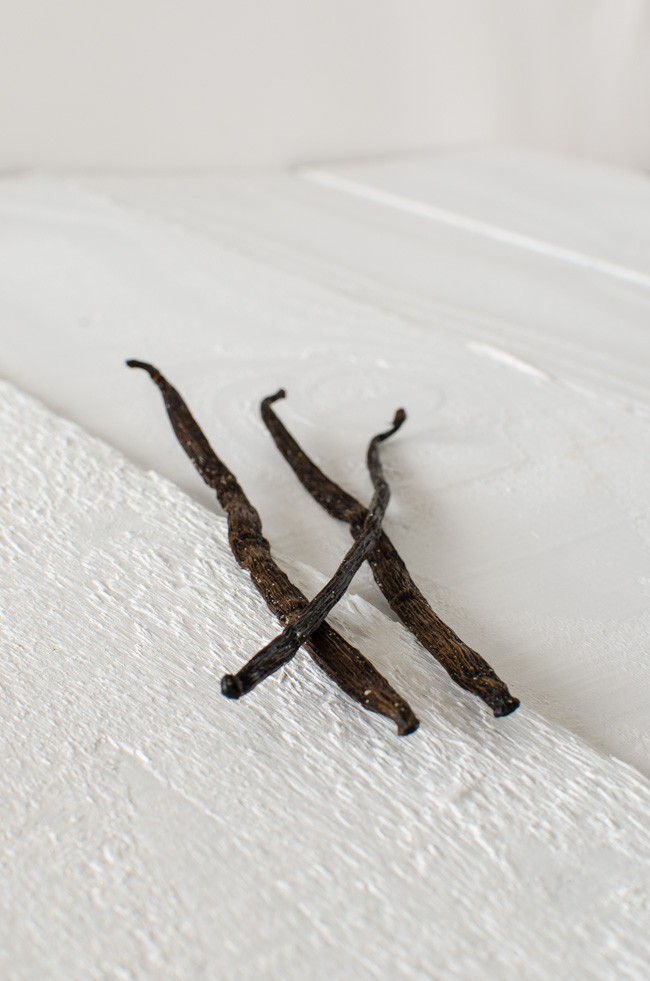
    Look for fragrant, very dark brown, almost black pods that are slightly wrinkled, but still supple, with a slightly oily, shiny surface. Length is an indication of quality – 15-20 centimetres is best. If there are white fibre like crystals on the surface of the pods, this is a sign of extra quality. Store vanilla pods in an airtight container in a cool dark cupboard and it will still be good after a few years. Prepare the pods by splitting down the length, opening out the inside of the pod where the seeds are and using the back of the knife to scrape down the length. Add the seeds and pod for flavouring. You can reuse the pods by rinsing well after infusing the milk or cream base and leave to dry for a few days; add the dried pod to a jar of sugar for homemade vanilla sugar. I store my pods in a jar with a little sugar in the bottom; whenever I open the jar, I have to stick my nose right in and take a deep breath.

    vanilla-7011

    We ate versions of this dish nearly every day on our trip around Northern Madagascar. I have upped the spice a little and although it is the main vanilla growing region in the world, I don’t think any versions we had in Madagascar actually had vanilla in it. Missing a trick. Vanilla also goes well with seafood and a typical dish would be lobster or prawns with a vanilla sauce.

    Madagascan Spicy Vanilla Chicken

     
    8 chicken thighs, boned and skinned (or a jointed jungle fowl)
    1 medium sized onion, chopped finely
    1 tablespoon vegetable oil
    2 cloves of garlic, chopped finely
    1 medium heat chili or a teaspoon of cheats chili from a jar
    thumb sized amount of fresh ginger, grated
    1 vanilla pod
    400ml tin of coconut milk
    4 tablespoon grated coconut (if you have it, could try dessicated coconut)
    handful of fresh tomatoes chopped or half a tin of chopped tomatoes
    chili powder
    lime
     
    Heat the oil in a heavy bottomed pan and when hot fry the chicken until brown on all sides. When done remove from the pan and rest on a plate. Fry the onion, garlic, ginger and chopped chili with a teaspoon of salt until translucent and soft. Add some chili powder to taste (depends how hot you like it and how hot your chili powder is) and stir for a minute.
    Put the chicken back into the pan with the onion mixture and add the coconut milk, grated coconut and tomatoes. Split the vanilla bean length ways and scrape out the seeds, adding the seeds and remains of the bean to the pan. Give everything a good stir; top up with water if necessary so that the chicken is just covered.
    Put a lid on the pan, bring to a simmer and cook for 30 minutes.
    Remove the lid and taste; adjust seasoning as required. Cook for another 10 minutes with the lid off.
    Serve over white rice with a wedge of lime.
     
    vanilla-1643
     

  9. Spice 5 – Cinnamon – Cinnamon Rolls

    March 30, 2014 by sarah


    Cinnamon. A beautiful warm, sweet spice, which I am sure we are all familiar with. Essential in many of the recipes we know and love, such as apple pie and mulled wine. True cinnamon comes from the bark of young saplings of Cinnamomum verum, a tree native to Sri Lanka (also known as Ceylon), which is stripped and rolled by hand to form quills. The cinnamon available in Europe can only come from this source, but it is also possible to get ‘cassia’ which is harvested from other Cinnamomum species, but is less aromatic and subtle than true cinnamon and the bark is much tougher. Cinnamon has many health benefits including anti-clotting and anti-oxidant actions, helping to control blood sugar levels in diabetes, and anti-viral and anti-microbial actions. However, too much cinnamon can be harmful due to it containing coumarin which can cause liver and kidney damage in high concentrations. The EU has set limits to reduce exposure to this but at levels that will actually affect the taste in the produce – so if you want your cinnamon baked goods to actually taste of cinnamon, you know who to blame so make it yourself! See this article on cinnamon!

    cinnamon (4 of 4)


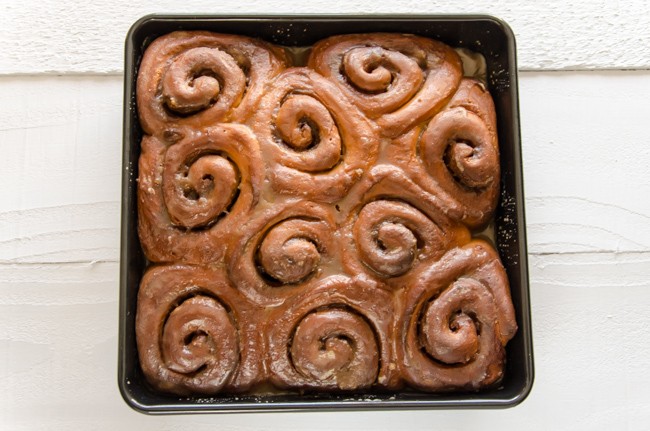
    I decided to make cinnamon rolls as they were made recently on a blog I follow irregularly. However, this and all the other recipes I could find were American so had the usual problems with measurements in cups and using something called all purpose flour. Also, this is an enriched dough and in the past I have had great trouble getting enriched dough, such as for hot cross buns or stollen, to rise. Where do you leave your dough to raise – an airing cupboard or low oven? I found that using a reptile heat mat obtained online for a small sum gave me a specified level of warmth so that even on the coldest winters day when the heating has been off for hours I can still rise dough and make bread. This time I used our conservatory as the sun had been warming it all day but did the second proving on the mat as it was evening by then.

    cinnamon (1 of 4)

    Grown-up Cinnamon Rolls

    Dough
    500g strong white bread flour
    100g caster sugar (golden/unprocessed if you have it)
    75g butter, melted
    2 medium free-range eggs, beaten
    200ml milk
    1 sachet/7g dry yeast
    1 teaspoon salt
    zest of 1 lemon
     
    Filling
    50g unsalted butter, softened
    100g soft brown sugar
    2 teaspoons of ground cinnamon
    1/4 teaspoon freshly ground nutmeg
    1/4 teaspoon salt
     
    Glaze
    150g soft brown sugar
    1 tablespoon whiskey or other alcohol of choice
    1 teaspoon vanillar extract
    30g butter
    115g icing sugar
     
    Make the dough. Heat the milk until body temperature/tepid and add the yeast; leave until starting to foam (how quickly depends on type of yeast). In a large mixing bowl, mix the flour, sugar, salt and lemon zest and make a well in the middle. Into the well add the now activated yeast, the two beaten eggs and the melted butter. Mix with fingers/hand until comes together then turn out onto a well floured surface. Knead for about 5-10 minutes until comes together and is silky smooth. The dough will be quiet wet/tacky to begin with but keep working and will firm up. If it feels very sticky, add a little more flour when kneading.
    Place the kneaded dough into an oiled bowl and cover with oiled cling film. Leave somewhere warm until at least doubled in size.
    How log this takes varies with a lot of factors but allow at least 2-3 hours.
     
    Make the filling. In an small bowl, beat the dry ingredients into the softened butter.
     
    Make the rolls. Punch down the proven dough and roll/stretch out on a work surface until forms a rectangle 15″ long by 9/10″ wide. Sticking the edge closest to you down to the table and then rolling away works best. Spread the filling evening over the rectangle, leaving a 1/2″ border at the long edge furthest from you. Starting at the long end closest to you, tightly roll up the dough over the filling. Seal the final unfilled margin but dampening with water and then pressing the dough firming into it.
    Cut the dough across the roll up to make 1″ sections. This amount should make about 18 slices.
    Lightly grease a couple of pan such as square brownie pans. Put the slices in the pans, allowing a good 1/2″ around each to allow for expansion.
    Cover with greased cling film and leave somewhere warm until doubled in volume – about an hour.
     
    Cook the rolls. Preheat the oven to 180 C or 160 C fan. Bake until golden brown, take about 20-25 minutes.
     
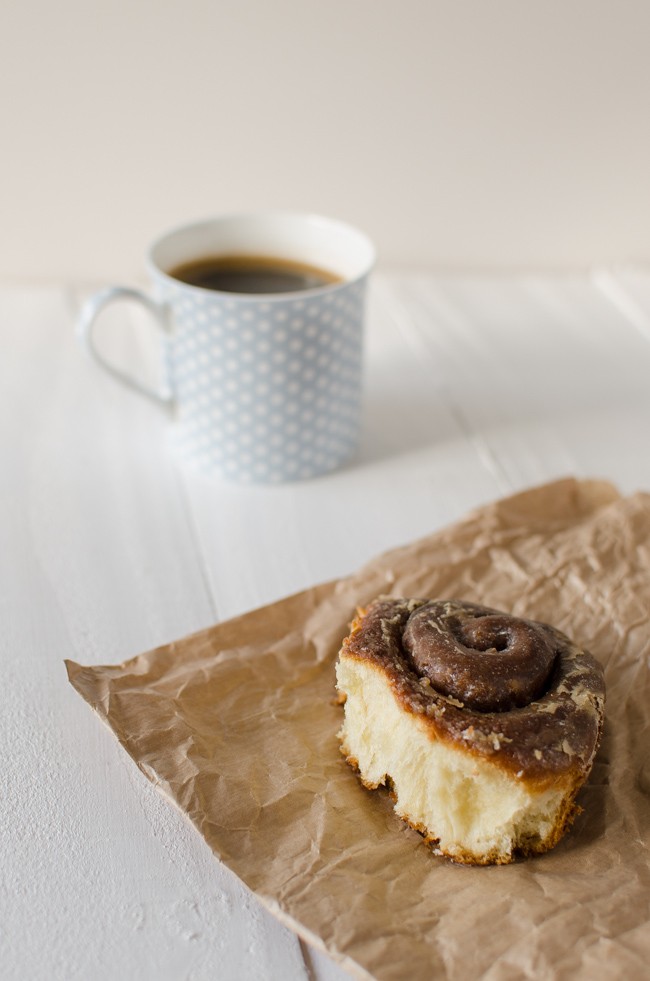
    Make the glaze. While the rolls are cooking, make the glaze. Combine all the ingredients except the icing sugar, in a small pan and gently heat until the sugar has dissolved and the butter melted. Take off the heat and beat in the icing sugar, sieving over the top to stop lumps forming. Alow the rolls to coll for 10 minutes in their pans then pour the glaze over so that it covers all the buns and soaks through to the bottom. Allow the glaze to set for 20 minutes or so before serving with a large mug of coffee.
     
    cinnamon (3 of 4) cinnamon (2 of 4)
     

  10. Spice 4 – Juniper Berries – Venison Casserole

    March 19, 2014 by sarah


    Right, time for another spice and this time something that is probably known to you but perhaps lurking in the back of the cupboard unused? Well, mine was until I found this recipe. The recipe is actually a hand me down from my Mum, hand written into my recipe book from about 15 years ago!

    juniper (6 of 6)


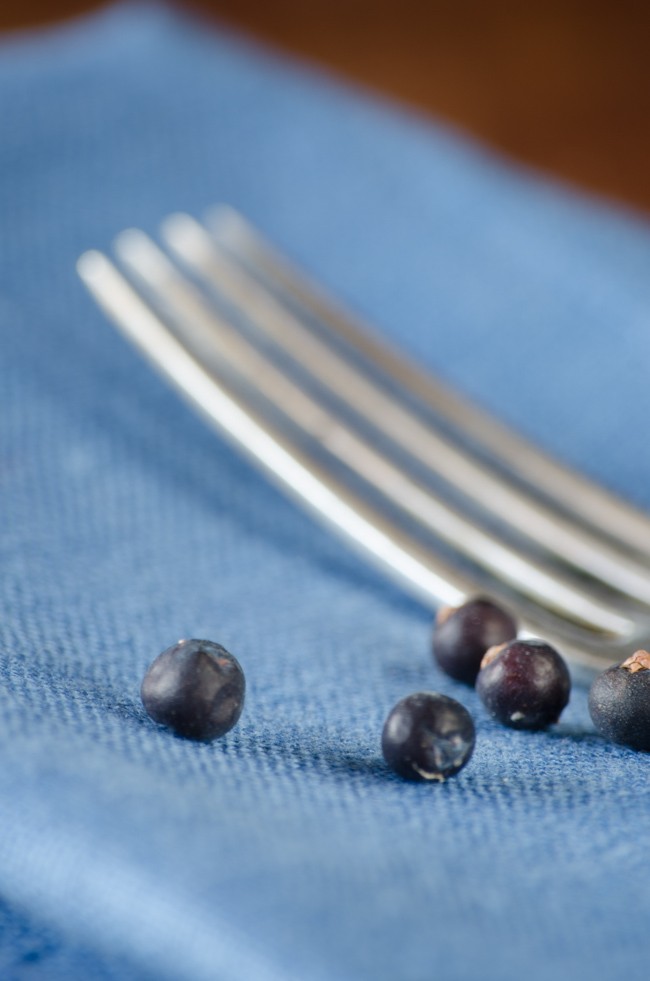
    Juniper is actually the female seed cone (i.e. not a berry or fruit) of Juniperus communis but the scales are fleshy and fused to give the berry like appearance. It is one of the few spices that is native to Europe, and even occurs in the UK though it is rare here. It is used a lot in Northern European, particularly Scandinavian, cuisine in particular to flavour game and cabbage dishes. And who can forget juniper is used to flavour gin. My favourite cocktail has got to be the plain, but oh so mouth watering, gin and tonic. Made with Hendricks of course!

    Venison Casserole with Juniper

    Serves 4

    1 pack of diced venison (about 400g)
    1/2 teaspoon of peppercorns
    1/2 teaspoon juniper berries, bruised in a mortar and pestle
    2 tablespoons olive oil
    3 bay leaves
    good sized sprig of thyme from the garden
    1/2 a bottle of red wine
    2 garlic cloves, finely sliced
    1 onion finely diced
    1 tablespoon plain flour
    rind of 1 orange and juiced
    2 tablespoons of red currant jelly (I used damson jelly because that is what I had – it worked well)
    sherry glass of port
    a dozen small shallots, pan fried
    one pack of vacuum packed chestnuts (or roast and peel and blanch and remove skin yourself – if you are a masochist)
     
    Marinade the venison in the wine, peppercorns, juniper,  1 tablespoon of olive oil, bay leaves, thyme, garlic and onion for 24-48 hours.
    Drain the venison, reserving the liquid.
    Brown the venison in the other tablespoon of olive oil, dust with 1 tablespoon of plain flour and rest on a plate and soften the onions from the marinade mixture. Add the venison, softened onions and the rest of marinade ingredients to a casserole dish. Add the juice and rind of the orange, the redcurrant jelly and the port and season. Add more water if necessary to make sure the venison is covered.
    Cook slowly for 2 hours on the hob or in a low oven.
    Add the shallots and chestnuts and cook for a further 30 minutes.
    Serve with mashed potatoes, celeriac mash or gratin or any other starch to your preference and it is obligatory to serve braised red cabbage with this stew.
     
          juniper (2 of 6) juniper (1 of 6)    


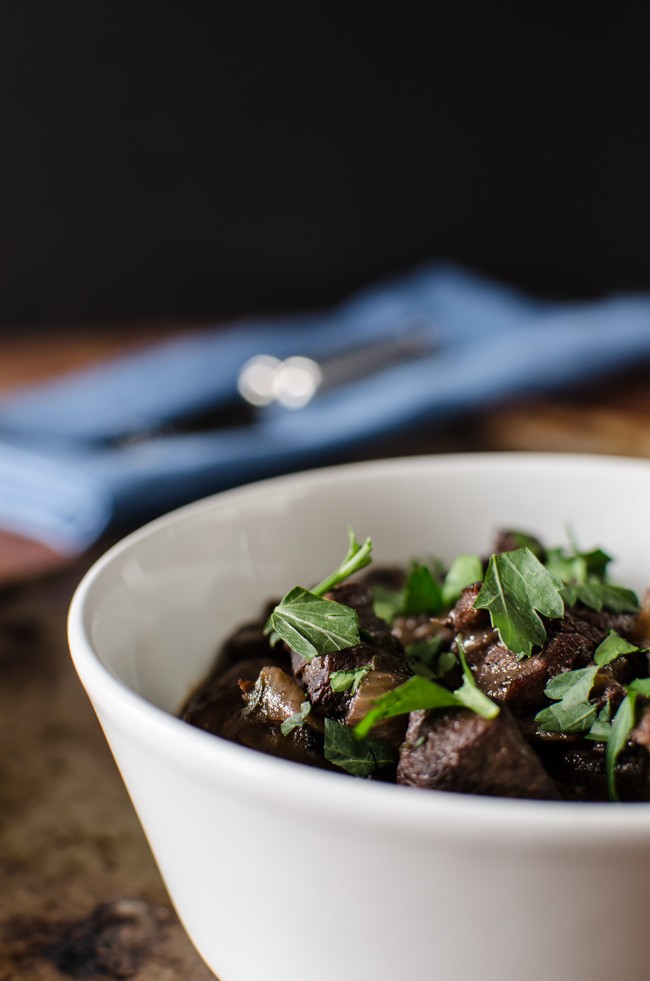
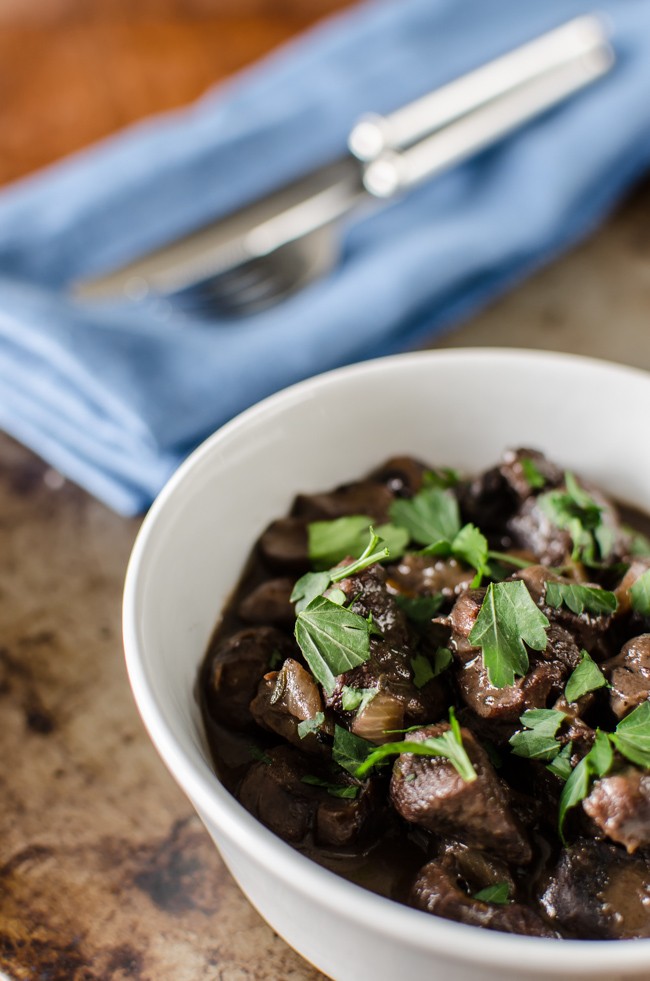
     I had quite a lot of problems photographing this dish. Though incredibly tasty, the stew is just BROWN and brown things don’t look that appetitsing. Hense the use use of the contrasting blue napkin and a fair sprinkling of parsley! Also, to get height in the bowl I used a a trick of placing half an upturned apple in the bottom of the dish to raise the chunky bits above the liquid of the stew and give more of a 3-D appearance.