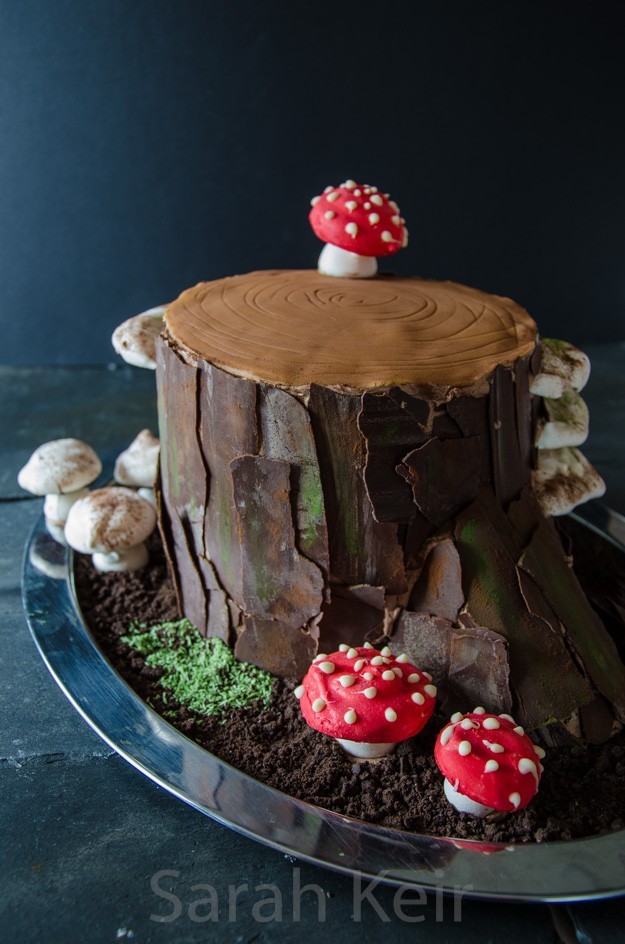
To remind you what I used these recipes for, here a picture of the finished cake. Unfortunately I haven’t got a picture of the layers inside as I forgot to take my camera to the party where it was served and I was asked to be the one to serve up the cake. It is kind of hard destroying your own piece of art but it was in a good cake eating cause!
The cake recipe is slightly modified one from Donna Hay, an Australian online magazine, but has been extensively reused in blog land. Despite having never made this recipe before and it being a little odd (gallons of water in the recipe) I felt sure enough to give it a go for the cake proper, though I did have back up ingredients in case I needed to go back to a regular sponge cake. I used one batch of the cake recipe to make three 8″/20cm layers and a second batch to make one more tier and a tray bake of 25 x 35 centimeters . The orginal recipe states to cook in two 20cm tins and then cut each in half to get the four layers but I wanted stouter layers for the stump cake so went with an extra layer. I think either would work. This cake is lovely and moist and despite being flavoured only with cocoa powder, has a surprisingly good chocolate taste. I don’t think it would last very long as it is made with a lot of water so is likely to dry out quickly. It didn’t last long enough to find out this time!
Chocolate Buttermilk Layer Cake
375ml water 190g unsalted butter, chopped into chunks 50g cocoa powder 450g plain flour 1 and 1/2 teaspoons bicarbonate of soda 550g caster sugar, golden if you have it 4 medium eggs 180ml buttermilk, or couple tablespoons natural yogurt in 150ml milk 1 and 1/2 teaspoon vanilla extract Grease and line with baking parchment (silicone paper) two or three 8″/20cm cake tins. Preheat the oven to 180 ºC/ fan 160 ºC. Place the water, butter and cocoa powder in a medium saucepan over a low to medium heat, stirring occassionally until all the butter is melted and the cocoa powder has dissolved and then take off the heat. In a large bowl, mix the flour, sugar and bicarbonate of soda. In a jug beat the eggs and then beat in the buttermilk (or yogurt/milk mixture) and vanilla extract. Mix the wet ingredients into the dry (make sure the cocoa/butter mix is no warmer than blood temperature), scrapping down the sides of the bowl and bottom a couple of times. This is much easier to mix in a stand mixer with the mixer paddle attachment. Divide the batter between the prepared tins and place all the cakes on the same shelf in the preheated oven. Cook for 40-45 minutes. They are done when a skewer inserted into the middle of the cake comes out clean and the cake has shrink away from the sides of the tin a little. Leave to cool in the tins for 10-15 minutes then turn out on a wire rack to cool completely. I covered them with a clean tea towel while they cooled to stop them drying out (and stop cat hairs getting on them!). Trim the tops of the cakes level before assembling.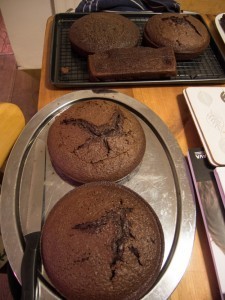
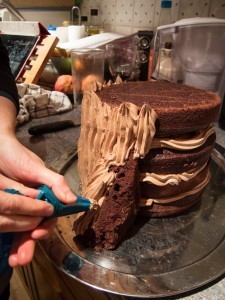
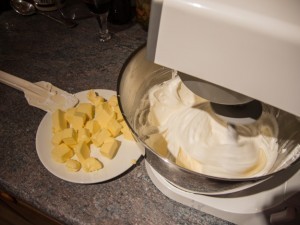
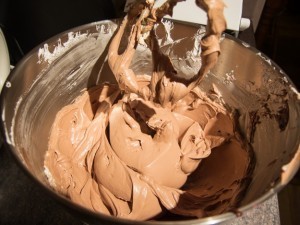
Swiss meringue buttercream sends even experienced bakers into fits of weeping. Too many bowls of wasted buttercream when it splits, curdles or seizes. My previous attempts at this type of icing where not particularly successful (see last years icing for the wedding cake) but the more I read about it, the more I wanted to give it another try. Several times during the process I thought it looked a disaster, but as I read other blogs about just keep whipping it and it will come right, low and behold that is what happened. I thought the butter had been too cold when I added it because half way through I could still see lumps of butter but I just turned the mixer up to medium/high and left it for 15 minutes to console myself reading about other peoples Swiss meringue buttercream disasters. When I looked back, it was perfectly smooth and just as it should be. It wasn’t a fast process to make this icing but the results are spectacular – soft, silky smooth with a perfect balance of butteriness and sweet without cloying. Just like eating chocolate mousse on a cake! Perfect!
This recipe made enough to ice the 4 layer stump cake (between layers and all over) and a small amount for the top of the tray bake. This icing pipes very well but you would need probably double if you were going to pipe on the textures, whereas I only needed a thinner layer which would hold on the chocolate bark. This icing keeps for up to a week in the refrigerator but it needs to come up to room temperature before using (and will need rewhipping for 5 minutes) or eating. It can apparently be frozen for a month or two but I haven’t tried this.
Chocolate Swiss Meringue Buttercream
6 egg whites (180g) 300g white granulated sugar 400g unsalted butter, take out of fridge and cut into cubes 1/4 teapoon fine salt 200g dark chocolate, melted Place the egg whites and sugar in the mixing bowl of the stand mixer and sit this over a saucepan of barely simmering water (a bain marie). Using the whisk attachment from the stand mixer, whisk pretty well continuously (but it doesn’t need to be vigorous) until the sugar has completely dissolved (cannot feel any grains under fingers) and the mixture looks opaque white. If you have a sugar thermometer, you are aiming for 60-70 ºC or 150-160 ºF. Remove the bowl from the heat and fit to the stand mixer with the whisk attachment. Whip on high speed until completely cold i.e. the bowl feels neutral to the touch. This took me at least 15 minutes and I was getting impatient to I took the bowl out of the stand mixer and put it outside for half an hour and that cooled it down. The critical bit now is the temperature of the meringue and the butter. The meringue must be cool and the butter must be soft but still cool (I had to put it back in the fridge for a little to cool off as the kitchen was too warm as the oven was on). Switch over to the paddle attachment on the mixer and add the butter a cube at a time, allowing about 15 seconds between cubes, with the mixer on low to medium speed. * Once all the butter is added, you can add the flavourings and salt, and colourings you might like. In this case it was chocolate, but like the butter it must not be warm when added. Vanilla extract and bean puree can be added, or lemon zest and oil, fruit purees (make sure concentrated so minimal water is added). *If the mixture looks like it is curdling or lumpy then don’t add any more butter, set the mixer up to high and leave until it has come back together then you can resume adding the butter. If the buttercream seems too loose then put in the fridge for a while before trying to pipe or ice. Conversely, if the buttercream has become too firm (for example kept in the fridge) and it does not become satiny smooth after 5 minutes of rewhipping then microwave a quarter of the buttercream for just 10 seconds, add this back into the main buttercream and continue whipping.
