RSS Feed

Posts Tagged ‘home made’

  1. Asian-style Butternut Squash Soup

    February 19, 2014 by sarah

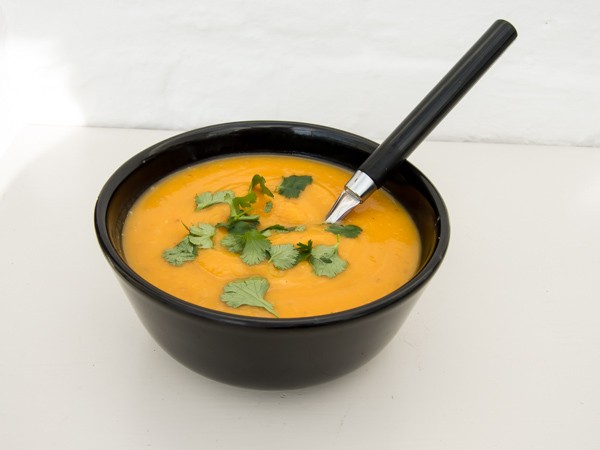
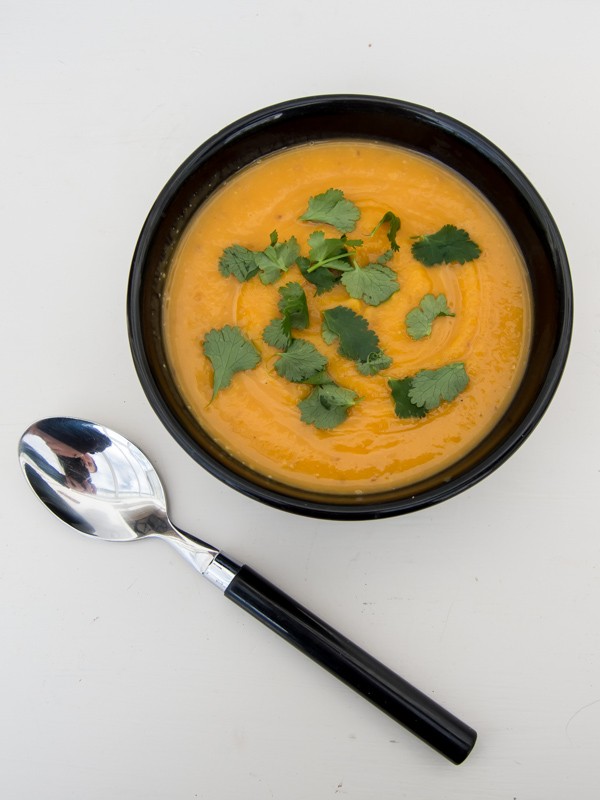
    Whenever I make this soup, the colourful bowlful and cheery flavours brightens up the dampest of wet winter days. Saying that though, I can tell spring is close now; the dawn chorus has returned, it is just about light when I get up, the sun has some warmth in it when it is out from behind a cloud and little shoots are appearing in the garden and on our walks. I suppose we should be grateful for living on the top of a hill and not in a flood, but the incessant mud and grey skies are very soul draining.

    I have never eaten a soup of this style in Asia and I am not sure it could ever be called an ‘authentic’ Asian recipe, whatever that may mean, but the flavours of that part of the world are in this soup and the cheerful colour reminds me of the sunnier latitudes. I hope it cheers up your winter days too.

    This recipe is adapted from Hugh Fearnley-Whittingstall’s ‘River Cottage Everyday’. I think cutting up raw squash is asking for an injury; sharp knife and a round, moving and very hard object do not make a good combination. In this recipe I get round that problem by roasting the squash whole first so it is meltingly tender and easy to prepare. I usually do this when the oven is on for something else, for example our evening meal, to save energy.

    DSCN0932


    Asian-style Butternut Squash Soup
    1 butternut squash, medium sized
    1 large onion, finely chopped
    1 tablespoon of vegetable oil
    1/2 teaspoon ready chili in vinegar or a small medium hot fresh chili
    knob/thumb sized amount of fresh ginger, finely grated
    1 garlic clove, chopped
    about 1 litre of vegetable stock (from a cube/pot is fine)
    2 tablespoons of peanut butter
    juice of a lime
    To Serve – fresh coriander, toasted seeds
     
    Place the butternut squash on a baking tray, stab a few times with a sharp knife and place in a medium to hot oven for 30 minutes to maximum 45 minutes until it is soft all the way through when you insert a sharp knife.
    Allow the butternut squash to cool sufficiently to handle; this takes about an hour at room temperature. Scrape the flesh of the squash into a bowl using a large spoon or your clean hands, discarding the skin (unless you want to add that for extra fibre) and seeds with the fibres (unless you want to wash the fibres off the seeds and roast them for the topping – too much hassle for me).
    Heat the oil in a large saucepan and then add the onion and a pinch of salt (the salt stops the onion catching); cook until the onion is soft, sweet and translucent. Add the chili, ginger and garlic and stir for a minute or two until fragrant. Add the reserved butternut squash and enough stock to cover the squash. Cover, bring to the boil and simmer for about 15 minutes to meld the flavours.
    Add the peanut butter and lime juice, stir until the peanut butter has melted. Blend the soup with a hand blender or in a blender. Taste the soup and adjust the seasoning as required. Serve!
    DSCN0925

  2. Throw-together flapjacks

    February 12, 2014 by sarah

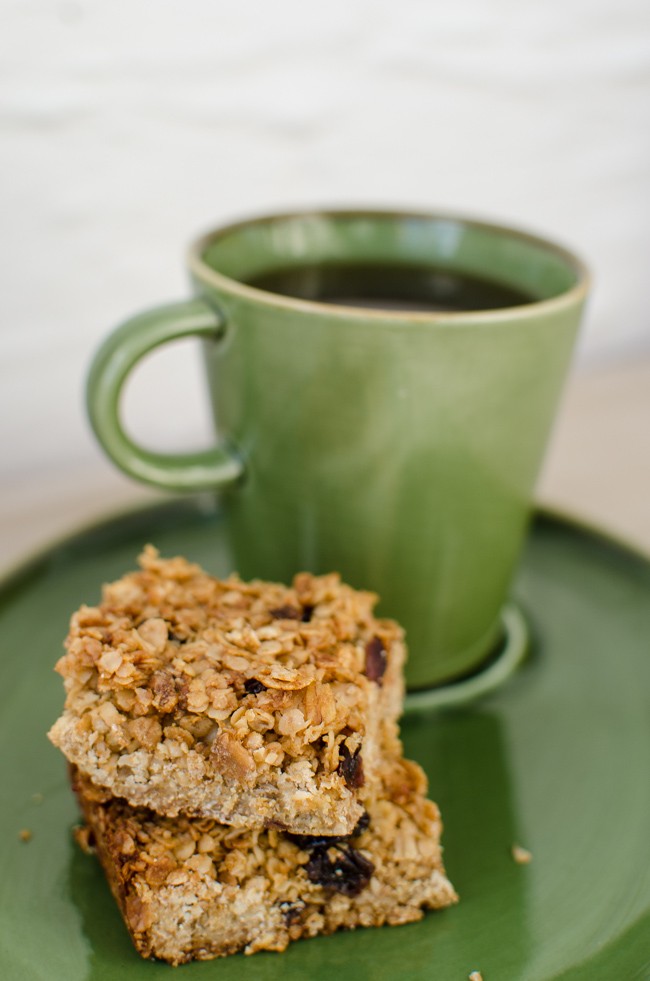
    Working a full 11 days in a row is not fun, I can tell you. So to sustain me (and the other half) through the drought of real food, I made some flapjacks. Because they take like 10 minutes; because they are chewy; because they are crunchy; but because all, they are jummy!

    Throw-together work night flapjacks

    150g butter (NOT veggie spread)
    75g muscovado or soft brown sugar
    about 100g of golden syrup (this is about 4-5 tablespoons)
    350g porridge oats, rolled oats, oat-based museli, quick oats i.e. any oaty thing in the cupboard to make up the weight
    75g raisins, sultanas, chopped apricots, seeds etc. (optional but give character)
     
    Melt the first three ingredients in a pan over a low heat until butter melted and sugar dissolved.
    Mix in a large bowl with the oaty stuff and fruit.
    Tip into a greased or lined tin (around about 9″ square or 30cm x 20cm, or whatever), press down lightly with the spoon or spatula.
    Place in oven preheated to fan 160 C for 20-25mins until golden brown.
    Allow to cool for 15 minutes before cutting into squares, rectangles, triangles, isosceles etc.
    Allow to fully cool in the tin before taking out and storing in air-tight container for up to a week (if it lasts that long).
     
    N.B. the inevitable crumbs in the tin are perfect for sprinkling on breakfast cereal like posh granola.
     
    _1SK4731

  3. What a turkey!

    December 24, 2013 by sarah

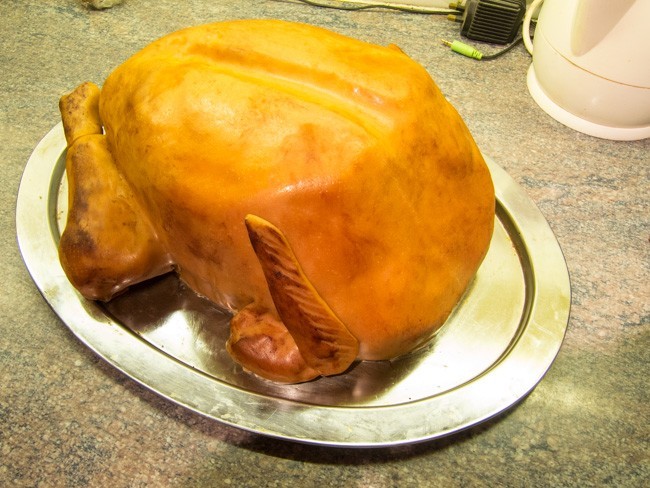
    I can finally reveal the ‘other’ Christmas cake I have been working on now it has been unveiled and eaten; a roast turkey cake with the trimmings!

    DSCN0689


    I also made roast potatoes (lemon drizzle fairy cakes), sprouts (lemon white chocolate truffles), carrots (orange flavoured shortbread) and peas (green fondant and marzipan) and served it with gravy (chocolate sauce). Bring it on Heston!

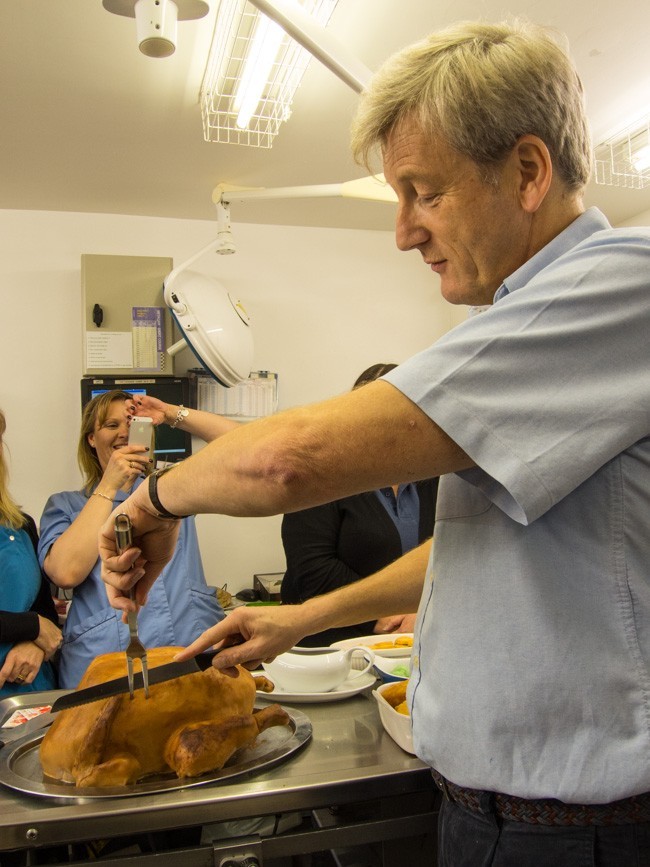
    I really enjoyed the challenge of planning, designing and executing this beast of a cake! But I also need to give credit to my husband for his inspired suggestion. It went down well at the practice Christmas party this lunch time; there is nothing left which means job well done! Here is The Boss carving it!

    DSCN0698


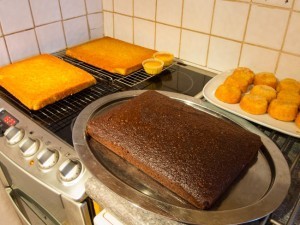
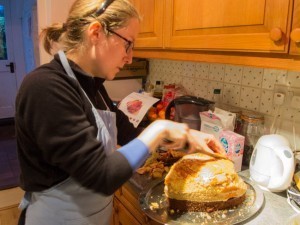
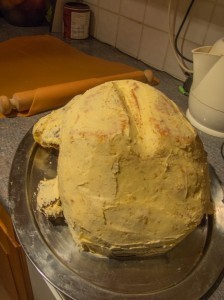
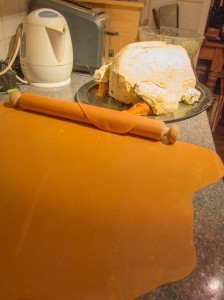
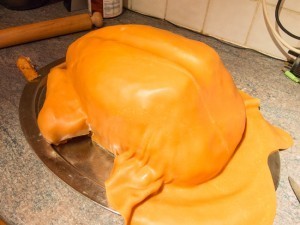
    So here are some of the steps in making it. I started with 3 layers of cake (gingerbread, orange and spice and vanilla) and glued them in a stack with butter icing to signify the dark and light meat you get with a real turkey. Plus the cake for the bottom had to be really sturdy to stand up to the weight on top! I then set about sculpting it into the desired shape, comparing to pictures of real roast turkeys online – you can see the intense look of concentration on my face! Then came a butter cream layer to get the icing to stick and a sit in the fridge to firm up. The icing is in fact softened dairy fudges! Putting them in the microwave for 10 second bursts then kneading and rolling out quickly before it cooled, it was stressful! Then came the covering of the cake beast, using hands to sculpt the fudge layer neatly around the carved cake. Finally, the finishing touches; fudge leg bones, texturing the skin with a dimpled piece of plastic and colouring with coco powder mixed with vegetable oil to give a real shine. Done!

    DSCN0670DSCN0674DSCN0681 DSCN0684DSCN0686