RSS Feed

Posts Tagged ‘cake’

  1. Madeleines – a better recipe!

    May 10, 2016 by sarah

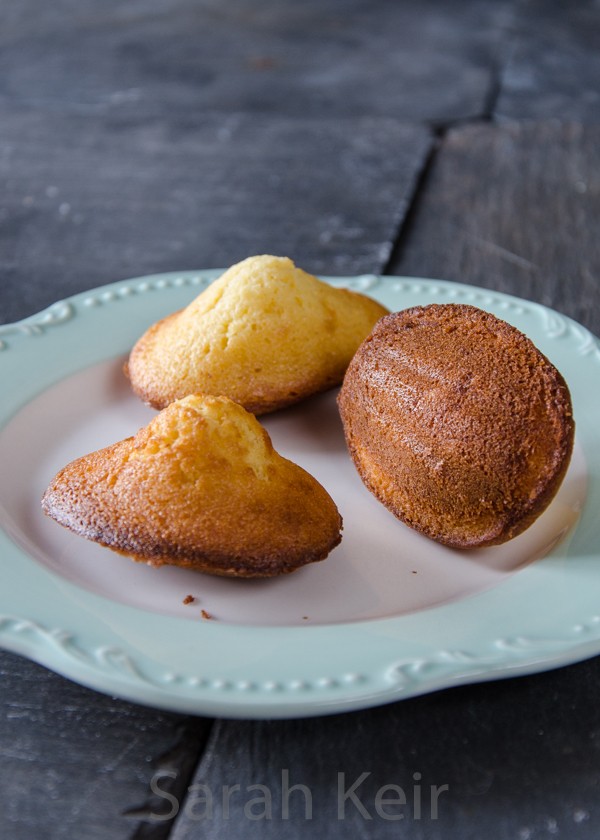
    Almost exactly a year ago, I made madeleines for the first time, inspired by our trip to Paris. After the initial enthusiasm of a new pretty cake, I realised they were actually quite dry and boring! My excitement of a new cake tin and a recipe that is supposedly hard and picky turning out right the first time clouded my judgement of what a madeleine should really be like; a moist morsel.

    madeleines


    My interest was stimulated again at Christmas time when reading about the uses of invert sugar, initially in chocolate making and that lead on to reading about its use in baking and how this may be secret to moist madeleines. Before you start worrying about artificial additives in my cooking, invert sugar is chemically similar to honey (you could substitute honey in many recipes) and is simply made by boiling regular sugar in the presence of acid, for which I used cream of tartar. Invert sugar has many uses in recipes; to control crystallisation, improves keeping properties and keeps products moist. It even intensifies flavour and aroma! If you want to read more about it and make some for yourself then visit Chef Eddy’s website, a mine of information on pastry and confectionery making.

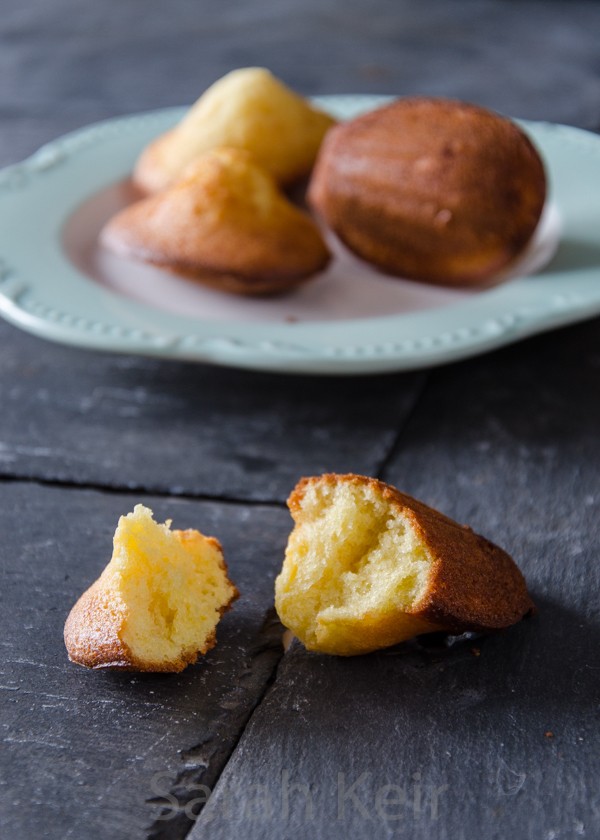
    madeleines-2


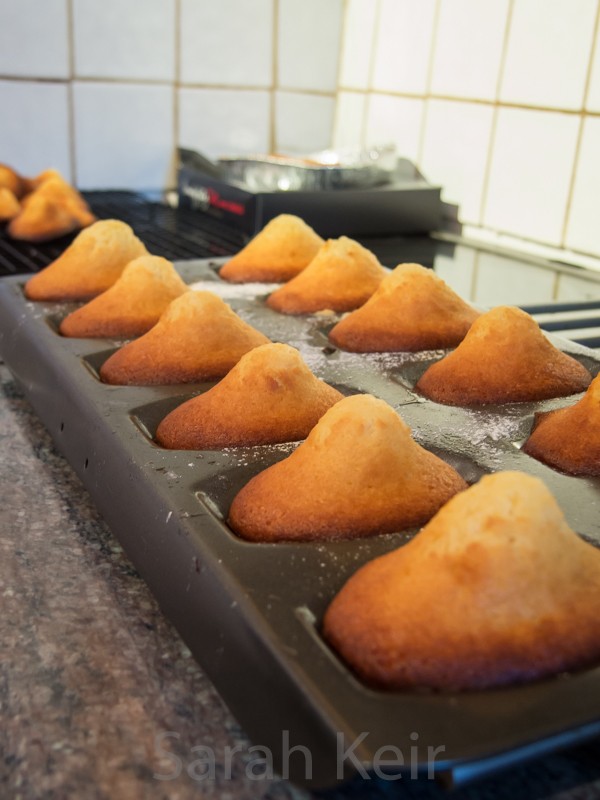
    The test of a good madeleine is a good dome and a crispy shell with a soft buttery inside. This recipe cracked that and was much easier than my previous attempt where I was freezing molds and juggling batter between fridge and tin! See what you think and let me know!

    madeleines-3

    Orange and White Chocolate Madeleines

    Makes about 48, keep a couple of days.

    50g caster sugar
    zest of 2 oranges
    1/2 teaspoon orange extract
    40g invert sugar
    3 medium whole eggs (150g)
    60g cream 35% (whipping cream)
    200g plain flour
    1 teaspoon (6g) baking powder
    100g butter
    60g neutral vegetable oil
    85g white chocolate

    1. Combine the sugars and orange zest with extract; whisk in the eggs and cream.

    2. Combine the butter, oil and chocolate and heat over a very gentle heat until melted and combined. Add to the sugar mix and then sift over the flour and baking powder and fold in.

    3. Leave the batter to rest, ideally overnight. Scrape into a piping bag.

    4. Preat the oven to 200ºC/ 180ºC fan. Grease the madeleine tray with butter then pipe in a teaspoon sized amount of batter. Bake for 7-8 minutes and allow to cool in a cooling rack.

    5. Store in an airtight container; they will keep well for 3-4 days.


  2. Polenta and olive oil cake

    March 3, 2015 by sarah

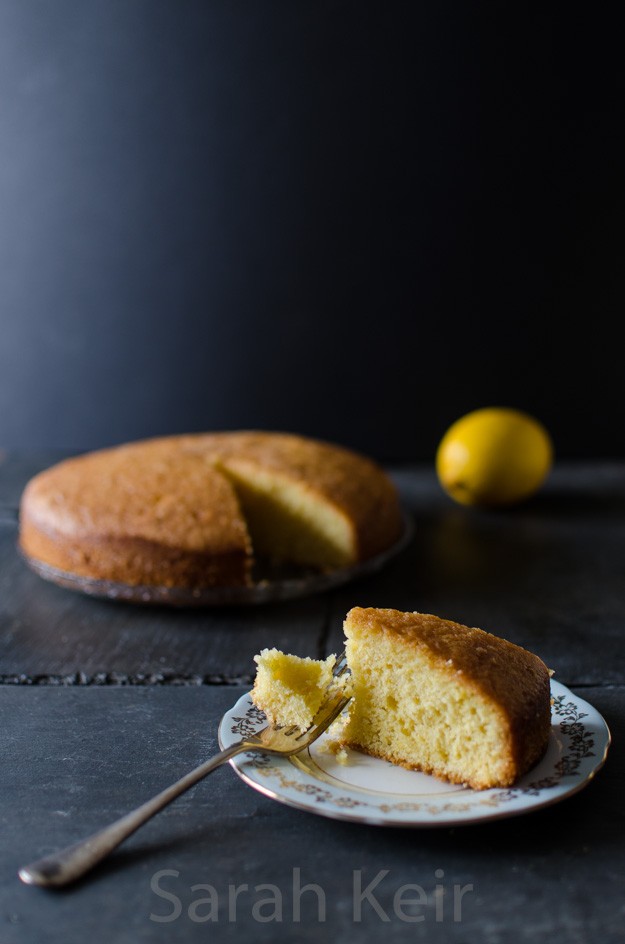
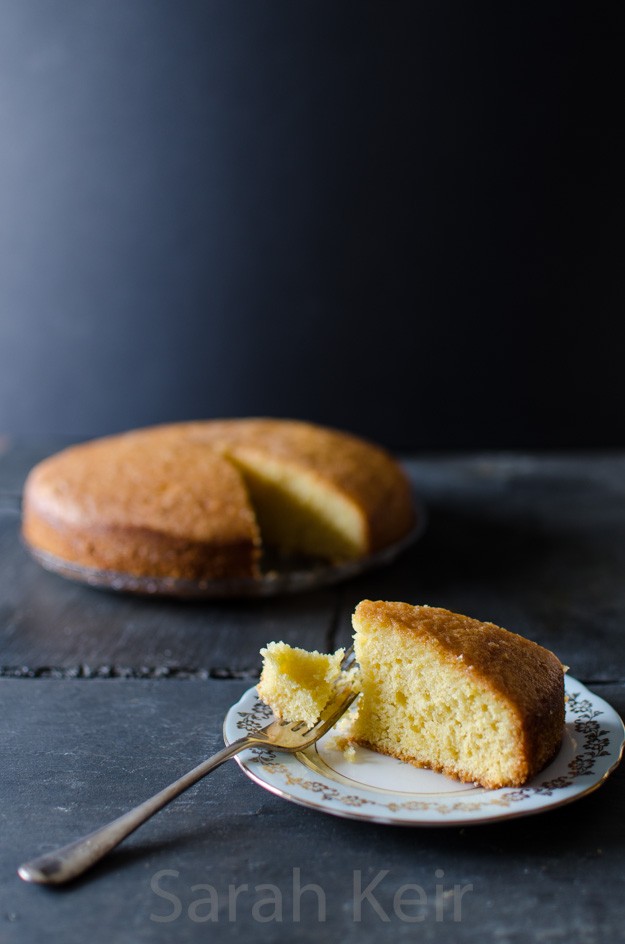
    Reading this title you probably thought that something had gone wrong. Perhaps a supper dish from Italy? But a cake? Made from savoury ingredients? Have I gone mad? No, my dear readers I have not gone mad. This cake is indeed a delicious and light sponge perfect any time of day from breakfast to dinner, as my husband can attest. It also happens to be healthier too as it is not made with butter.

    This cake was deliberately chosen to use up some store cupboard ingredients I found in my January clear out. I don’t particularly like polenta as a starch for a meal so this recipe was ideal way of trying it in a different way. I have to admit though it is a little drier than one would expect a teatime cake to be, probably because of its lack of butter, but this was definitely balanced with some poached fruit or yogurt on the side. The polenta gave a fine gravelly, but not unpleasant, mouth feel. Buon appetito!

    polenta-008

    Polenta and Olive Oil Cake

    6 medium eggs

    1 cup white caster sugar

    freshly grated zest of 2 lemons

    1 and 1/2 cups of plain flour

    3/4 cup instant fine polenta

    2 teaspoons baking powder

    1 teaspoon fine salt

    3/4 cup olive oil

    drizzle: juice of the 2 lemons and 100g caster sugar

    Preheat the oven to 180 ºC/160 ºC fan. Lightly grease a 9″/20cm springform pan with oil.

    Place the eggs and sugar in the bowl of a mixer and with the whisk attachment, beat for at least 5 minutes until light in colour and tripled in volume. Pour in the oil and sift over the dry ingredients. Start the mixer on very slow, beat until incorporated, scraping down the sides a couple of times. Pour the batter into the prepared cake tin and place in the middle of the preheated oven for 25 to 35 minutes until risen and slightly coming away from the sides; a skewer should come out clean.

    While the cake is in the oven, dissolve the sugar in the lemon juice for the drizzle; you may need to heat it in a small pan to get it to dissolve fully. Once the cake is cooked and taken out the oven, sit it on a tray and pour over the drizzle. Allow to cool fully in the pan before turning out.

    polenta-007


  3. Stump de Noel – a special chocolate Christmas cake

    December 27, 2014 by sarah

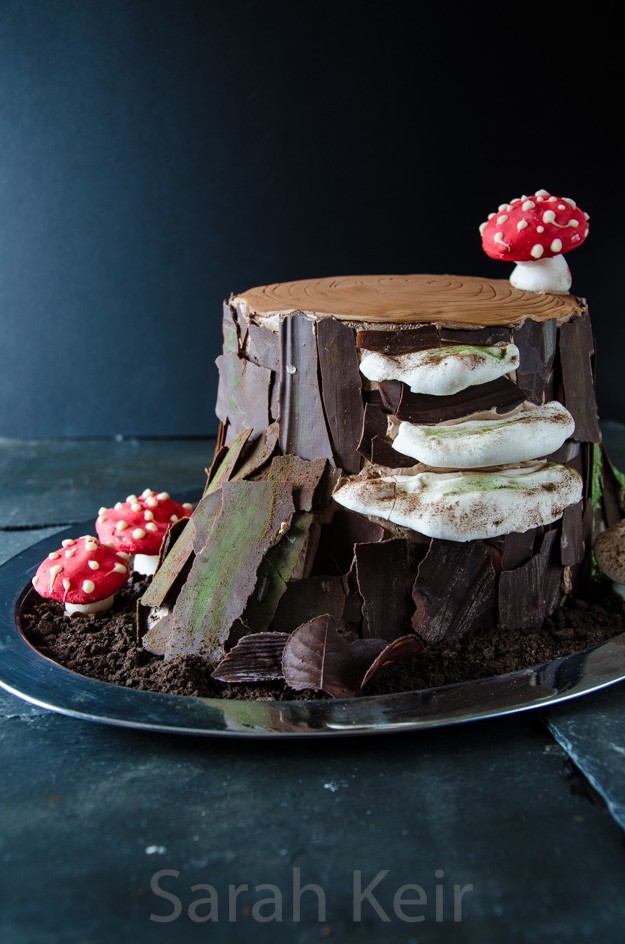
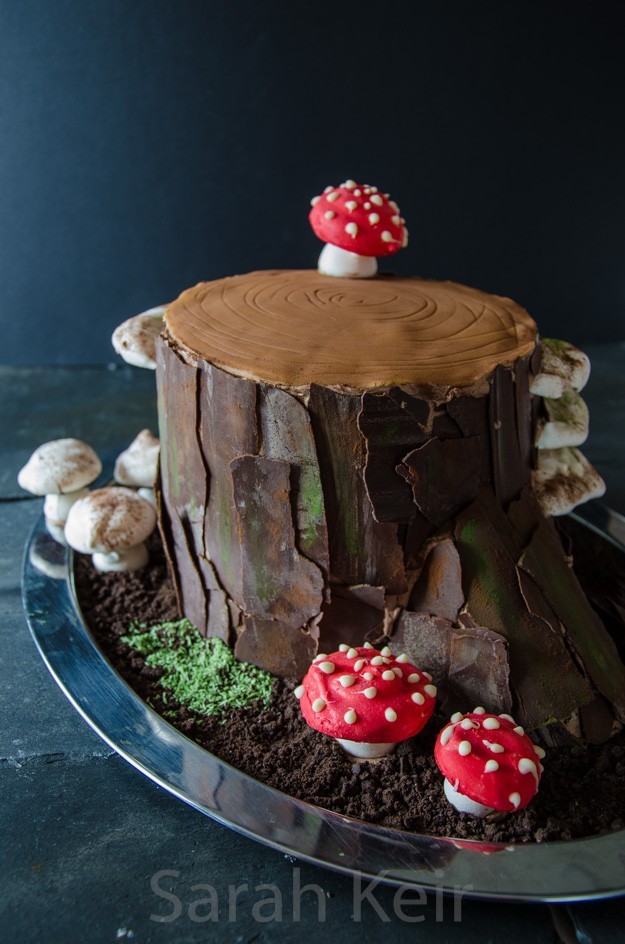
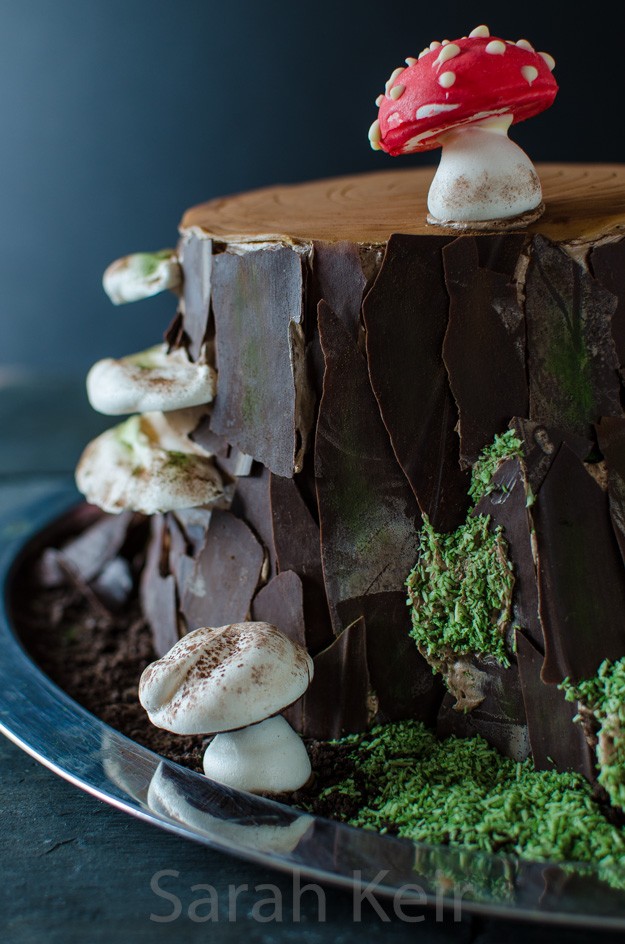
    Here is a picture of the chocolate cake I made for our work Christmas Eve party. I am very proud of it!

    noel-005


    I feel this was one of my most successful cakes yet. It looked stunning and tasted delicious! By 6pm that evening there was just one small knob of cake left and some crumbs!

    noel-006


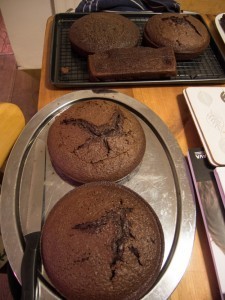
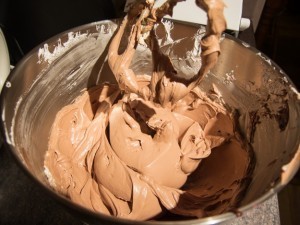
    Inside is a four tier moist buttermilk chocolate cake. I also made a tray bake using the same recipe and decorated it with left over meringue mushrooms and buttercream. Between the two, the cakes fed 30-40 people with generous slices. I will post the recipes for the chocolate cake and chocolate Swiss meringue buttercream and I’ll put up the directions for the meringue mushrooms imminently. This was my second or third attempt at Swiss meringue buttercream. Previous attempts were rather heavy but this time it turned out how is was supposed to be and it was the perfect soft creamy feeling in the mouth but not overbearingly buttery or sweet; almost like eating chocolate mousse on a cake! I think the difference has to be in using a stand mixer to make it; it really gets lots of air into the meringue. So I can reveal one of the Christmas presents from my husband; a Kenwood stand mixer. I had to open it before the day so I could use it to make this cake but is had been sitting on our bedroom floor for about 3 weeks prior to this so I knew what I was getting (plus my husband asked what model I wanted so it was a bit of a give away)!

    noel-007


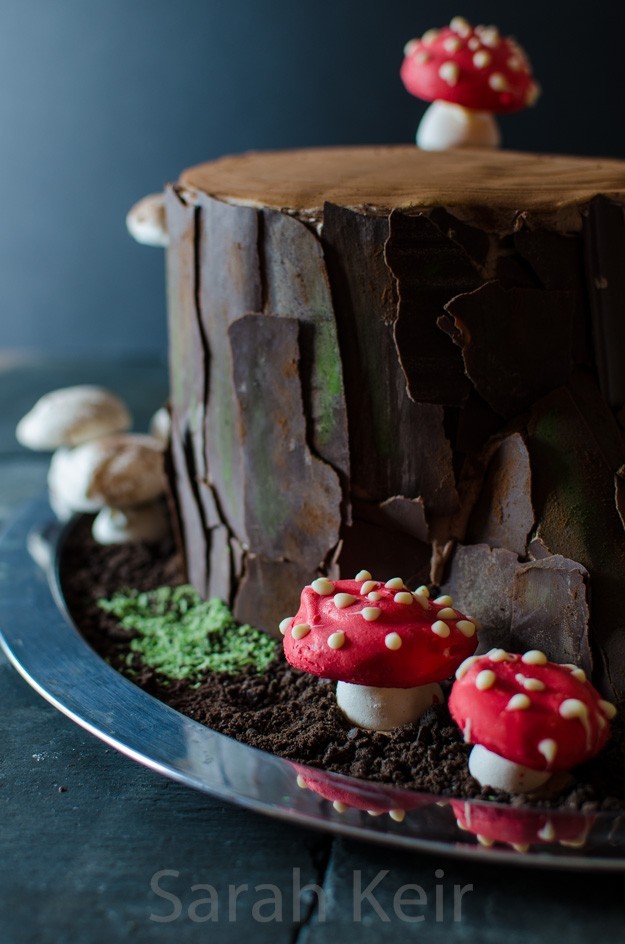
    It wasn’t until I had added the extras to the finished cake did it sit so resplendent on its old silver tray. This whole cake is most definitely better than the sum of its parts; meringue mushrooms, chocolate shards for bark, fudge cut surface with rings, oreo cookie dirt, green coconut moss, chocolate and tuile biscuit leaves. It was an endevour to get this cake together. I think it was a total of about 10 hours work; 4 hours at the weekend making chocolate things and the meringue mushrooms and 6 hours on the afternoon/evening before the party to make the cake and icing and assemble it. I love how this cake looks rustic and rough around the edges but that it only adds to the reality of the finished art work. It is a cake to be proud of!

    noel-008


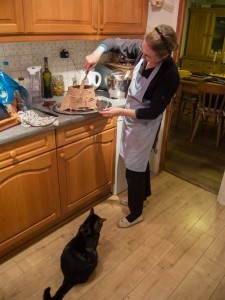
    Here are some pictures of me making it.

    noel-004

    The cat helping.

    noel-001

    The four tiers and some of the tray bake.

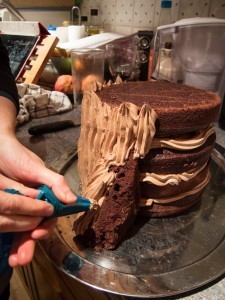
    noel-003

    Piping on the icing.

    noel-002

    Perfect SBC consistancy.


  4. Chestnut and Almond Cake

    December 20, 2014 by sarah

    Being a foodie has it down sides. Apart from the inevitable battle of the bulge (i.e. weight gain, not anything to do with trumpets) and the critical assessment of every meal you eat, you end up with an odd assortment of ingredients lurking in the fridge and cupboards and nothing real to eat on a day to day basis. Or at least I do. After a bit of a cupboard tidy out at the weekend (really to fit in more special buys), I found a tin of chestnut puree (out of date by 6 months) and some tiny jars of homemade marron glacé in syrup (in which the sugar had crystalised – I made them at least 2 years ago). Most of the recipes I searched for required sweetened chestnut puree or marron glacé puree but they sounded too sweet and sickly. So this recipe is a hash up of a couple of different recipes; Nigella in’How to be a Dometic Goddess’ and this recipe on someone else’s blog. My recipe can easy be made dairy free (see the added notes) and is naturally gluten free, being based on ground almonds and the chestnut puree. It is not calorie or guilt free; it is rich and dense but not overwhelmingly sweet or cloying like some chestnut based recipes can be. It is so moreish and decadent; perfect for this for this time of year. And apparently chestnuts are good for you.

    chestnut-002


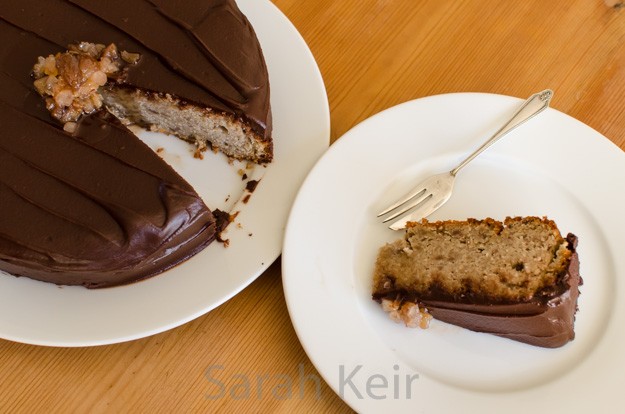
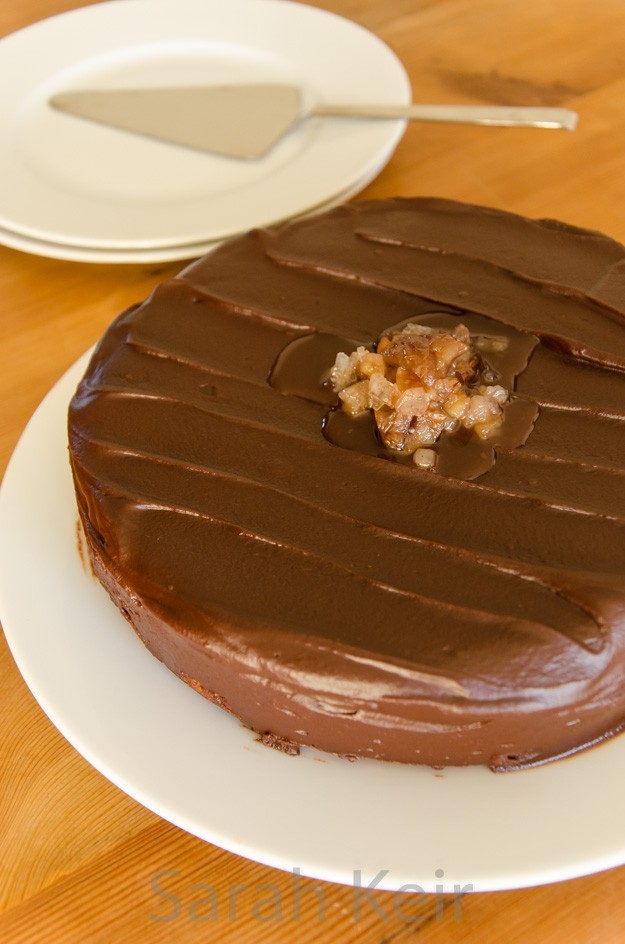
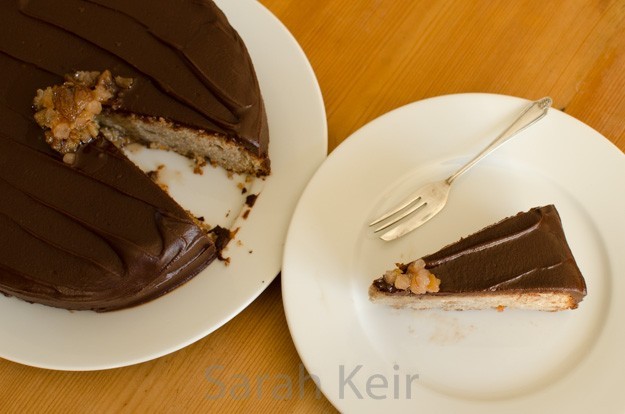
    This year I bought my chestnuts from Oxford covered market and they are a complete contrast to the ones in the supermarkets. They are so large, moist and sweet. We roasted them on our sitting rom fire last weekend and the sweet nutty smell filled the house with seasonal joy. I made my own marron glacé a few years ago but I have to say it was not worth the effort, no matter how expensive they are! I did find a small jar of crumbled bits in syrup that I had stashed away and that made a perfect finish for this cake. Feel free to buy them rather than make them; I won’t hold it against you. Next time will try adding 250g melted plain chocolate to the mixture, as Nigella has in her recipe. This recipe is very rich and feeds 10-12 easily. It doesn’t need cream to counteract any sweetness but some creme fraiché would go well if serving this cake for desert.

    chestnut-001

    Chestnut and Almond Cake

     
    4 large eggs, separated
    200g caster sugar
    100g butter (or replace with 70ml of vegetable oil for vegan version)
    200g ground almonds
    400g tin of chestnut puree (make sure unsweetened)
    1/2 orange, zested
    1 teaspoon baking powder
    1 teaspoon vanilla extract
    1-2 tablespoon honey flavour liqueur or rum or almond milk
     
    For the chocolate covering
    200g plain chocolate
    1 tablespoon glucose syrup or golden syrup
    pinch salt
    70g butter or 100ml cream or 70g dairy-free margarine
     
    Preheat oven to 180 ºC/160 ºC fan.
    Line the bottom and grease well a 20cm/8 inch springform tin.
    Whisk the egg yolks, sugar and vanilla extract together until light in colour and creamy.
    Add the melted butter – make sure it is only at blood temperature, no hotter.
    In a bowl, tip the chestnut puree and fork up until smooth paste.
    Add the chestnut puree, ground almonds, orange zest and baking powder to the egg/sugar bowl and mix well; add the extra liquid as required so mixture not too stiff (it should fall off the spoon easily).
    In a large clean bowl, whisk the egg whites until stiff peaks form. Add a quarter of these whisked whites to the cake mix and beat to loosen the mixture. Gently fold in the rest of the whites being careful not to knock out too much air.
    Pour into the tin and place in the middle of the oven. Bake for about 45 minutes to an hour until a skewer comes out clean. Leave to cool entirely in the tin before running a knife around the outside and turning upside down onto a plate. Don’t worry if the cake looks dry and cracked – it won’t be dry inside.
    Make the chocolate covering by putting all the ingredients for the covering into a bain marie (i.e. a bowl over a gently simmering pan of water), stir until smooth then pour over the cake. You may need to wait 10 minutes or so for the covering to thicken – if it is too thin it will just run off the cake.
    Allow the covering to set before serving.
     
    chestnut-003

  5. What a turkey!

    December 24, 2013 by sarah

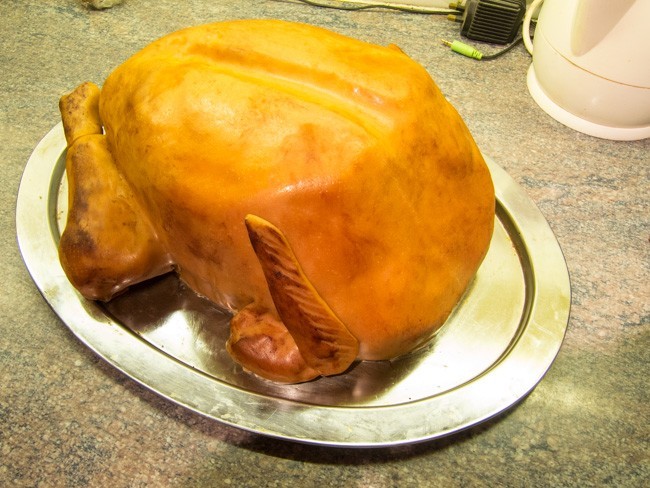
    I can finally reveal the ‘other’ Christmas cake I have been working on now it has been unveiled and eaten; a roast turkey cake with the trimmings!

    DSCN0689


    I also made roast potatoes (lemon drizzle fairy cakes), sprouts (lemon white chocolate truffles), carrots (orange flavoured shortbread) and peas (green fondant and marzipan) and served it with gravy (chocolate sauce). Bring it on Heston!

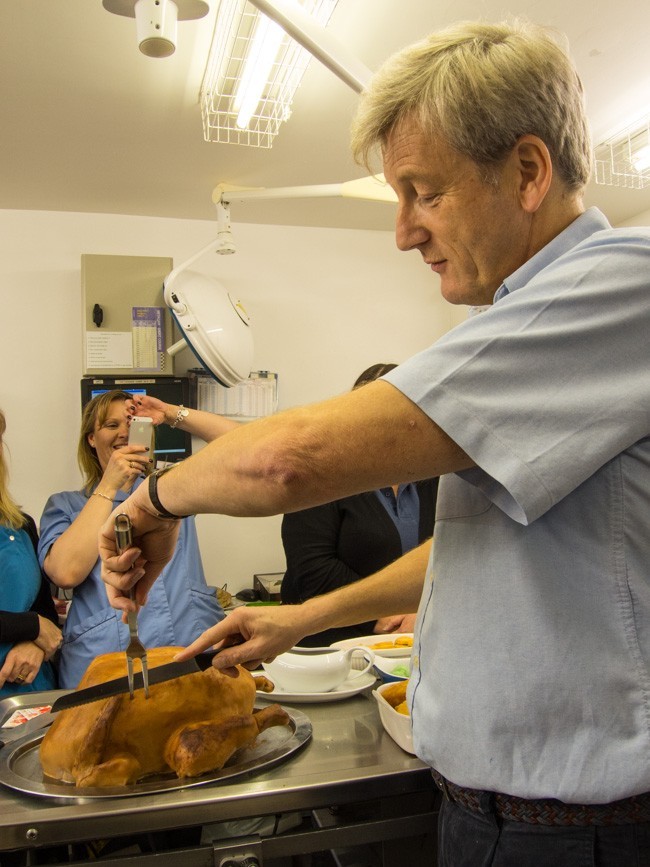
    I really enjoyed the challenge of planning, designing and executing this beast of a cake! But I also need to give credit to my husband for his inspired suggestion. It went down well at the practice Christmas party this lunch time; there is nothing left which means job well done! Here is The Boss carving it!

    DSCN0698


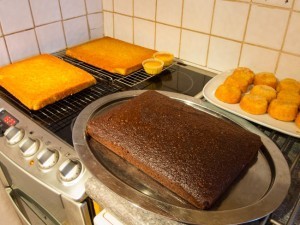
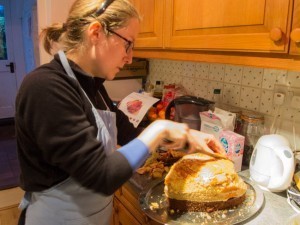
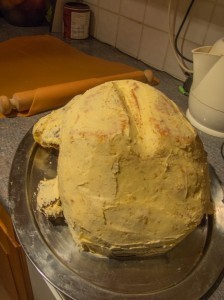
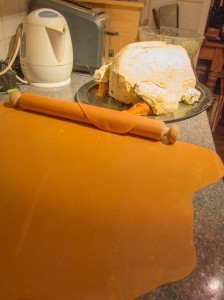
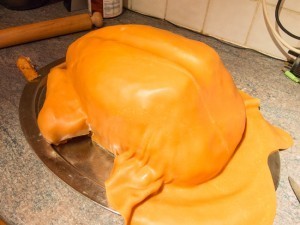
    So here are some of the steps in making it. I started with 3 layers of cake (gingerbread, orange and spice and vanilla) and glued them in a stack with butter icing to signify the dark and light meat you get with a real turkey. Plus the cake for the bottom had to be really sturdy to stand up to the weight on top! I then set about sculpting it into the desired shape, comparing to pictures of real roast turkeys online – you can see the intense look of concentration on my face! Then came a butter cream layer to get the icing to stick and a sit in the fridge to firm up. The icing is in fact softened dairy fudges! Putting them in the microwave for 10 second bursts then kneading and rolling out quickly before it cooled, it was stressful! Then came the covering of the cake beast, using hands to sculpt the fudge layer neatly around the carved cake. Finally, the finishing touches; fudge leg bones, texturing the skin with a dimpled piece of plastic and colouring with coco powder mixed with vegetable oil to give a real shine. Done!

    DSCN0670DSCN0674DSCN0681 DSCN0684DSCN0686


  6. Christmas Cake

    December 19, 2013 by sarah

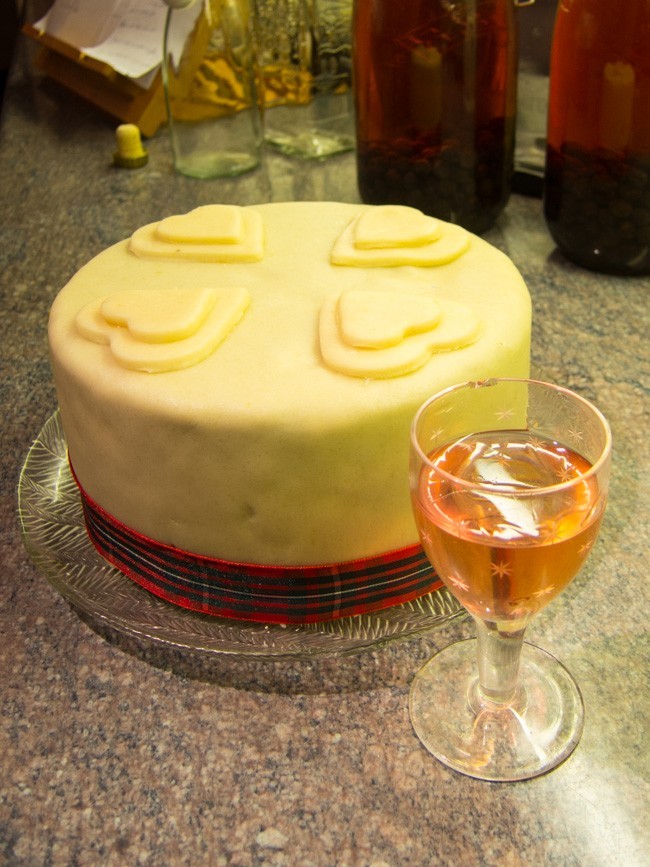
    I only started making our Christmas cake annually a couple of years ago. It seemed like too much hassle and the supermarket one was fine if you doused it up with enough booze. But then I bit the bullet and it has definately become an annual ceremony. The actually making doesn’t take too long; the fruit is best boozed up a few days before, a bit of stirring and then hours in the oven when it just needs occasional checking but not onerously. And then the boozing up, my favourite ritual. Once a week, or more if I remember, the cake is unwrapped, prodded, sniffed and then liberally painted with booze. I write ‘booze’ because I don’t think it really matters what you use so use up those dregs at the back of the cocktail cabinet (what, you don’t have one darling) but I stipulate it must have flavour (so no vodka), not be cream based and be greater than 20% alcohol (so no syrupy things). Don’t ask me if you can make it without the alcohol; this recipe has mandatory alcohol. This cake is best made several weeks before it is due to be eaten; Delia suggests a minimum of 8 weeks, so perhaps it should really be an October Half Term activity but I usually don’t remember until mid to late November and it still tastes great.

    Christmas Cake
    (Delia Smith with some of my alterations)
     
    1kg mixed dried fruits (raisins, sultanas, currants, mixed peel, glace cherries, dried cranberries, chopped dried apricots, dates, figs) I added a quarter of this weight in dates from our trip to Morocco
    50-100ml booze (sherry, brandy, rum, whisky…)
    250g unsalted butter
    250g light brown soft sugar
    200g plain flour
    50-100g nuts (whole or flaked almonds, chopped walnuts, pecans etc)
    4 large eggs or 5 medium eggs from my girls
    1/2 tsp salt
    2 tsp mixed spice
    1 tbsp black treacle
    grated rind of one lemon and one orange
     
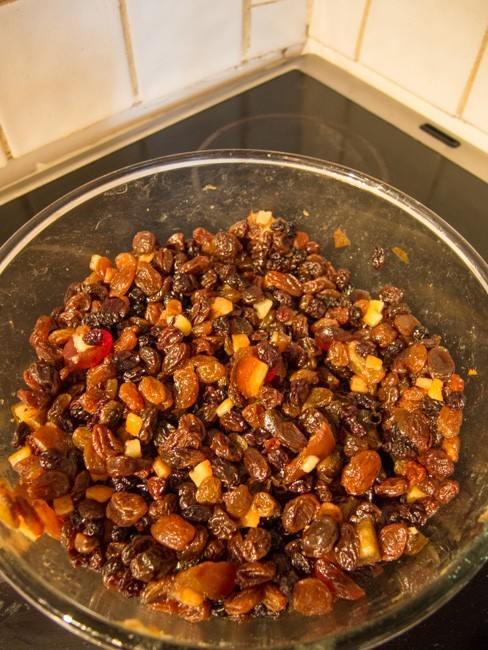
    Several days before you plan do do the baking, put the fruit mixture into a glass bowl and add the booze. Cover with cling and shake daily until ready to use.
     
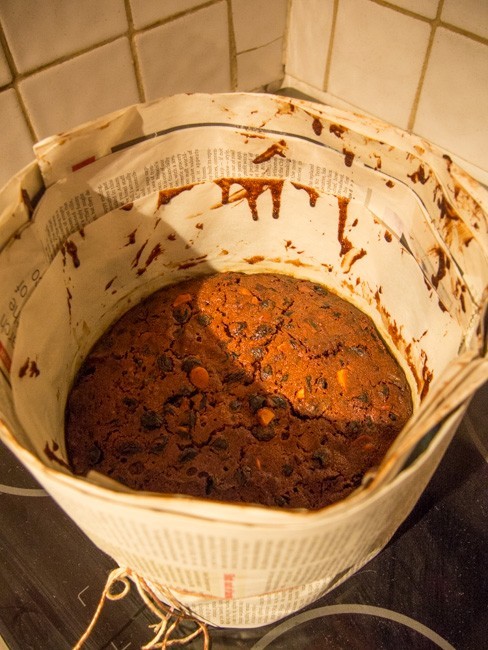
    Preheat the oven to 160 °C/140 °C fan with a shelf in the bottom third of the oven. Butter and double line a 20 cm round tin, with enough baking parchment to come several centimetres above the top of the tin. Wrap the outside of the tin with several sheets of newspaper secured with string. Sit the tin on top of more folded newspaper on a baking tray. Make a hat for the tin with double thickness of parchment cut to a circle that just fits inside and cut out a small circle in this in the centre (fold the squares of parchment up into quarters, the quarters again then round off the outer corners to give a circle and cut the point out of the circle – comprendé?).
     
    Cream the butter and sugar until very light. Whisk the eggs separately then add one at a time to this, mixing well between and adding some of the flour if it looks like it will curdle. Sift the flour, spices and salt over the top and then fold in. Fold in the fruit (and any booze left behind), the nuts, the treacle and rinds.
     
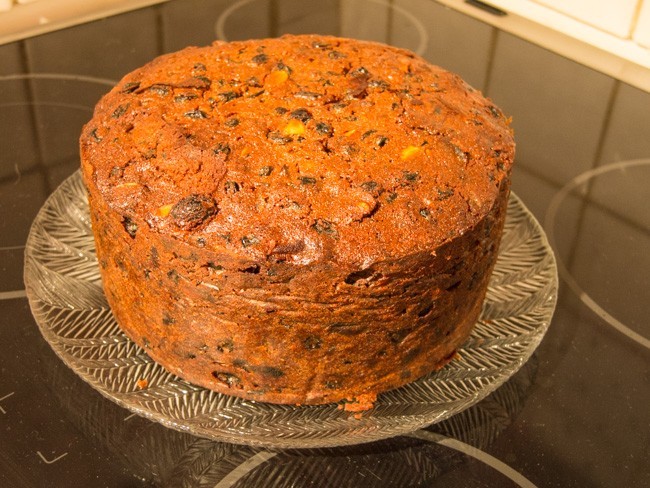
    Tip this mixture into the prepared tin and level off the surface. Place into the preheated oven and leave alone for 4 hours – walk the dog, do some study etc. The cake may take up to 4 and half hours but you still want a few crumbs sticking to the metal skewer when you test it; if you over cook it, it will be dry no matter how much booze you add. Leave to cool totally in the tin before unwrapping and then make some holes with a skewer all over the cake and brush or spoon over more booze. Wrap the cake in greaseproof paper and in a tin and repeat the feeding process ad infinitum.
     
    Decorate as you wish (no fondant for me please!).
    DSCN0586 DSCN0587


    DSCN0592


    DSCN0658


  7. Eggs and Lemons Part Deux – Lemon and Poppyseed Cake

    November 2, 2013 by sarah

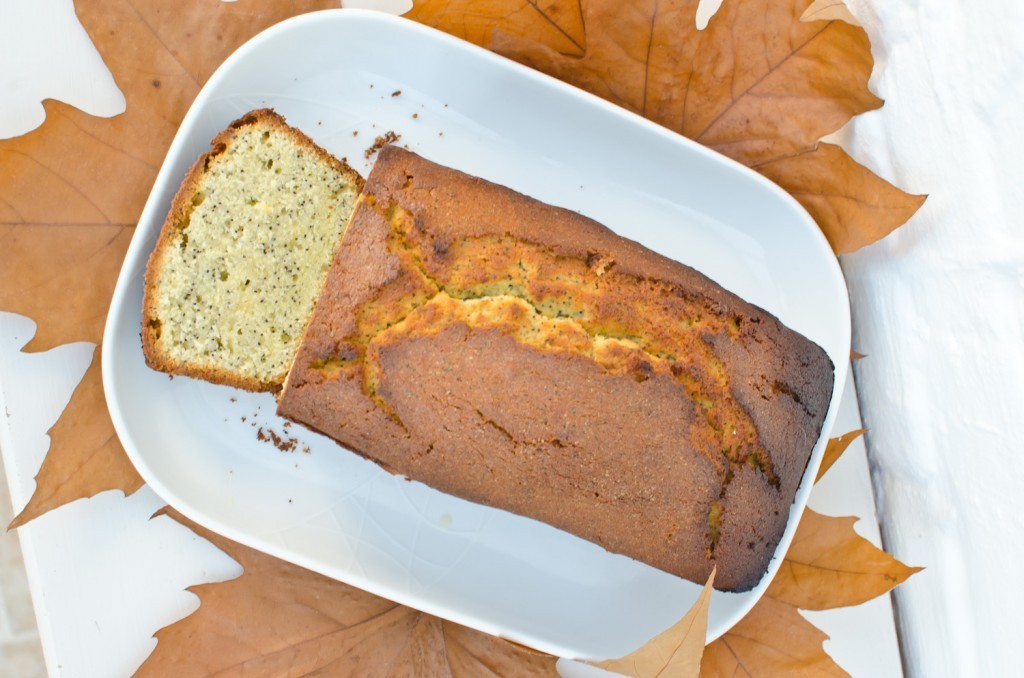
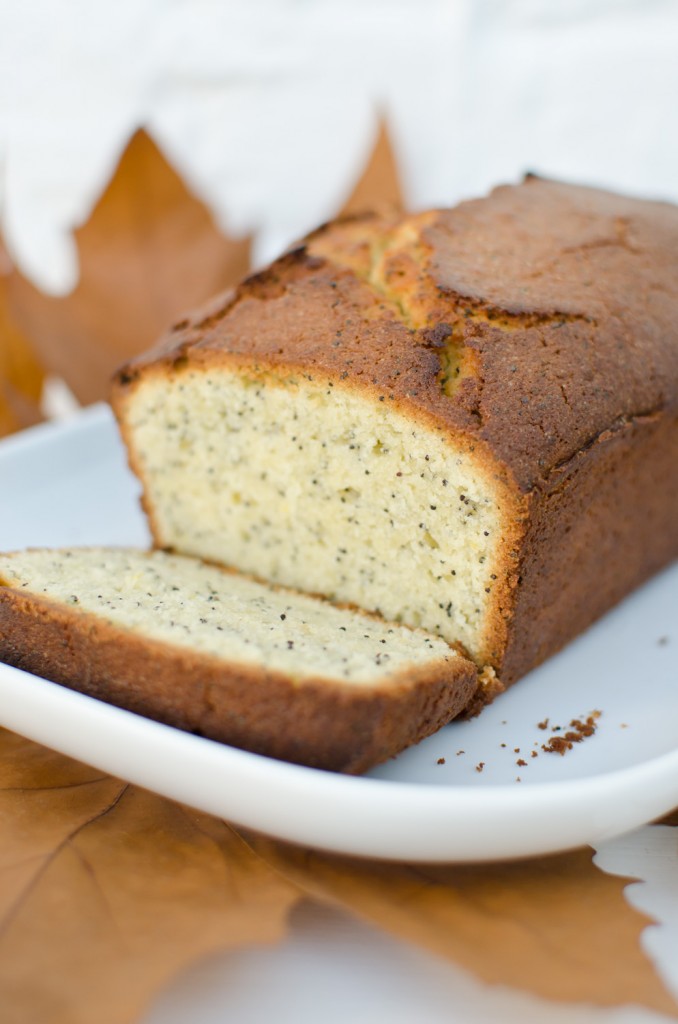
    With the excess eggs and lemons, I also made a lemon poppyseed cake. This came out a bit denser than I like for a sponge though I understand Maderia sponges are supposed to be like this. Next time I will try adding a little (maybe half a teaspoon) of baking powder and see if it lightens the mixture up a touch.

    Lemon and Poppyseed cake
    From ‘How To Be A Domestic Goddess’ by Nigella Lawson
     
    240 softened unsalted butter
    200g caster sugar
    grated zest and juice of 2 lemons
    2 tablespoon of poppyseeds
    3 large eggs (or 4 medium), beaten
    210g self-raising flour
    90g plain flour
     
    Line and butter a 23 x 13 x 7cm loaf tin.
     
    Cream the butter and sugar, then add the lemon zest. Add the eggs one at a time with a tablesppon of flour for each. Then fold in the rest of the flour and the poppyseeds and finally the lemon juice. Sprinkle with caster sugar.
    Bake at 170 (150 fan) for an hour or until a cake tester comes out clean. Let cool in the tin before turning out.
     
    Unfortunately I had to cook this at the same time as the pastry for the lemon meringue tart, which meant it was at too high temperature and it burnt slightly round the edges. Also my fan oven isn’t very even and I forgot to turn the cake. Will not do that again!
     
    _1SK3525 _1SK3526

  8. Traditional Dundee Cake

    September 29, 2013 by sarah

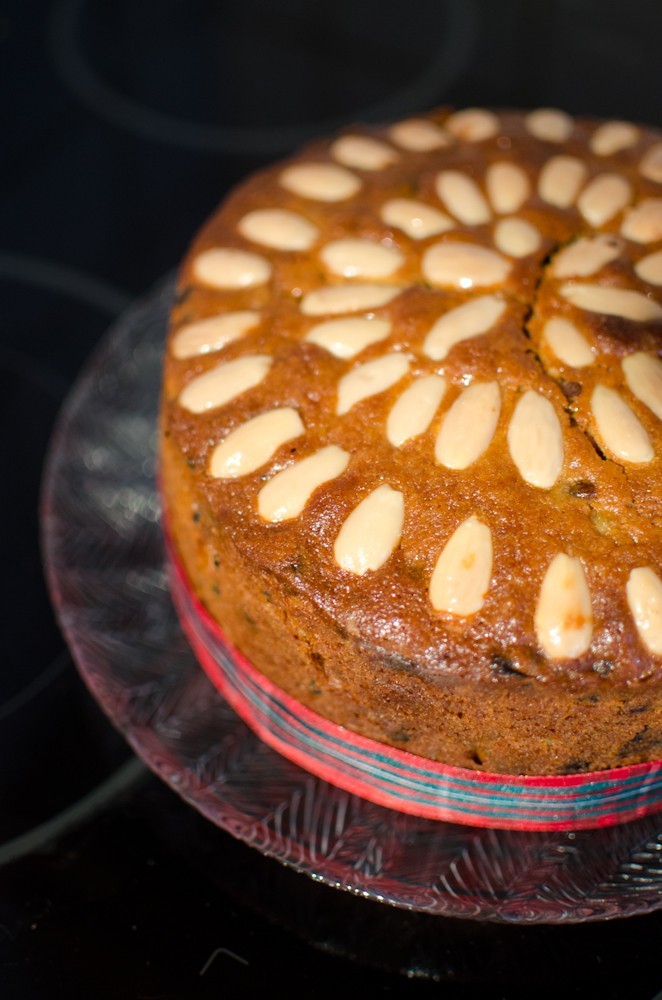
    This is a recipe for a traditional Dundee cake with a texture lighter and crumblier than the Christmas-type fruit cake and a lovely flavour.  It takes a while to bake during which it needs some attention but not constant.

    175g unsalted butter at room temperature/softened
    150g caster sugar or soft brown sugar, or mixture
    4 medium eggs (room temperature)
    250g plain flour
    1 tsp baking powder
    100g marmalade or apricot preserve (optional)
    350g of mixed dried fruit (currants and sultanas are traditional)
    50-100g glace cherries, rinsed, dried and cut in half
    50-100g mixed candied peel, finely chopped
    75g ground almonds
    finely grated rind of an orange
    1 tablespoon of whisky
    100g blanched almonds for the top.

    A day or two before you want to make this cake, weigh out the dried fruit and splash over some sherry, whisky or rum, cover with cling film and leave until ready to make the cake.

    Prepare the tin – this is very important as it will stop the cake from sticking and burning. Line a 20cm (7.5 to 8″) tin with a double layer of greaseproof paper, including the bottom, and grease well. Round the outside of the tin wrap folded over newspaper and tie with string to hold in place. Sit the prepared tin on more folded over newspaper on a baking tray. Preheat the oven to 170 degrees (150 if fan).

    Beat the butter and sugar in a bowl until very fluffy. Whisk in the eggs one at a time with a tablespoon of flour between each addition to prevent curdling (it will also help if the eggs are at room temperature). Now add the marmalade or apricot preserve if using and orange zest; make sure it is soft and bit on the runny side by whisking, possibly with the whisky, before adding to the mixture otherwise you will end up with lumps (see – this is what happened to me!).

    Now fold in the flour (reserving a couple of tablespoons – see next step), ground almonds and baking powder with a large spoon. The mixture at this stage should be stiffer than your average sponge batter, otherwise the fruit will sink.  That reserved flour, sprinkle it over the dried fruit and glace cherries (this stops them from sinking) then fold all the remaining fruity ingredients into the batter.

    Put the blanched almonds into a bowl and cover with boiling water while you spoon the mixture into the prepared cake tin, smooth the top and press a very slight concavity into the middle of the cake (so when it rises the top stays level). Drain the almonds and dry on kitchen paper. Next, arrange the almonds in concentric circles on the top of the cake, starting in the middle. Do not push them in when you do this otherwise they will sink into the cake while cooking.

    Make a foil hat that sits on top of the paper that surrounds the tin and put the tin in the oven, middle or bottom levels. It will need 2 to 2 and half hours, until a skewer comes out almost clean (err on the side of slight under doing as it will continue to cook for a bit as it cools and you don’t want a dry cake). Keep the hat on the cake until the last half an hour of cooking as this will stop burning and cracking.

    When you take the cake out of the oven, brush the top with a sugar syrup made from a tablespoon of water and a tablespoon of caster sugar and put back in the oven for 5 minutes to dry this then repeat the syrup but leave out of the oven. Leave the cake to cool completely in the tin. This cake keeps very well for a week or more in an airtight tin and the flavour improves after a few days. Enjoy!

    show (2 of 16)


  9. Finished! Unique Wedding Cake Recipe

    April 21, 2013 by sarah

    After several lots of experimentation, the ‘Judith and Tim Hochzeit Kuchen’ recipe is finished! I apologise for my German if it is incorrect! I haven’t actually made the entire recipe at one time as the deadline has crept up but the individual components have been made and I have tasted it in my head!

    For the sponges

    300g self-raising flour

    300g caster sugar

    250g unsalted butter, soft

    4 large free-range eggs at room temperature

    4 tablespoons milk

    ½ tsp baking powder

    Finely grated rind of 1 orange

    3 x 8”(20cm) sandwich tins, greased and base lined with baking paper

    Heat oven to 180oC. Whisk the butter and sugar in a large bowl until light and fluffy. Add all the other ingredients and mix until blended but not separated. Divide among the 3 tins, level off the top and have a slight depression in the centre. Bake for about 20-25minutes until springy and slightly shrink away from the sides of the tin. Cool in the tins for 5minutes before turning out onto a wire rack and leaving to go completely cold.


    For the whisky-orange syrup

    Juice of 1 orange

    50g sugar

    2 tbsp whisky or Glayva liqueur (liqueur of whisky and orange made in Glasgow)

    Put the ingredients in a small pan, heat gently until the sugar is dissolved then boil for 1minute. Leave to cool completely.


    For the raspberry jam filling

    300g tub of frozen raspberries

    3 teaspoons cornflour

    4 tablespoons caster sugar

    2 tbsp whisky or Glayvar liqueur

    Put all the ingredients into a medium sized pan, set over a medium heat and stir until the sugar dissolves in the juices. Then rapidly boil for 2 minutes, stirring until thick. Allow to go completely cold.


    For the mascarpone frosting

    500g tub mascarpone cream

    2 tbsp caster sugar

    ½ finely grated zest of orange

    1 tbsp whisky or Glayva liquer

    Put all the ingredients in a bowl and beat until light and fluffy. Refrigerate for a couple of hours before using to cover the cake.


    To assemble the cake

    The cooled cake tiers, trimmed so flat

    Cooled syrup

    Cold raspberry filling

    Cold mascarpone frosting

    Punnet of fresh raspberries

    Using a pastry brush liberally soak two tiers of the cake on the top surface and one tier on the bottom surface. Place a cake layer on your serving plate of choice, syrup side up, spread over one half the raspberry filling, place on the next layer of cake syrup side up and spread on the remaining raspberry filling, place on the last tier with the syrup side down. Cover with the mascarpone frosting (or other frosting of choice) and decorate with fresh raspberries. Refrigerate until needed but ideally eat the same day it is made.

    And here are the photos from the version I made to test the frosting, this time on a two tier genose sponge:

    weddingcake (1 of 2)

    weddingcake (2 of 2)


  10. About Me

    March 17, 2013 by sarah

    085Hello friends and thank you for stopping by my wee blog! I have started this blog to get away from Facebook, to start some digital scrapbooking and see where this path leads me!

    My name is Sarah Keir and by day (and plenty of nights and weekends too) I am a  small animal veterinarian in the South-East of England. The rest of the time that I call my own I bake plenty of cakes, craft all sorts and am obsessed with vintage chic. My perfect weekend would be sunny (naturally), wearing a 1950’s dress and apron, knock together a teddy or vintage inspired brooch, make some delicious cakes and have friends round to enjoy them. The rest of the time my taste testers are my husband Mr K and my work mates who devour anything I produce. Anything that fails goes to the chickens – my lovely girls that keep me supplied with fresh eggs for my baking attempts.