-
November 22, 2014 by sarah
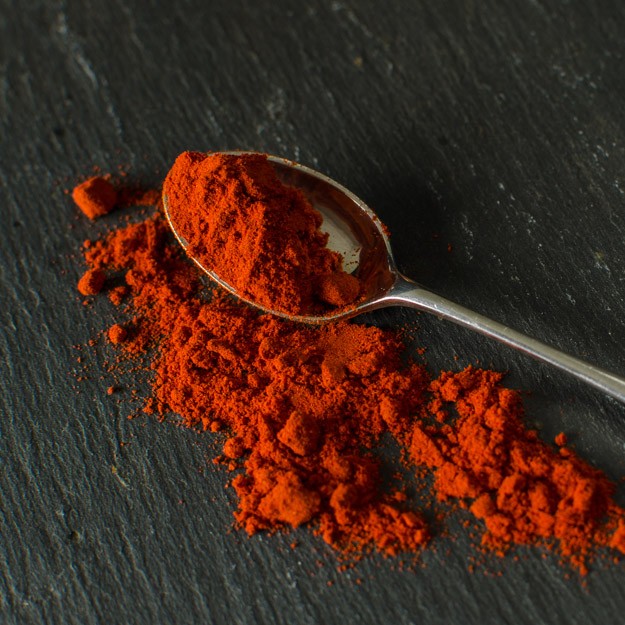
I was unsure whether or not to give paprika its own entry in the 40 spices line up. The reason being that there is no clear distinction between paprika and ground chilli; both are made from ground dried Capsicum annum varieties. I suppose the biggest difference would be in the heat level and therefore the usage of the spice, but even then there is great overlap; ranging from mild and sweet to hot and fiery. Although paprika is most often associated with Hungarian and central European cuisine (goulash and such like), it is also widely used in Spanish cooking where it is known as pimentón and this is where my favourite paprika comes from. Pimentón de la Vera is dried over smoking oak logs that impart a deep smokey flavour and aroma to the paprika. And of course, the delicious and versatile chorizo sausage is flavoured with Spanish pimentón.
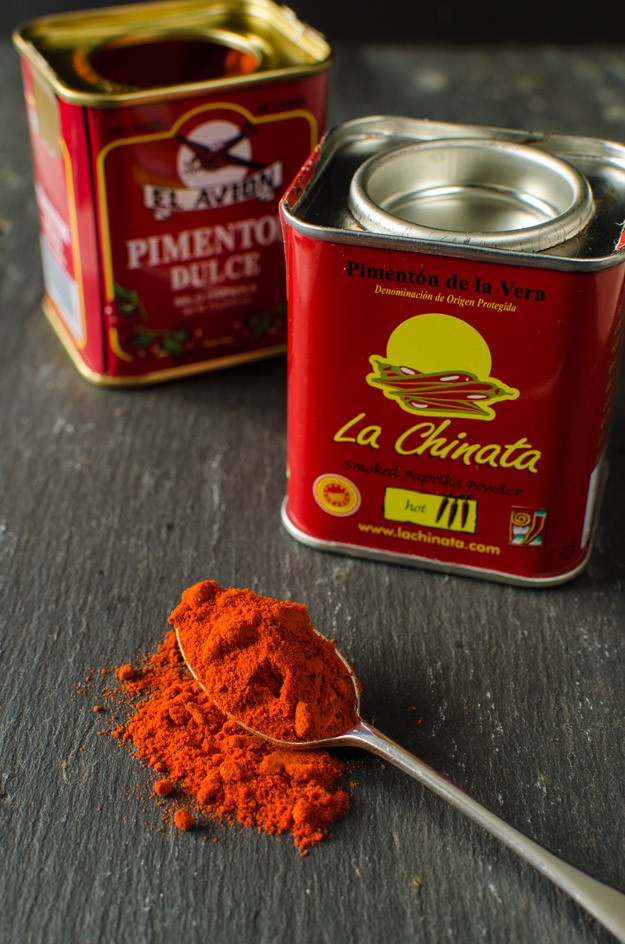
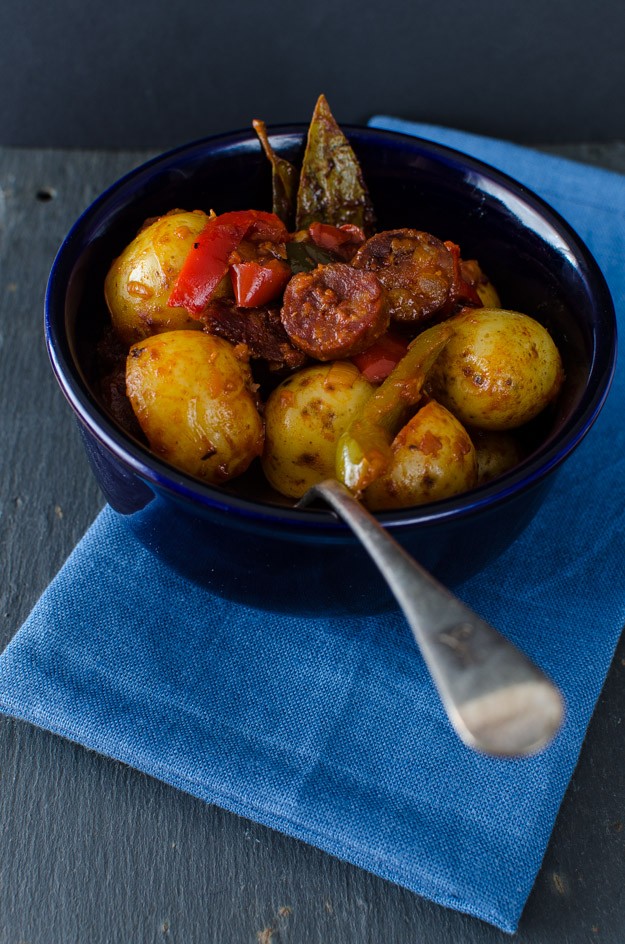
This Spanish dish is lovely as a simple one pot supper served with a green salad, or as part of a tapas type spread. This amount made enough for dinner for 4 people. I adapted this recipe from Sophie Grigson ‘Spices’.
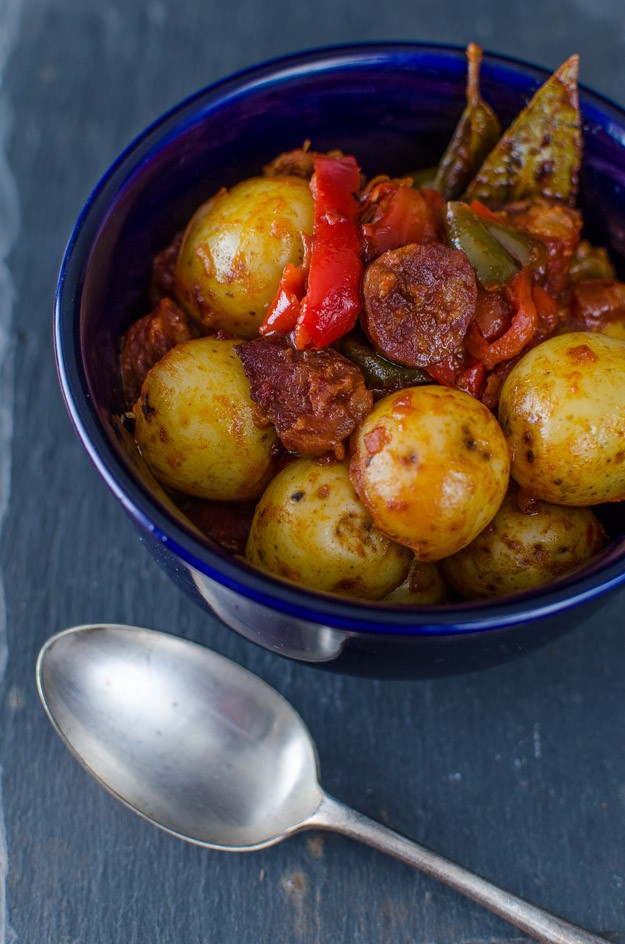
Potatoes with chorizo – Patatas a la extremeña
2 tablespoons olive oil (not extra virgin as the flavour will be overwhelmed)
250g chorizo sausage from a ring (not the ready sliced, ready to eat type), skinned and roughly chopped
1.5kg waxy potatoes cut into medium chunks (I used new potatoes)
2 onions, sliced into thin half moons
1 red pepper, cored, deseeded and sliced
1 green pepper, cored, deseeded and sliced
3 garlic cloves, peeled and crushed
1 tablespoon smoked pimentón (I used agridulce – medium hot)
2 bay leaves
seasoning
Heat the oil in a large heavy bottomed pan. Add the chopped chorizo and fry until oil is released.
Add the onions and season with salt, cook gently until translucent (about 15 minutes).
Add the rest of the ingredients with enough water to just come up to the top of the potatoes.
Bring to the boil and simmer gently until the potatoes are cooked (about 20-30 minutes depending on type and size).
The juices should of almost completely disappeared. Taste and adjust the seasoning.
It is ready to serve straight away but it also reheats very well the next day.
Category 40 Spices, Home | Tags: , spices | No Comments
-
November 12, 2014 by sarah
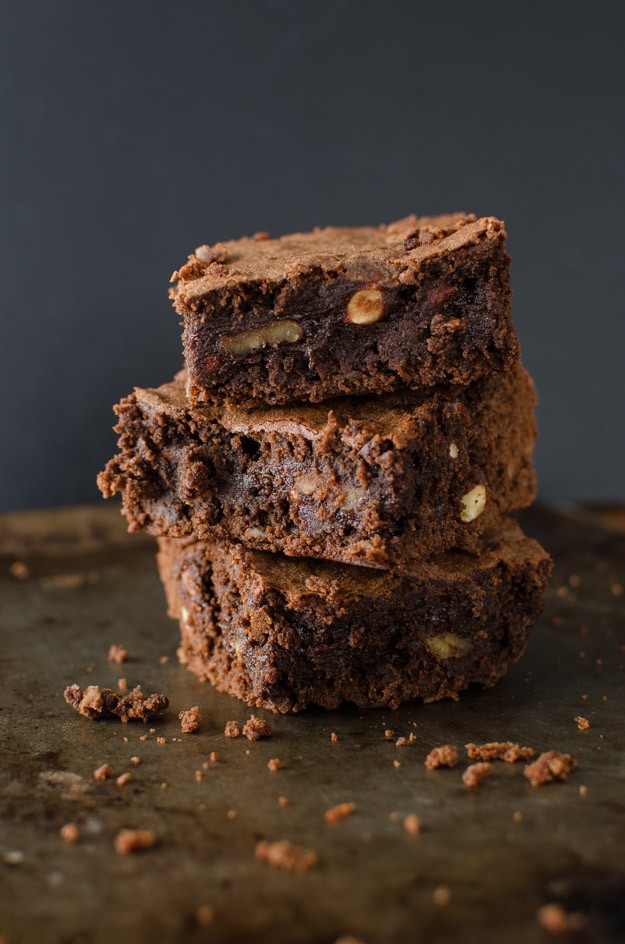
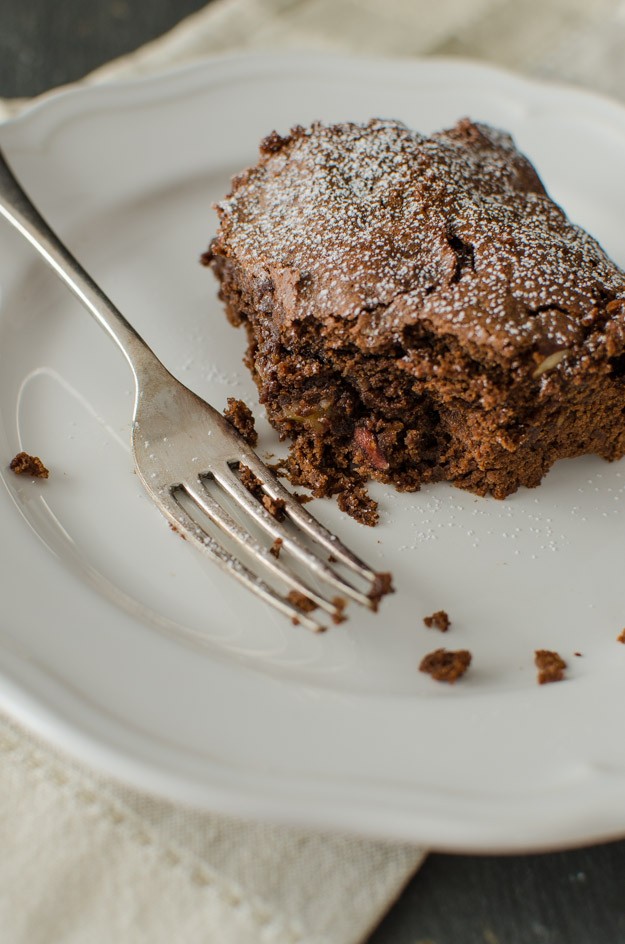
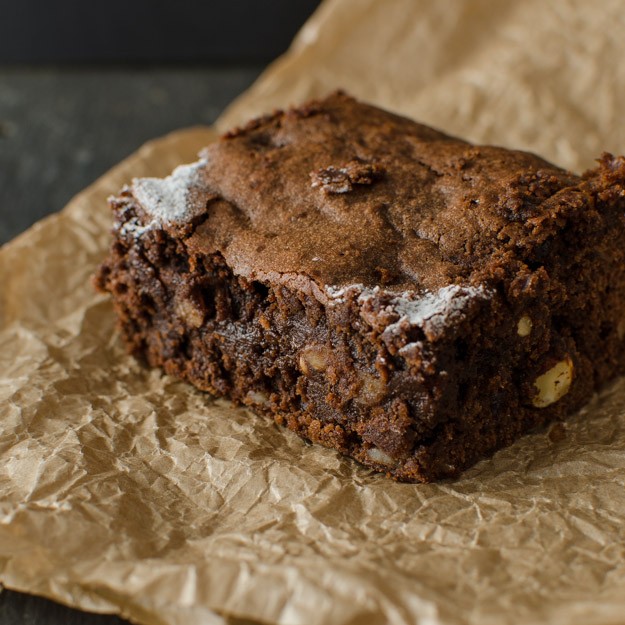
Truthfully I cannot call this recipe ‘best ever brownies’ or ‘perfect brownies’ because they are not. Despite trying several recipes over the years, I have yet to find one which is not just a little cakey especially around the edges. And that is not what a brownie is about; it must be soft, gooey and almost fudgey in the centre but with a pleasing crispy top. And I like mine to taste of CHOCOLATE! Nuts good, chocolate chunks brilliant, fruit no. I am posting this recipe because it is the closest I have got to home baked brownie perfection and it gives me something to work on next time. I don’t make them very often because they are expensive to make (all that good quality chocolate) and very bad for you (lots of butter and sugar). But what are holidays for if not for spoiling yourself. We ate the whole tray, myself and my husband, during the week we had away.
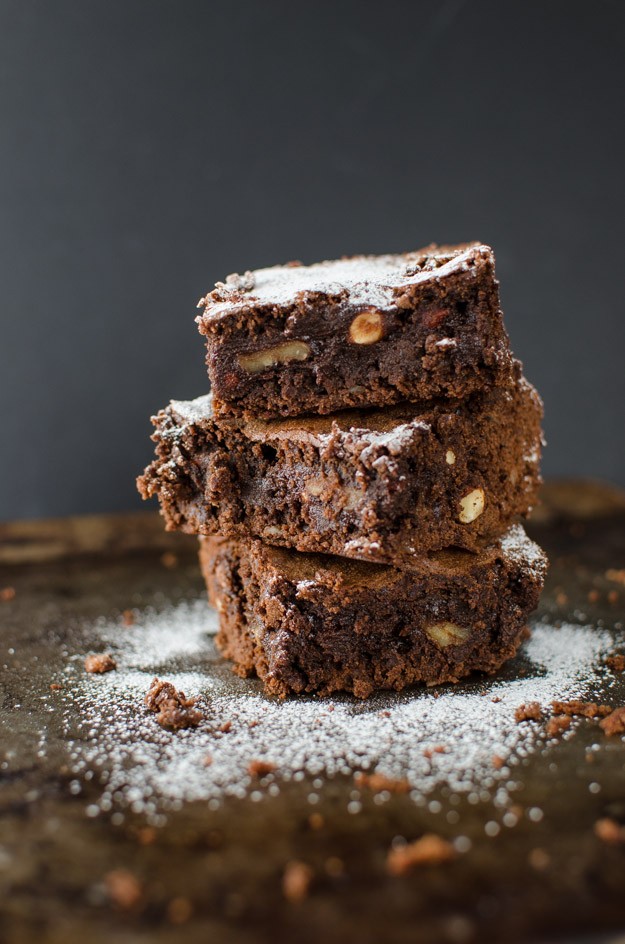
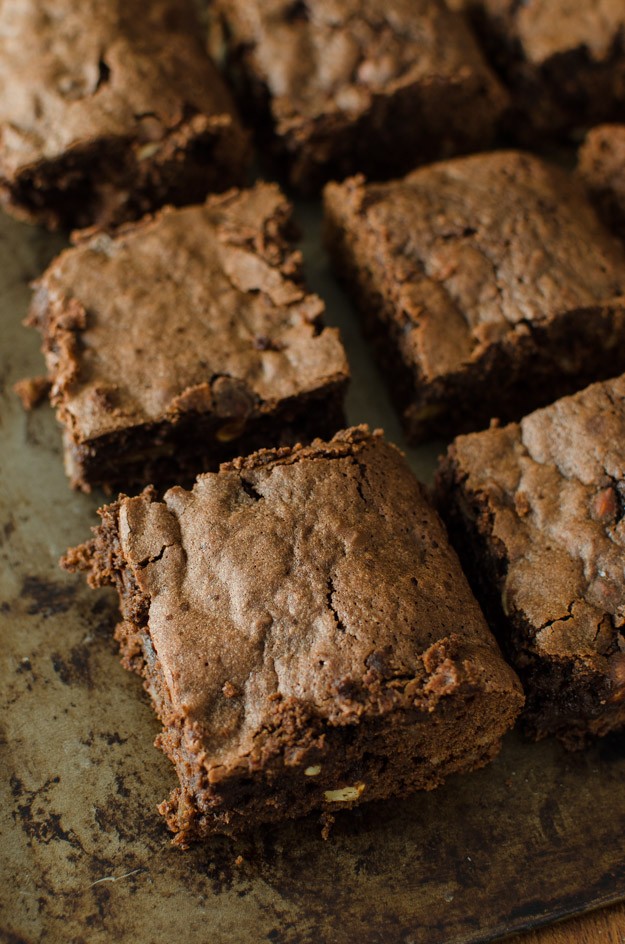
Next time I think I will try less flour, perhaps 100g, and half flour half coco powder. And perhaps try using some soft brown sugar.
Almost Perfect Brownies
125g butter, unsalted
160g plain choclate (good quality, coco solids greater than 60%)
200g caster sugar (golden if you have it)
1 tablespoon honey or golden syrup
4 medium eggs
150g plain flour
1/2 teaspoon baking powder
1 tablespoon ground coffee or instant coffee
150g mixed nuts – walnuts, almonds, pecans work well
Grease and line a baking tin about 20cm by 20cm (9″ x 9″) with baking parchment. Preheat the oven to 160º C fan.
In glass bowl over a pan of barely simmering water, melt the butter and chocolate, stirring occasionally until smooth and silky.
In a separate larger bowl, mix the dry ingredients except the nuts. Do not bother to sift the flour as you don’t want to add extra air.
Once the butter and chocolate is melted, take off the heat and stand until it is finger temperature (less than 30º C) otherwise you will scramble the eggs. Add the honey or golden syrup and then beat in the eggs one at a time. When well beaten, add this wet mixture to the dry and beat until mixed and then mix in nuts until evenly distributed.
Pour the brownie mix into the prepared tin and pop in the oven on a middle shelf.
Start checking after 20-25 minutes. You want to take the brownies out when any wobble is gone from the middle of the tin but not any more – it is better they are slightly under done than over. A skewer will never come out clean so you cannot use this test. Allow to cool in the tin before cutting into squares.
Category Home, Recipe Index | Tags: , baking, brownies, chocolate | No Comments
-
November 10, 2014 by sarah
This isn’t a recipe at all but I felt I needed to share this moment with you. I came across something I hadn’t eaten before right here in old blighty, in fact in the local town. Walking through town to post a letter one day, I noticed a new green grocer had opened up. There was an eye catching display of veggies in boxes outside in the late afternoon Autumnal sunshine but what caught my eye was these; fresh dates, also know as Barhi.
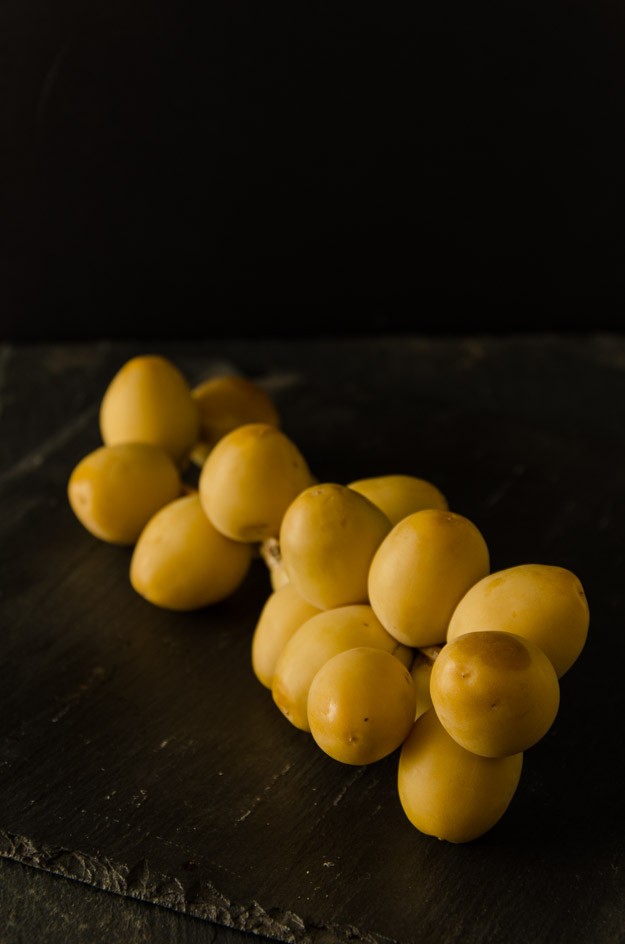
Barhi are an Arabic delicacy, typically eaten during Ramadan. Now, as far as I remember Ramadan typically falls in August so I don’t know if anyone would be buying them in October, but I did. I enjoyed eating them and I am glad for the experience to do so without travelling to exotic lands, but to be honest I don’t think I’ll bother again. When bitten into they are surprisingly crunchy like a good apple and immediately intense sweetness fills the mouth. But afterwards they have an astringency which I can best describe as biting into a seriously under-ripe banana. Perhaps once tried is enough for these.
Category Home | Tags: | No Comments
-
November 6, 2014 by sarah
After last years mildly disappointing foray into the world of quinces, I decided to brave another go. Especially as I was gifted a bag of freshly picked quinces via a friend. I am glad I gave them another chance because this year I think I finally got what quinces are about.
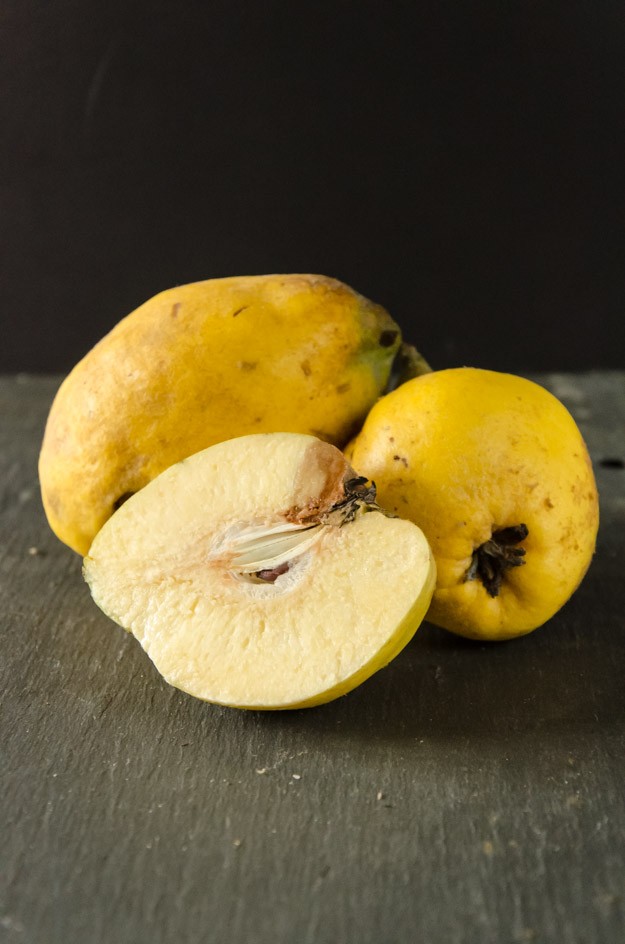
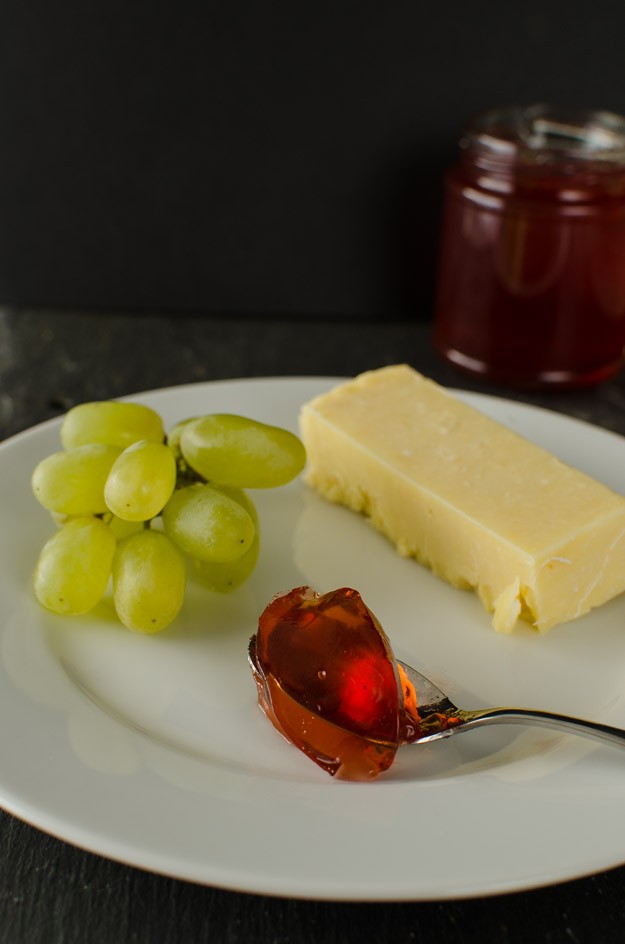
Quinces are like a cross between an apple and a pear but with an amazing floral fragrance. Larger than a typical pear, but with a similar shape, they have a bright yellow lumpy skin and are rock hard to cut with a grainy texture. Unique is what I would call them. They are an old-fashioned fruit and were once considered an aphrodisiac and sweatmeats made of quince were served at the end of tudor banquets to help with digestion (and quite possibly the former mentioned effect too). I think what is different about this year’s quinces are that I left them in the fruit bowl for a couple of weeks; they developed some brown soft spots but their famous perfume was immediately apparent. I was a little short of time once the quinces were ready so I decided to try making quince jelly as I can make jam/jelly while listening to lectures for my course; multi-tasking! I was really surprised by the beautiful coral pink jelly that emerged. It wasn’t this colour until being boiled with the sugar. And I cannot stop eating the jelly. Mainly on its own straight from the jar, but also with cheese and real ham or as a filling for a sponge with whipped cream.
Now I understand the special-ness of quinces, some recipes I need to try in the future include a flavoured liqueur called ratafia, poached with spices and adding them to apples in pies and crumbles. There are also some intriguing Persian recipes out there too. For more inspiration see historic food and some of the recipes on British Larder such as quince curd, chutney and crumbles.
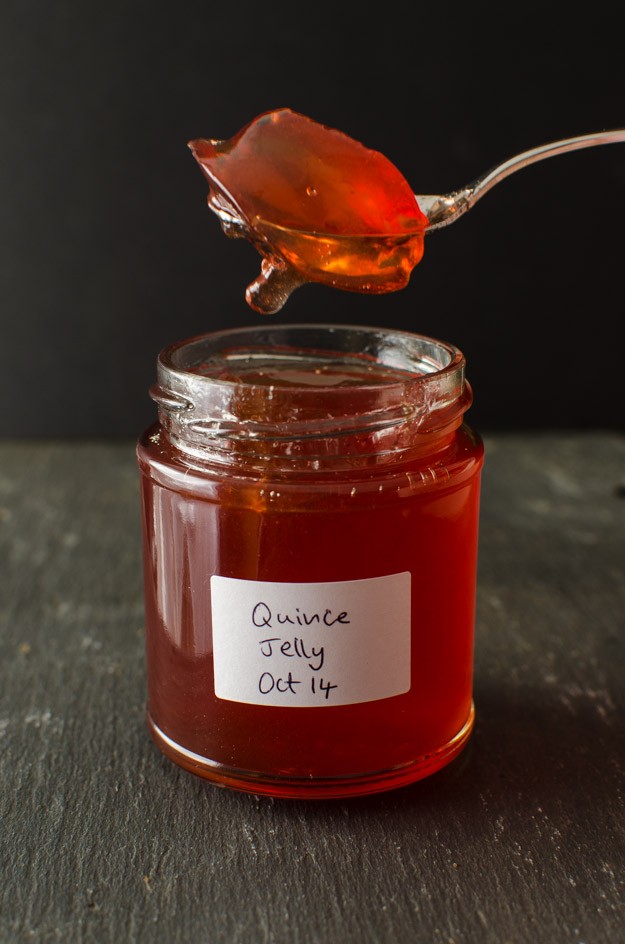
Quince Jelly
1-2 kg quinces, ripe and fragrant
thinly pared rind and juice of 1 lemon
granulated sugar
Wash the quinces, rub off the soft down on their skins if present and remove bruised or blemished parts. Roughly chop the whole quinces, skin and cores, and place in a large pan with the lemon rind. Add enough to water to just come to the top of the quinces. Simmer gently for an hour or so until very soft. Stir in the lemon juice.
Strain the whole lot in a jelly bag (sterilised with boiling water) overnight. I squeeze my jelly bags a little to get more juice out and I do not find it affects the clarity of the the final product (if you read about making jellys then squeezing the bag is supposed to be forbidden as it gives a cloudy jelly).
Measure the juice and pour into a clean pan. Add 450g of granulated sugar for every 600ml of juice. Heat gently, stirring frequently until the sugar is dissolved. The bring to the boil and boil vigorously until setting point is reached – I found it only took about 10 minutes. Skim, pot into hot sterilised jars and seal.
Category Home, Recipe Index | Tags: , others | No Comments
-
November 2, 2014 by sarah
Last week we had a lovely relaxing holiday in sweet little cottage in the middle of the Suffolk countryside. It was a perfect antidote to our rushed and full every day lives and a change from our usual holiday locations of exotic and busy. I couldn’t do ‘nothing’ all week so we had a few day trips out to the coast at Aldeburgh, Sutton Hoo, the cute villages of Long Melford and Lavenham and some dog walks. Plus I learnt how to crochet (2 different types of flowers), read several books (finished off the Harry Potter series I have been reading this year) and started to teach myself mindfulness (more practice required). We also collected bullaces (a type of wild plum – perfect for a variation on sloe vodka), medlars (recipes to come once bletting has occurred) and lots of apples to be pressed to cider. And further foodie exploits at a fantastic market in Lavenham where we stocked up cupboards with special honeys and the freezer with wild game (teal, rabbit, wild duck, pigeon, venison). Also some lovely meals out at a pub within staggering distance, The White Horse at Edwardstone, and smart well cooked modern French restaurant in Lavenham , The Great House. A thoroughly relaxing week.

Bridge sign at Coggeshall
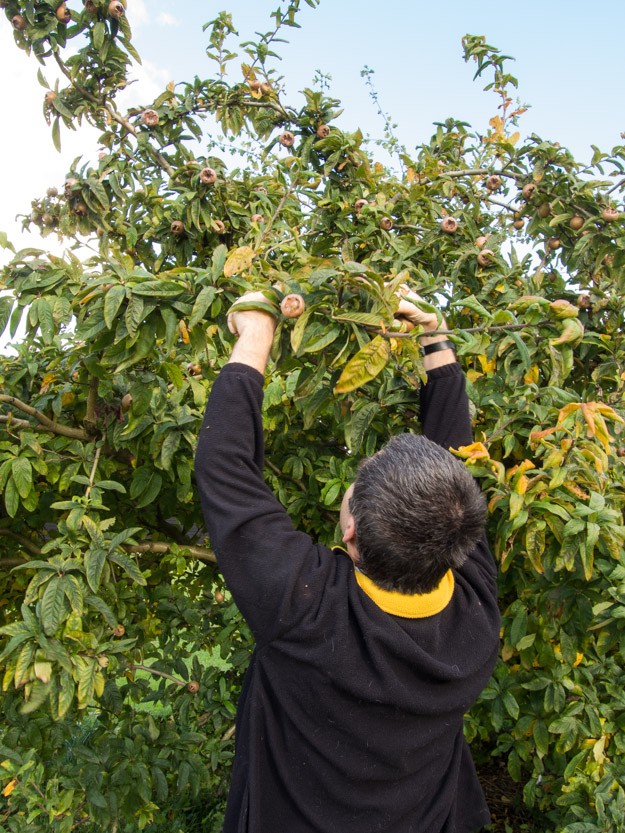
Jim picking medlars
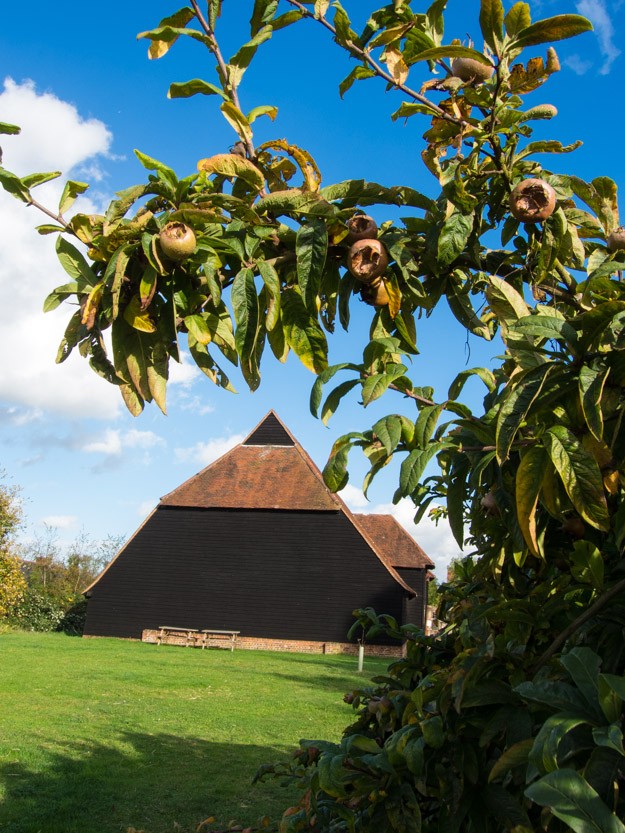
Medlas at Coggeshall Barn – 13th century monastic barn

The beach at Adlesburgh

Crooked house in Lavenham

Jim putting in some good hard work plus dog
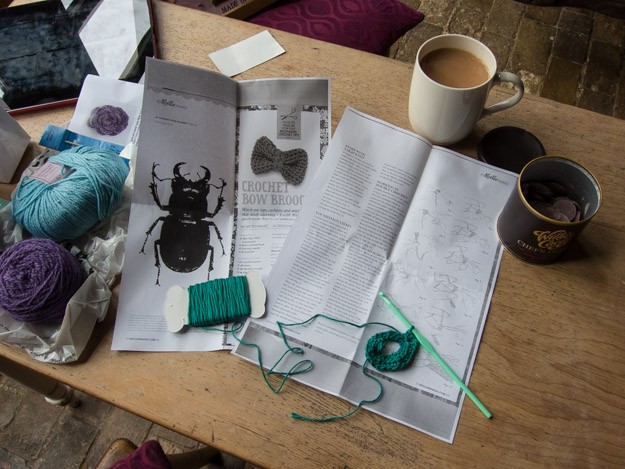
Learning to crochet – with tea and chocolate

Jim and I outside Ickworth (National Trust)
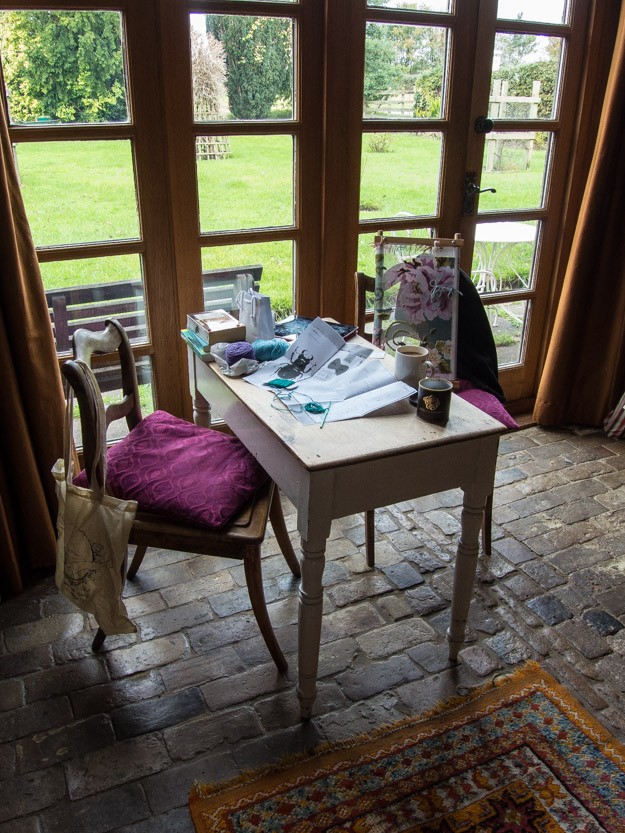
My work table for the week – tea and chocolate too
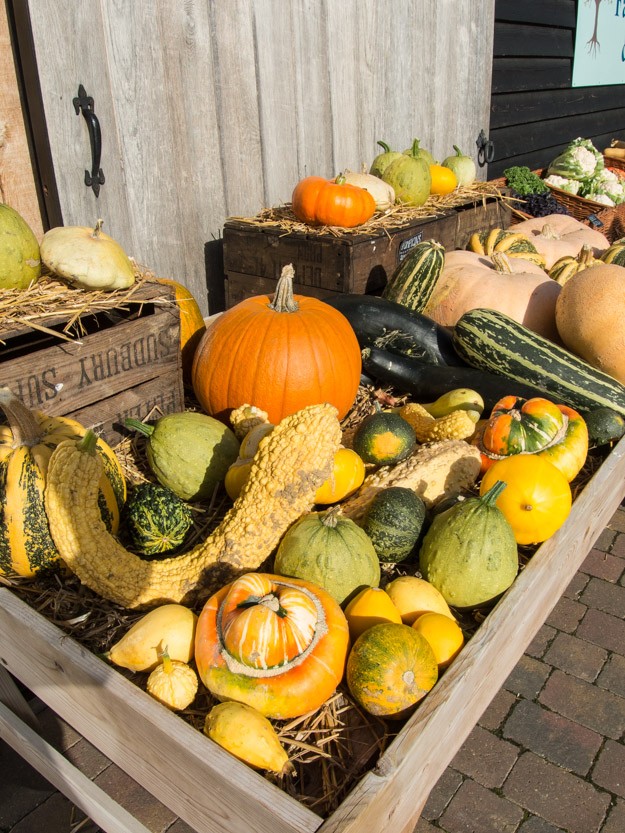
Lovely display of pumpkins at farmers market
Category Home, Live life | Tags: | 1 Comment
-
October 29, 2014 by sarah
A disaster occurred the Keir household last month – I let the drinks cabinet run out of Kahlua! I should explain this idiosyncrasy A white Russian is my husbands favourite drink for winding down, and although we don’t drink that much (no really, despite all the homemade wine), his little weekend cocktail keeps him happy. I think it is partially due to feeling more like ‘The Dude’ a.k.a. Jeff Bridges in ‘The Big Lebowski’, though personally I think the cat would be a better Jeff Bridge dude double.
Although this recipe is not a quick fix for absent Kahlua, it was easier than battling through the supermarket AND it is infinitely customisable – more sugar/less sugar/more vanilla etc, no problem. Just use this ‘recipe’ as a guide and experiment in liqueur making. Non-perfect concoctions are still drinkable and can still be modified if found lacking.
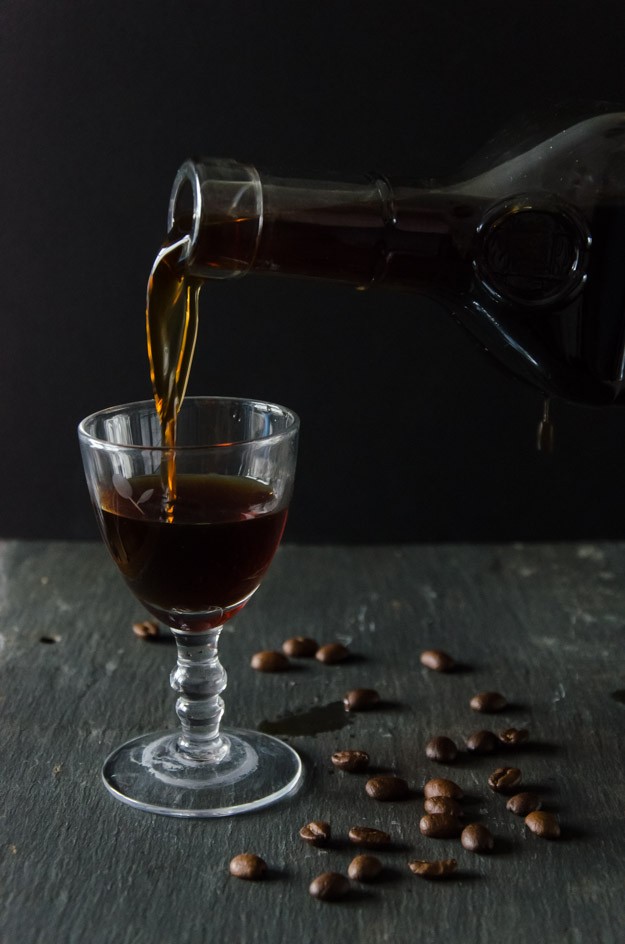
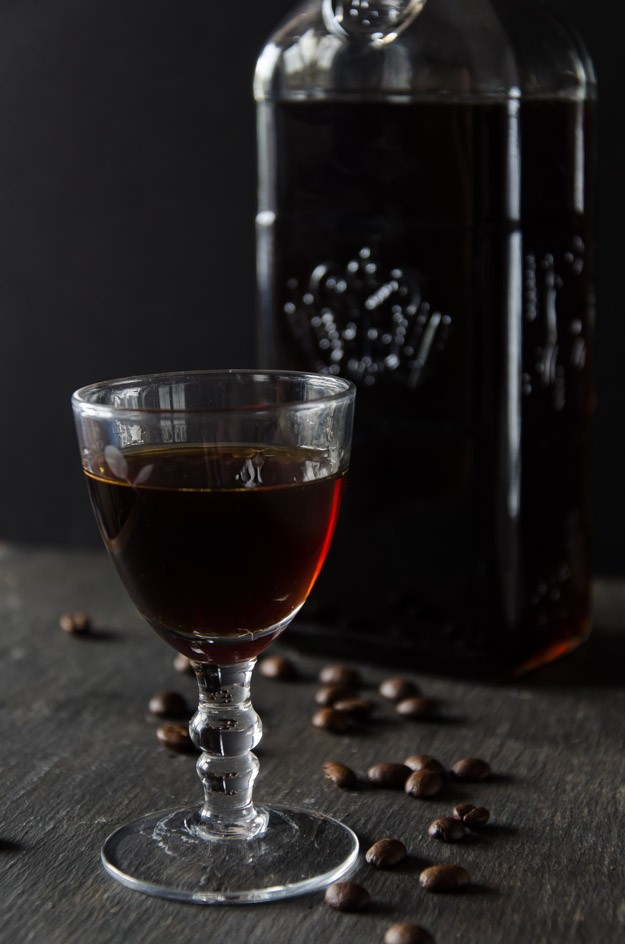
Homemade Coffee Liqueur
2 handfuls roasted coffee beans, crushed or roughly ground
100g soft brown sugar
250ml good quality vodka
250ml rum
1 vanilla bean
In a large jar with a well fitting lid and wide top. I used an IKEA Korken jar which has a flip up lid with rubber seal (like a Kilner jar but much cheaper).
Place all the ingredients into the jar and shake. Shake the jar daily for a week, weekly for a month then leave to steep for a month or two more. I recommend tasting it before getting to this stage to check the sugar levels etc. When deemed ready, or required, strain the liquid through a fine muslin or clean/new pair of tights into a clean bottle with a stopper.
Enjoy!
Category Home, Recipe Index | Tags: , others | No Comments
-
October 25, 2014 by sarah
After watching ‘The Great British Bake Off’ and lamenting the end of the current series, I decided to challenge myself to make something something from the series that I hadn’t attempted before. My husband always chuckles at me when we watch GGBO because I tend to make comments like ‘that’s wrong’, ‘that’s going to fail’, ‘I wouldn’t do it like that’ etc. However I don’t think anyone in the real world would make their own filo pastry – that is what machines with big rollers are for! On our honeymoon on Crete we did watch an eighty-odd year old man make and stretch filo pastry by hand over a huge wooden table in his bakery and it was a joy to behold. Anyone else though, just go to the supermarket!
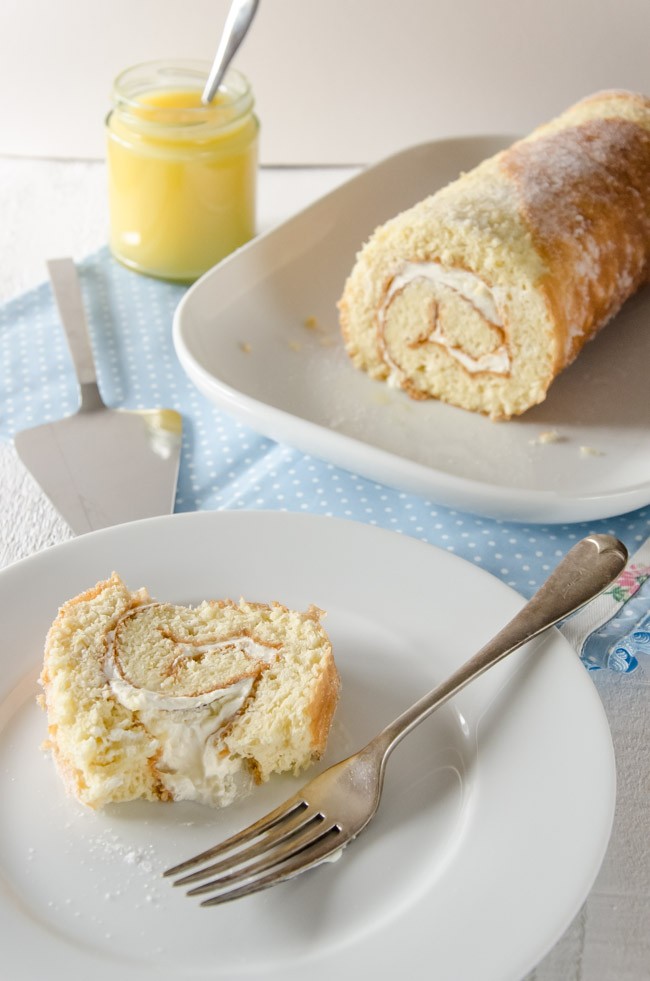
But back to the task in hand, in other words the Swiss roll. I have to admit that even I, a keen baker, has never made a Swiss roll before. Why, when Marks and Spencer make a perfectly good one in all yummy flavours. Well, I can tell you now (after the cake is made and entirely eaten) that homemade always tastes best; soft, moist and no nasty chemicals to make it stay that way for multiple weeks on a supermarket shelf! Have a go yourself.
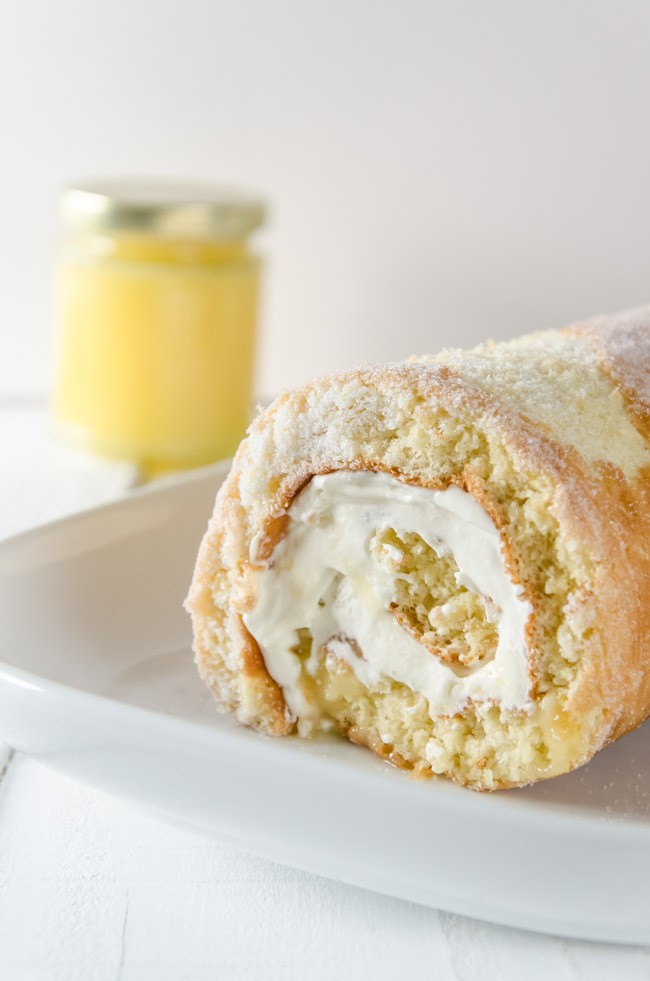
This recipe is from ‘Merry Berry’s Ultimate Cake Book’ from BBC books. It worked great and I achieved that nice tight spiral – Mary Berry would be proud! Only thing wrong is that it stuck to the parchment paper as it cooled, despite generous liberations of caster sugar, so the skin partially peeled off. I fear I would of been marked down because of that.
Swiss Roll
Makes one Swiss roll – feeds 6-8
5 medium eggs (weight 250g minimum) at room temperature
100g caster sugar
finely grated rind of 1 lemon
100g self-raising flour
4 tablespoons lemon curd
100ml soft whipped double cream
Preheat the oven to 220 ºC/fan 200 ºC.
Line a 33 x 23 cm Swiss roll tin (I used a roasting tin of the same measurements) with baking parchment.
Whisk the eggs, sugar and lemon rind in a large bowl until the ribbon stage (took me about 10 minutes with my hand mixer).
Sift over the flour and then carefully fold in . Pour the mixture into the prepared tin and tip the tin so that the cake mix is evenly spread and reaches the corners.
Bake in the preheated oven for about 10 minutes until the sponge is light golden in colour and beginning to shrink away from the edges of the tin, but be careful not to overcook otherwise it will dry out ande be impossible to roll.
Place a piece of baking parchment a little bigger than the size of the tin on the work top over a tea towel. Sprinkle the paper with caster sugar.
Invert the cake on to the paper while still warm, remove the paper it was baked in, trim off the edges (a cooks perk – you get to taste it first) and score a mark 2 cm from the shorter edge, but do not cut all the way through. Roll up the cake firmly from the cut end and leave to cool rolled up.
Only fill when completely cool. Unroll, spread with the lemon curd then the cream and roll up tightly again. Sit on the serving dish with the seam side downwards.
Category Home, Recipe Index, Uncategorized | Tags: , baking lemons, egg recipes, eggs | No Comments
-
October 22, 2014 by sarah
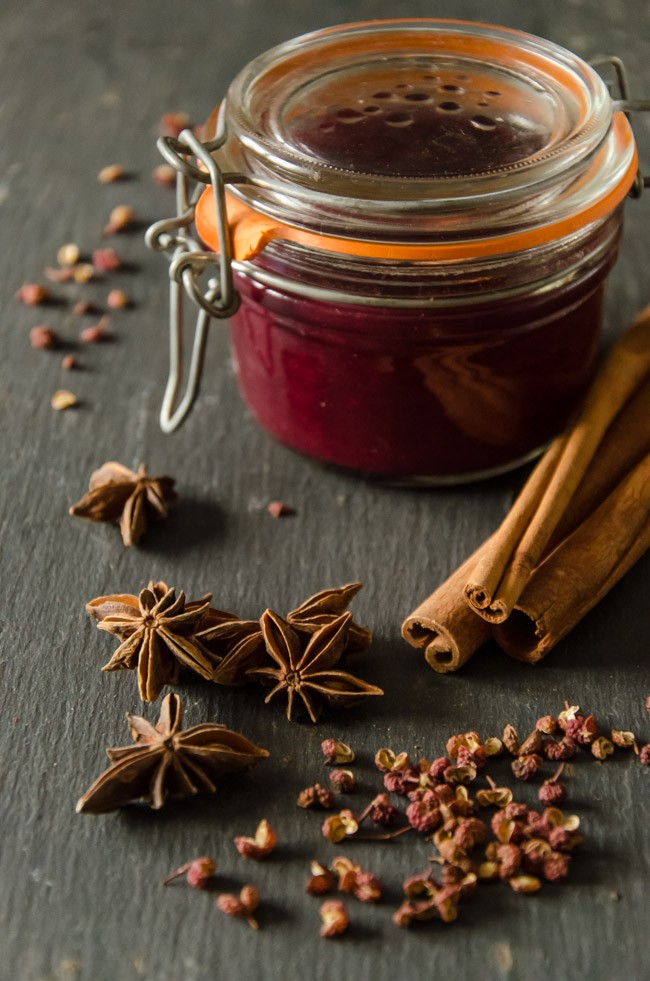
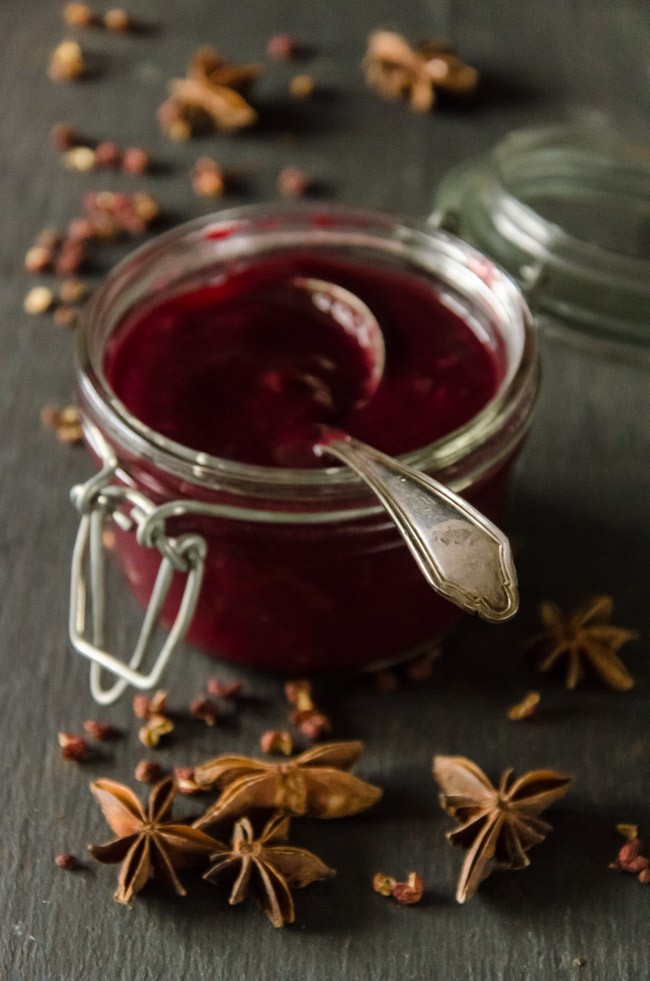
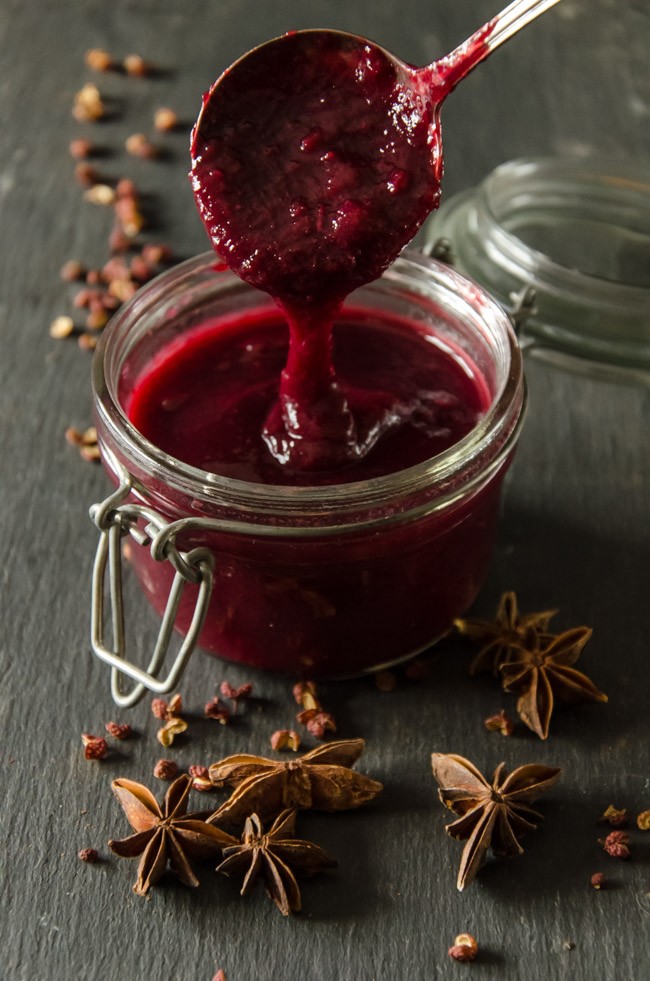
While clearing out the freezer to make space for this autumn’s harvest, I came across a couple of bags of stewed damsons from last year’s gut. While racking my brain for some more unusual damson recipes, I did a Google search and found this recipe on Love and Olive Oil. The recipe was in typical American inaccurate slash annoying cup measurements and lacked any spices so I measured and added some spices and this is what I came up with. I am totally smitten with deep plumy red colour. It tastes like a cross between a fruity HP sauce (mmmmm, my favourite chip sauce) and a less spiced chutney. Apart from chips, I will be trying it with grilled dark meats and especially venison steaks. I need a trip to the supermarket then. Again.
Asian-Style Damson Sauce
Makes 4 small jars.
1kg damsons
1 small onion or half a large one, finely chopped
2 cloves garlic, finely chopped
1″ fresh ginger, peeled and finely grated
200g soft brown sugar
125ml cider vinegar
1 teaspoon salt
tied into muslin – 3 star anise, 1/2 teaspoon black peppercorns, 3 dried hot chilies or 1/2 teaspoon chili flakes, 1/2 teaspoon schezuan pepper, 1/2 teaspoon fennel seeds
Place the damsons in a large saucepan and add 100ml water. Cook for 15-20 minutes until very soft. Allow to cool a little then, wearing rubber gloves, pick out the stones. Alternatively, press the stewed damsons through a sieve and discard the stones.
In the large pan with the de-stoned damsons, add the rest of the ingredients and bring to the boil.
Simmer gently for about an hour, stirring frequently so the bottom doesn’t catch, until the sauce is thick and syrupy. It is not like a chutney so do not expect to be able to draw a line through it.
Sterilise some small jars with vinegar proof lids. Using a funnel, fill the warm sterilised jars to within half a centimeter of the top of the jar and tighten the lids. Leave to cool entirely before labelling. Store for a couple of months before using and once a jar is open, store in the fridge and use within a month.
Category Home, Recipe Index | Tags: , Asian, damson, others, sauce | No Comments
-
October 17, 2014 by sarah
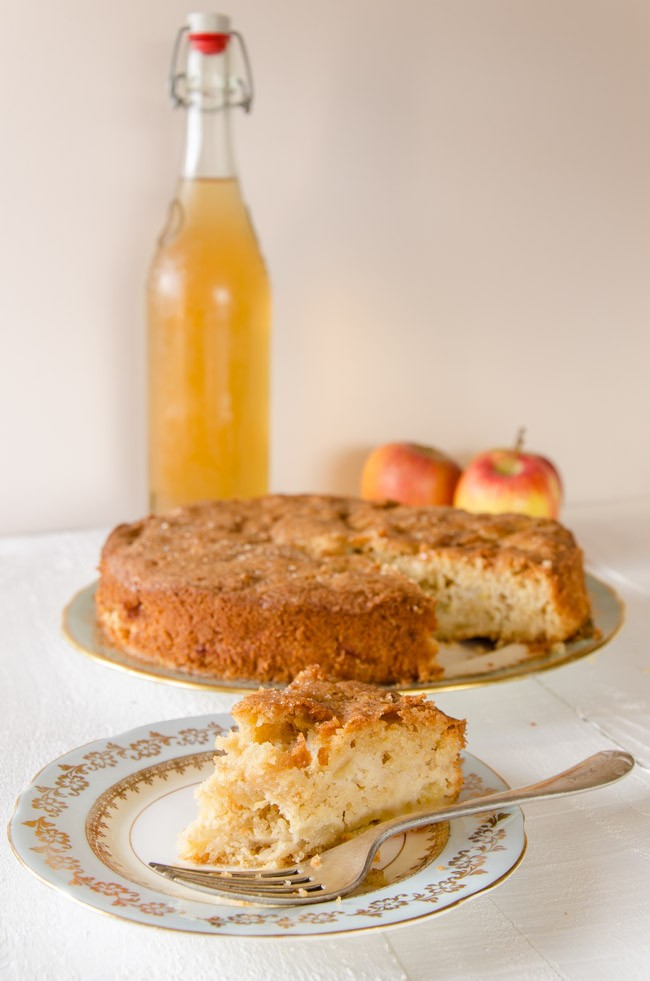
This recipe makes wonderful use of the windfall apples that are plentiful at this time of year. These are apples that are ugly with blemishes, or slightly bruised from falling off or being picked, and not suitable for storage. I made this recipe with apples I picked from a hedgerow tree which is on my drive to work. The apples are crisp, juicy and sweet and very similar to a Golden Delicious but not at all fluffy in texture like the worst of the ones in the supermarket. Unfortunately we didn’t gather enough this year for it to be worth making cider so I used some of last years very fine cider to add to this cake. Everywhere was telling me that this was a bumper year for apples; it wasn’t for me. We have 5 bottles of last year’s cider left so when they are drunk (and always savoured), I will have to resort to buying some. Oh well, hopefully I can find a local supply of Mill Whites Rum Cask cider – lovely!
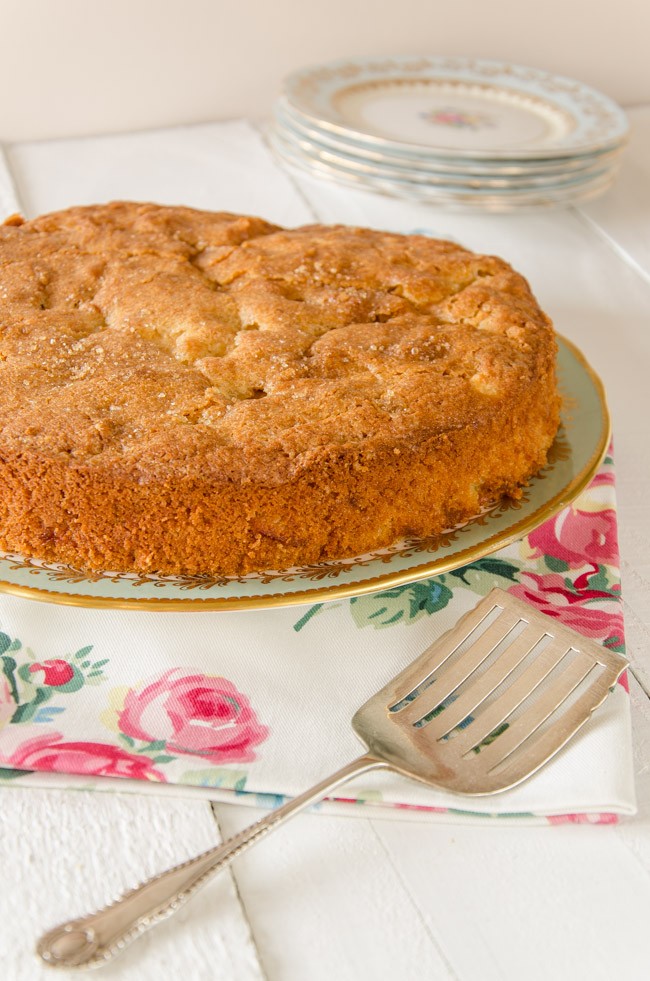
This recipe is taken from ‘The Great British Book of Baking’ by Linda Collister. This cake doesn’t keep very well because it is very moist so eat up! It is absolutely delicious warm, served with cream/custard/ice cream or all three if you are of that persuasion. The lovely appley chunks are counter balanced by the tang of the cider in the background – you are going to love it!
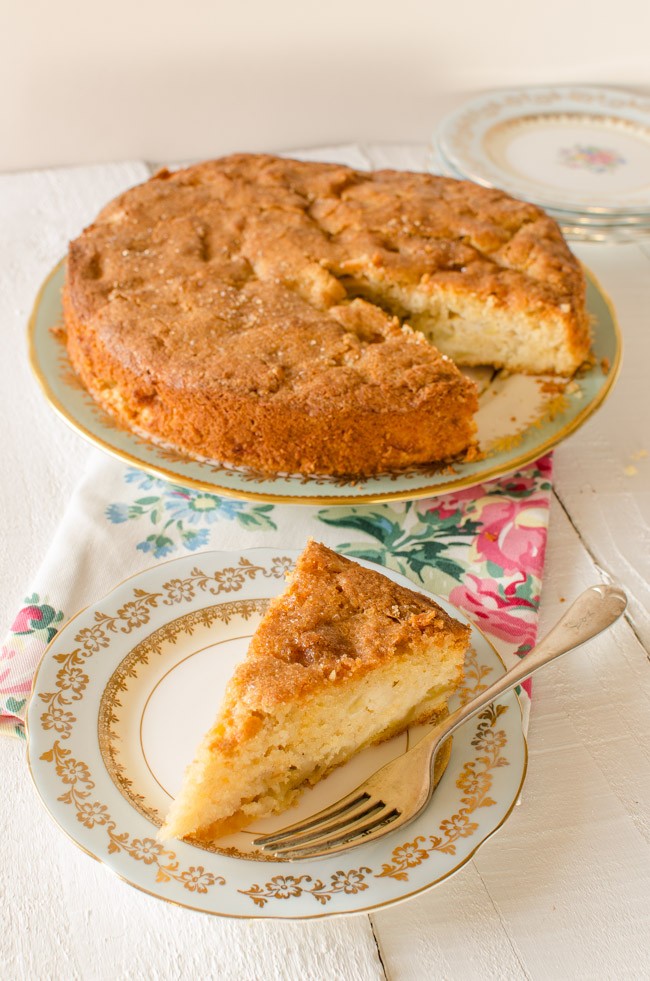
Cider Apple Cake
175g soft unsalted butter
175g light brown sugar
3 medium eggs, at room temperature
250g self-raising flour
100ml cider
about 500g tart eating apples, peeled, cored and diced
2 tablespoons of demerara sugar or flaked almonds, for sprinkling
Grease a 23cm springform tin and line the base with greaseproof paper.
Preheat the oven to 180 ºC/ fan 160 ºC.
Cream the butter and sugar in a large bowl until light and fluffy. Beat the eggs and add gradually to this. If it looks like it is curdling then add a spoonful of the flour.
Sift over the rest of the flour and fold in gently.
Add the cider and apples and mix well until thoroughly combined.
Spoon the mixture into the prepared tin, level the top and sprinkle over the demerara sugar or flaked almonds.
Bake in the preheated oven for 45 minutes to an hour – it is ready when a skewer comes out clean.
Cool in the tin for 10-15 minutes then completely cool on a wire rack or eat while warm.
Category Home, Recipe Index | Tags: , apple, apples, baking, cider | No Comments
-
October 12, 2014 by sarah
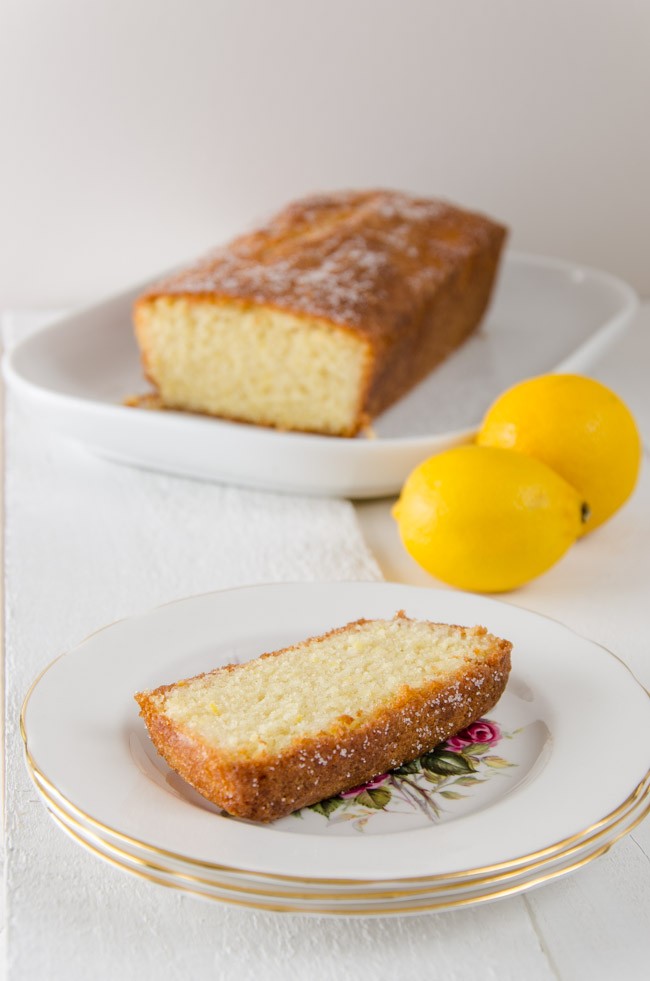
I always have lemons in my fruit bowl. Their zest and/or juice flavours and complements a huge range of dishes from around the world, sweet or savoury. You can probably tell from the number of lemon recipes on this blog that I am a lemon fan. Added to a simple sponge mixture, the zest lifts the cake to heavenly levels and a lemon juice and sugar drizzle ensures the cake is always moist to the last slice with a scrumptious crunchy sugar crust. Plus I enjoy looking at their sunny brightness in the fruit bowl.
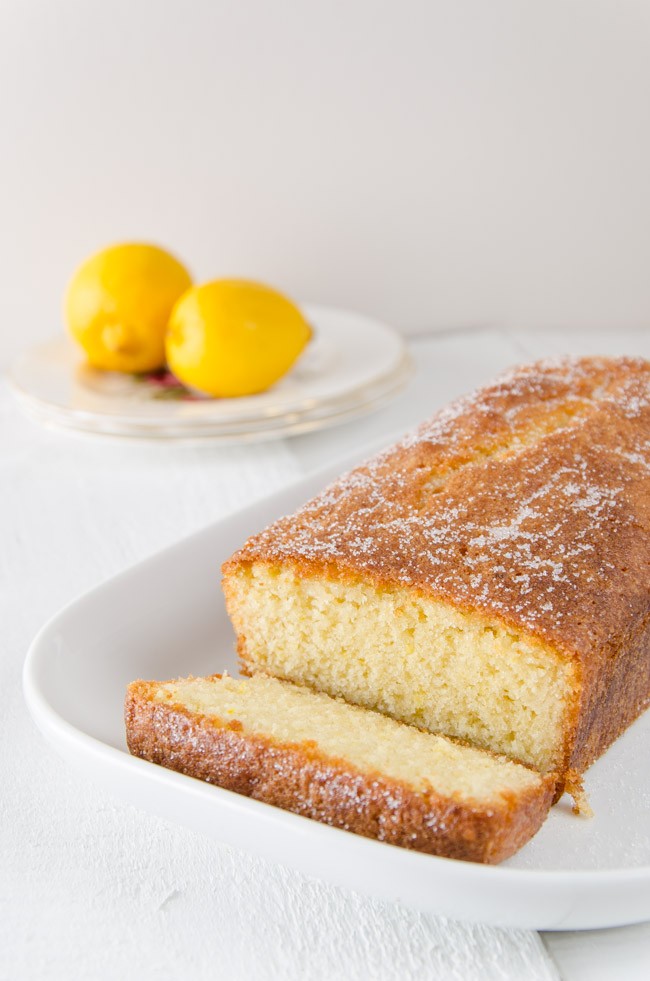
I can’t remember where this recipe came from; it is hand written in my recipe collection book in amongst other recipes written when I was a student. I am sure it is the kind of recipe found on the side of a bag of flour or tub of baking powder. And it is so simple, it can be put together while cooking ‘proper’ dinner, not that I against having cake for dinner!
Luscious Lemon Drizzle Cake
125g soft margarine
175g caster sugar
175g self-raising flour
pinch of salt
1/2 teaspoon baking powder
4 tablespoons milk
3 medium eggs
grated rind of 1 lemon
Syrup – 3 tablespoon fresh lemon juice
– 3 rounded tablespoon icing sugar
Set the oven to 180 ºC/fan 160 ºC. Grease and line a 2lb loaf tin.
Cream the margarine and sugar until light and fluffy. Crack the eggs over the top and sift over the flour, salt and baking powder. Add the lemon rind and milk. On low speed with a hand mixer, mix until well mixed but do the last bit by hand to ensure it is not over mixed.
Pour in the prepared tin, smooth the top and bake in the preheated oven for 40-45 minutes until firm and an inserted skewer comes out clean.
Mix the syrup ingredients together and pour over the cake as soon as it comes out of the oven and is still warm.
Leave to cool totally in the tin.
Category Home, Recipe Index | Tags: , baking, lemon, lemons | No Comments


