RSS Feed

‘Making’ Category

  1. More jewellery making!

    June 5, 2016 by sarah

    I spent another enjoyable day making jewellery, this time using something called ‘silver clay’. It is silver held within a binding compound which allows you to mold, sculpt and generally mess around with it as it handles like a clay. But when fired (which can be done with a blow torch for small pieces), you are left with something which is 99% pure silver! Isn’t that brilliant!  It is much easier to pick up than traditional silver smithing techniques and I can see many applications of this to play with but I don’t think it would replace traditional techniques: it is complementary. And probably a dangerous habit considering the cost!

    feather


    I have a small amount of clay left so I am thinking of making some small charms, perhaps even a honey bee!


  2. A jewellery making weekend

    May 17, 2016 by sarah

    I was wondering at the weekend, while on a silver jewellery course, do I need another craft or hobby? The answer should probably be no but I can’t stop making things! I find it fascinating finding out about new crafts to do and make, especially if they have an ancient basis. I have long wanted to do some jewellery making; I dabbled in beading to make my jewellery for my wedding. But I wanted to learn how to do it properly. So I spent this past weekend on a silver jewellery making course with Stephen O’Keeffe at Missenden Abbey. I can highly recommend this course and the sketching with water colours I did last year; in fact, probably any of their courses would be great fun to do and I circled at least half a dozen in the brochure. The sad thing is I have just received an email saying that they are closing down and this is the last year they are running courses. Very sad, but then they are not advertising properly or to the right people.

    jewellery


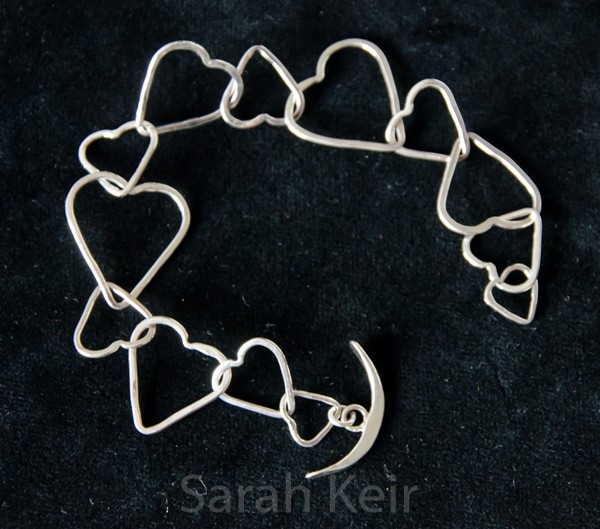
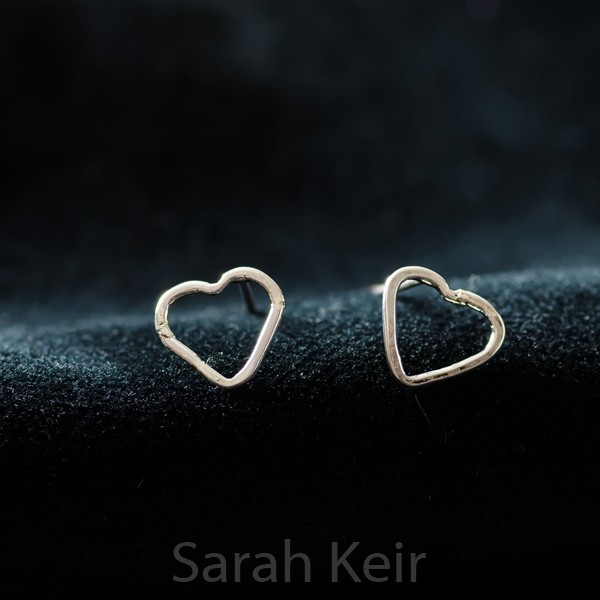
    This is the silver bracelet that I spent most of the weekend making. Can you believe it is made only from silver wire? To make this the wire had to be soldered into rings, linking them together as I went along, and then they were shaped on molds (different sized bolts) – this was the most delicate bit and I snapped a couple of the hearts when trying to get a nice sharp shape. Finally I made the toggle catch – it looks like a ships anchor! Actually the mini heart earrings I made to go with it are even harder to make and fiddly – I nearly melted them while joining on the backs!

    jewellery-2


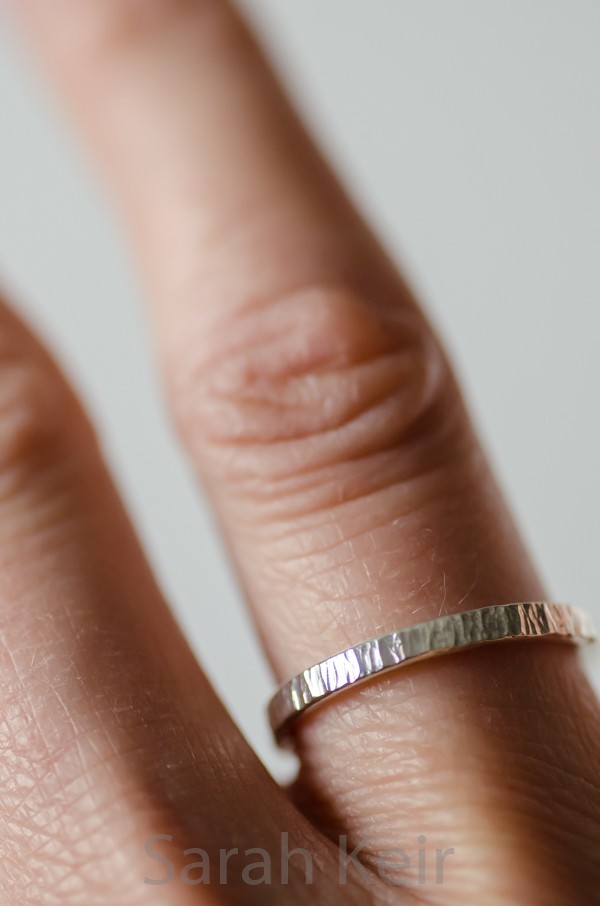
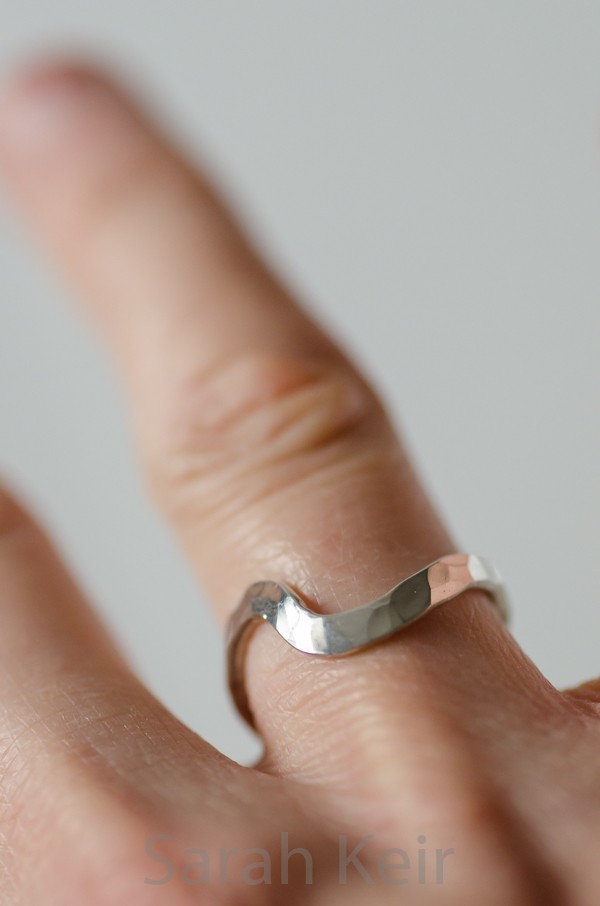
    Our first project was a ring which is actually surprisingly easy to make but with my thin fingers, the ring had not been hammered to proper thickness and pattern all the way round before it was already too big. So the kink was put in which actually means it sits better on my finger. I don’t think I could be a hand model though!

    jewellery-6 jewellery-7


  3. Chocolate immersion weekend!

    December 23, 2015 by sarah

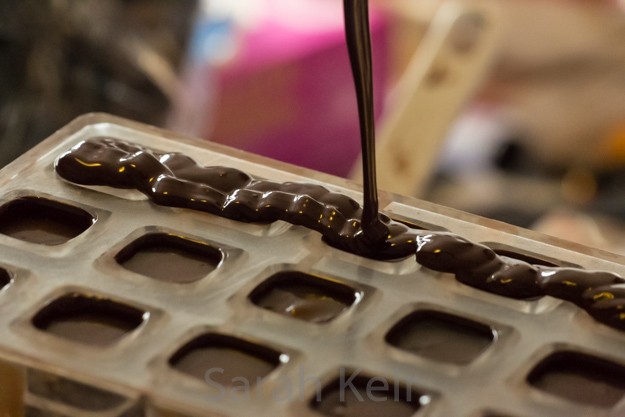
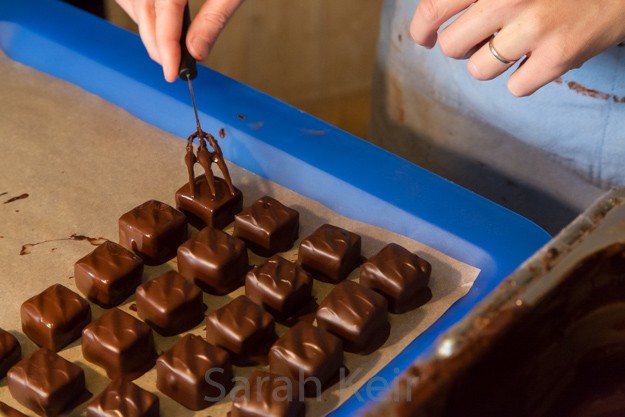
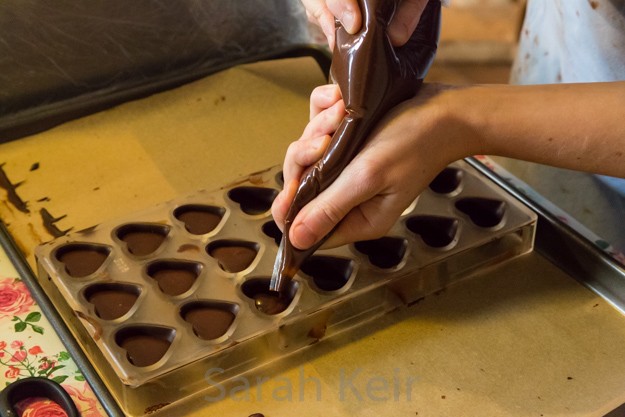
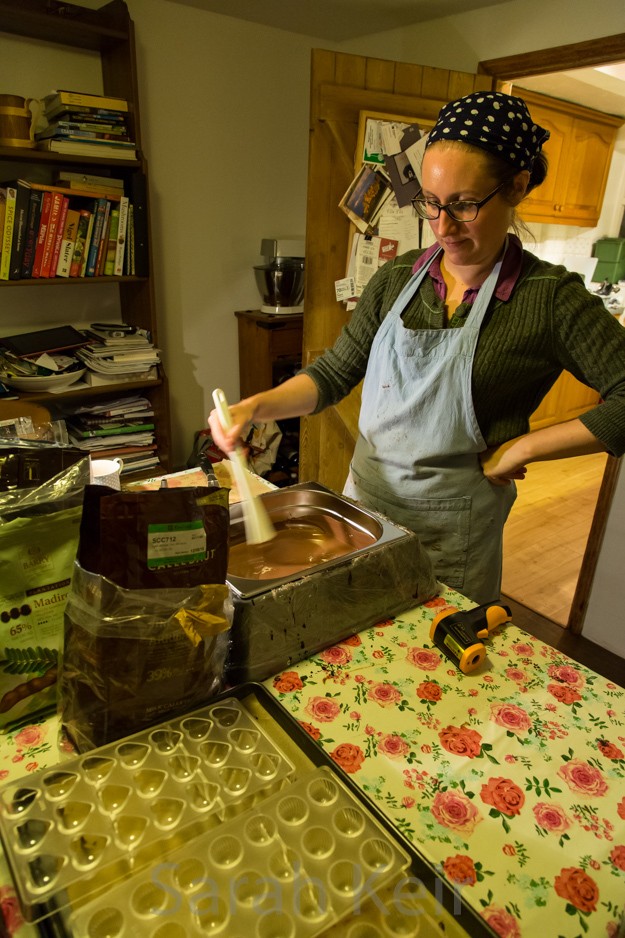
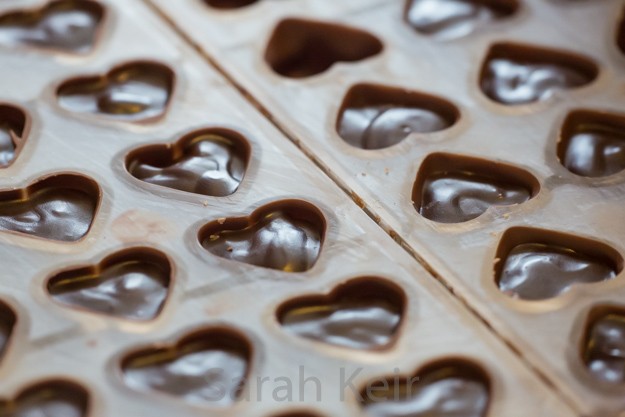
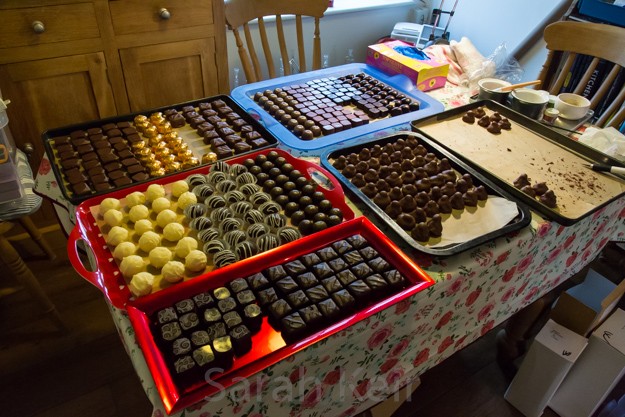
    I was really busy at the weekend. And I mean seriously busy. It was my chocolate immersion weekend! I decided that as part of my teaching myself the art of chocolatier, immersing myself in the chocolate making process from start to end would be a great way to learn. Eight kilograms of chocolate and 25 hours later, I feel I am happy to temper dark, milk and white chocolate, make molded chocolates, hand dipped and rolled truffles and improvise chocolate recipes to get my flavours nailed. And I definitely learned too; I need to charge more, I need to estimate weights for boxes of chocolates better and I need to reduce wastage especially on molded chocolates. But the seconds are not going to waste – I am sick of eating them over the past few days so I am going to take the remainder to work tomorrow for our Christmas Eve lunch party. And for all those who didn’t get any this year – get your orders in early next time!

    Happy Christmas one and all, and may it be a chocolately one!

    chocs-002

    Capping molded chocolates

    chocs-003

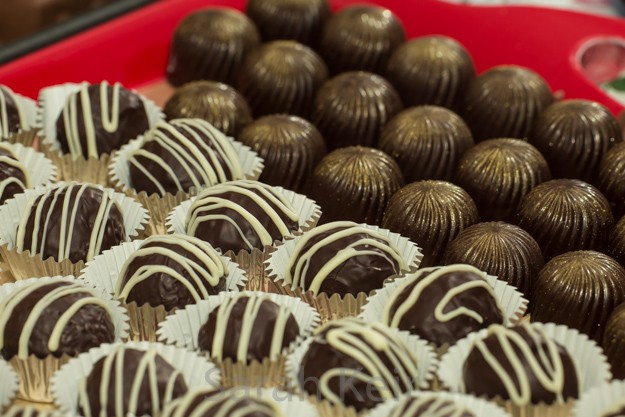
    Hand dipped pate de fruit with hand decorated tops.

    chocs-004

    Filling molded chocolates – with a gingerbread ganache in this one.

    chocs-005

    Intense look of concentration as I temper the milk chocolate.

    chocs-007

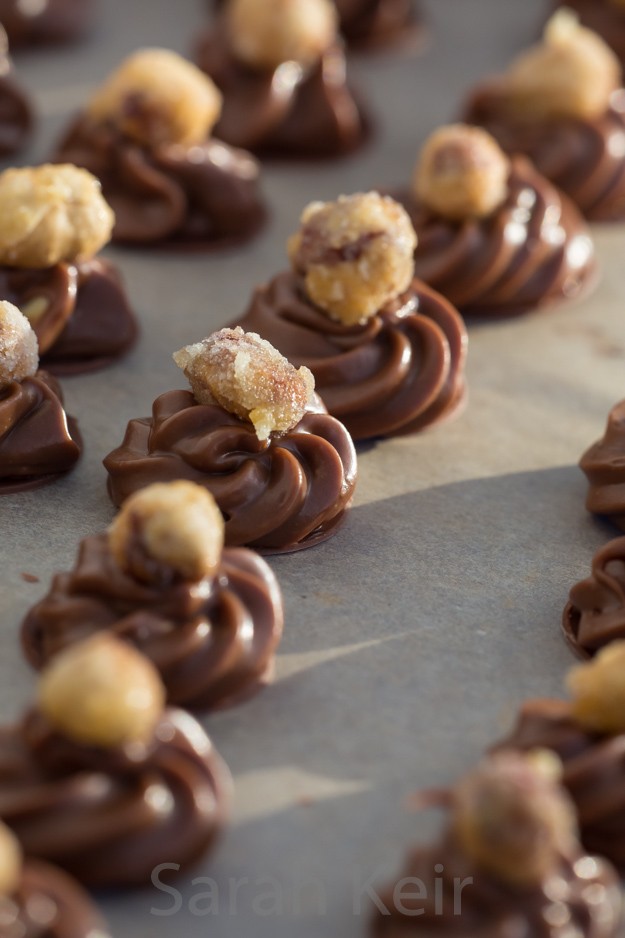
    Hazelnut praline whips with crystallised hazelnuts, waiting to be dipped.

    chocs-008

    Molded chocolates waiting to be capped.

    chocs-009

    All the chocolates laid out, nearly ready for boxing up!

    chocs-010

    Don’t they looks pretty?

    chocs-014

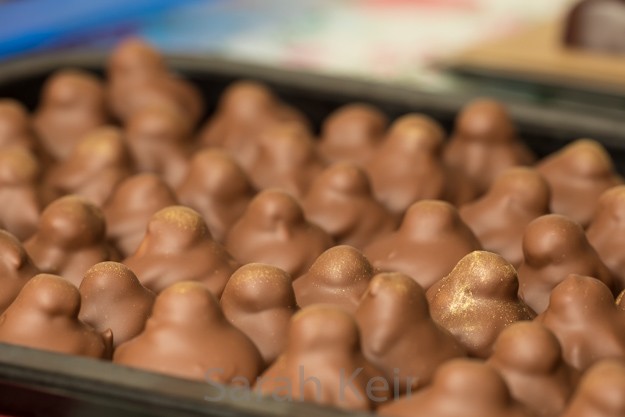
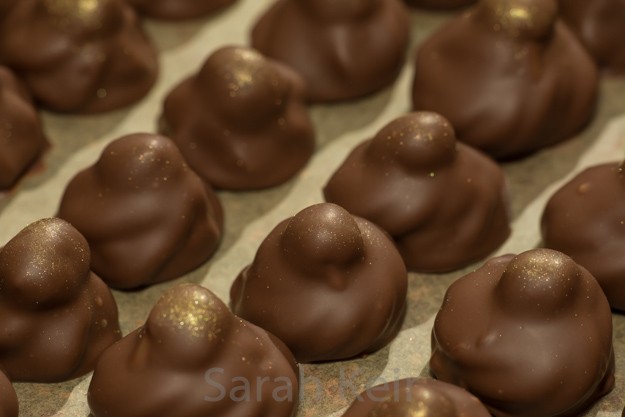
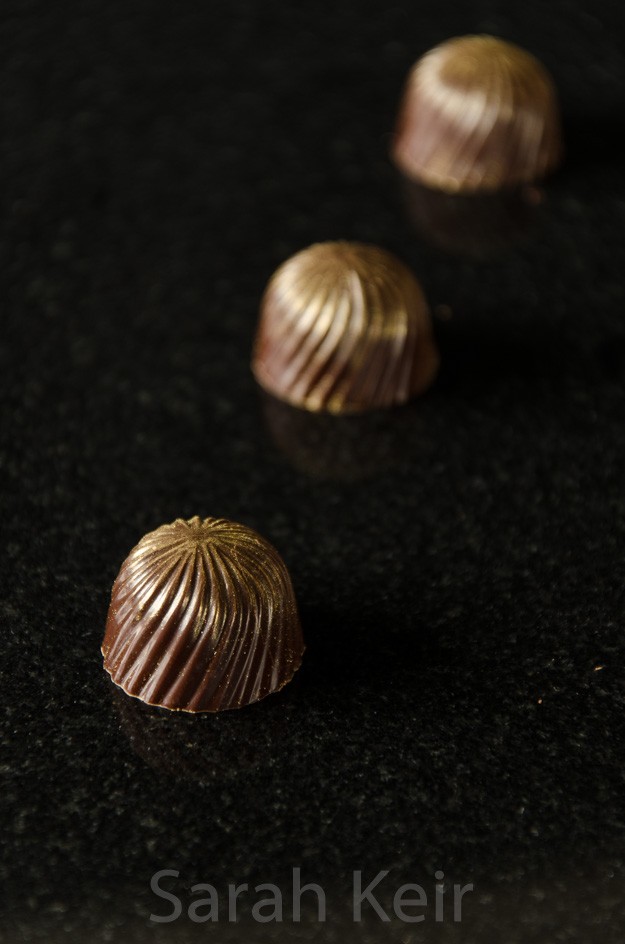
    Hazelnut praline whips finished with a dusting of gold.

    chocs-015

    Black forest hand rolled truffles in the fore ground and port ganache swirls behind.

    chocs-016

    Close up of the hazelnut praline whips.

    chocs-017

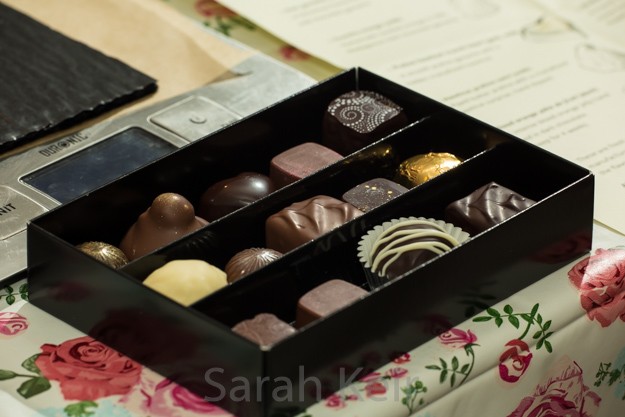
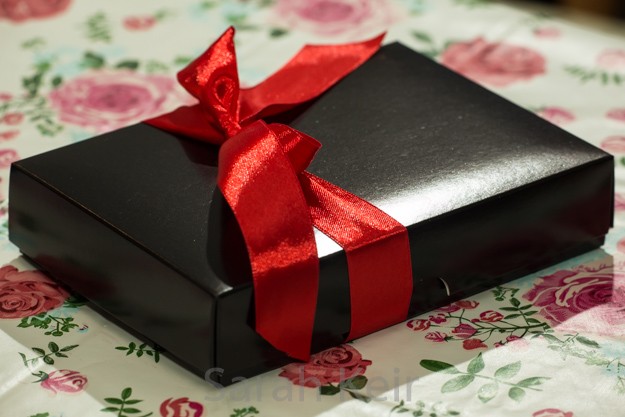
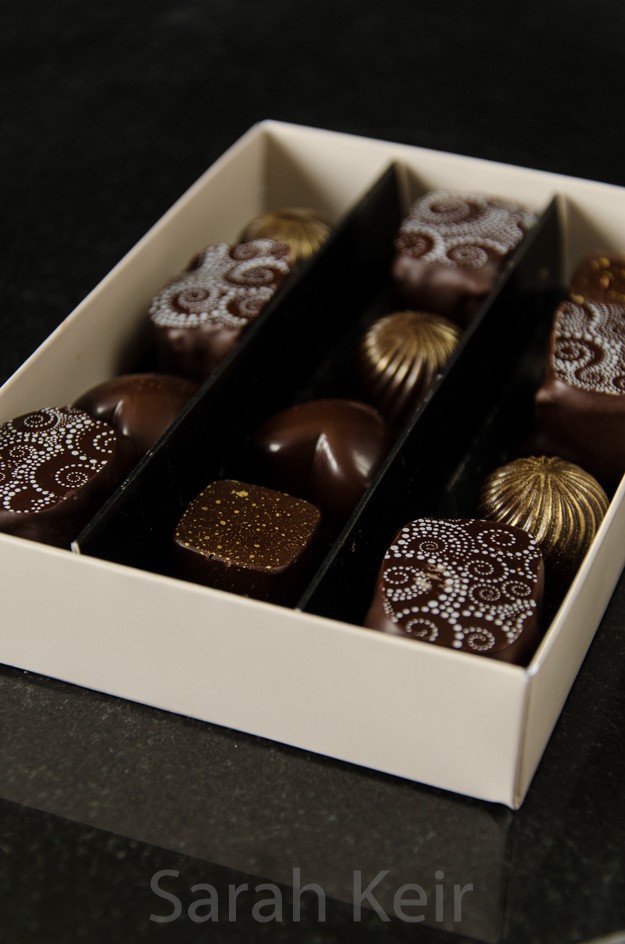
    Boxed chocolates

    chocs-018

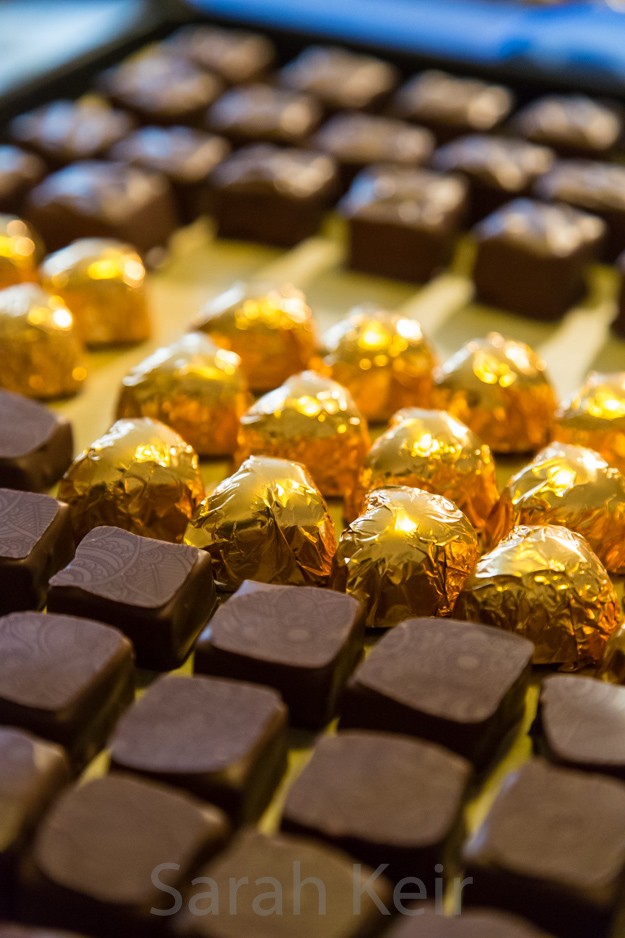
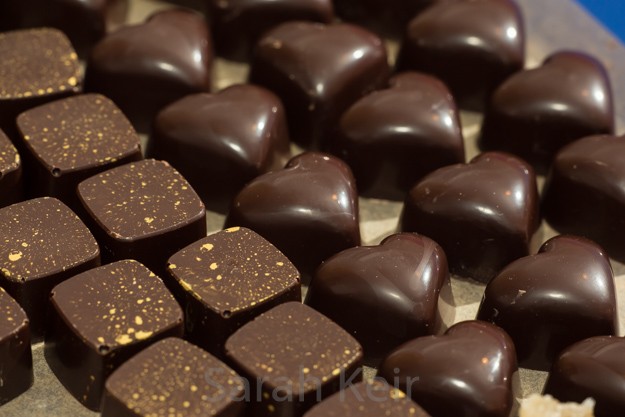
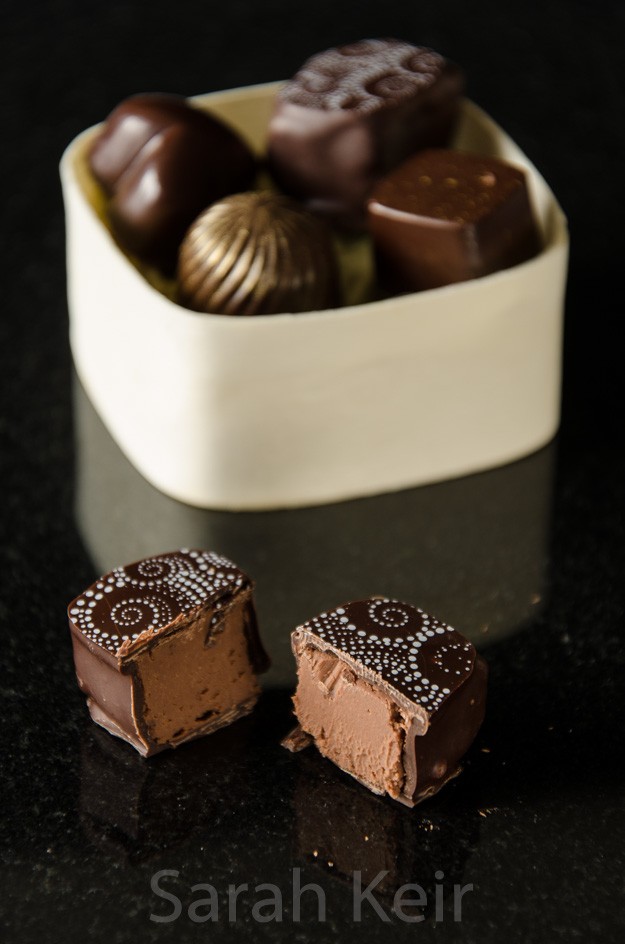
    Caramel squares in dark and gingerbread ganache hearts.

    chocs-020

    A box ready to be dispatched.


  4. Homemade Artisan Chocolates

    November 3, 2015 by sarah

    Not a recipe as such this week. After the chocolatier course I attended in September, I have been dreaming of chocolate. So as a treat for finishing my course work, plus some early Birthday presents, I gathered together the necessary ingredients and equipment to make some professional looking chocolates. The tempering went very well though I think I need some more practice with the hand dipping – it was rather messy and thick. The molded chocolates I filled with salted caramel (mmm) and the hand dipped ganches are an ale flavoured ganache, recipe as Paul A. Young here. I used ‘Death or Glory’ ale from the local Tring microbrewery and it was fantastic – who would of thought it, beer flavoured chocolate!

    chocolates-001 chocolates-002 chocolates-003


  5. My latest embroidery project

    April 8, 2015 by sarah

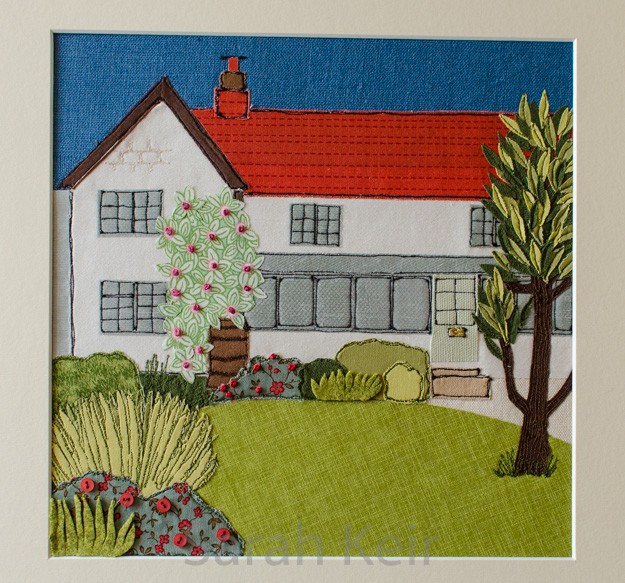
    After a class last year in free motion embroidery, I was inspired to make some particular pieces/pictures. Unfortunately, they had to go on the back burner until after my exams in February, but for the past month or six weeks, I’ve been busily creating this embroidery picture of our house here in Wigginton. I spent a ridiculous amount of time procrastinating over the choice of fabrics and the placing of them and an even more ludicrous amount of money on fabrics! But I have to say, I am very happy with the finished article. I feel that this attempt is even a bit too perfect; it could do with being a bit more free-form!

    embroidery-001


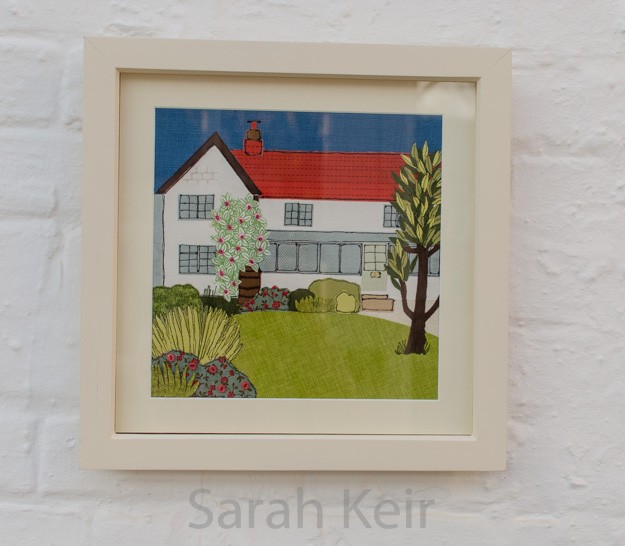
    I found a deep frame in Wilkinsons to frame it in. But by the time I had painted the frame and jiggled everything so it fitted in the not quite square opening, I shouldn’t of bothered and bought a proper expensive frame! So here is a picture of it framed…

    embroidery-002


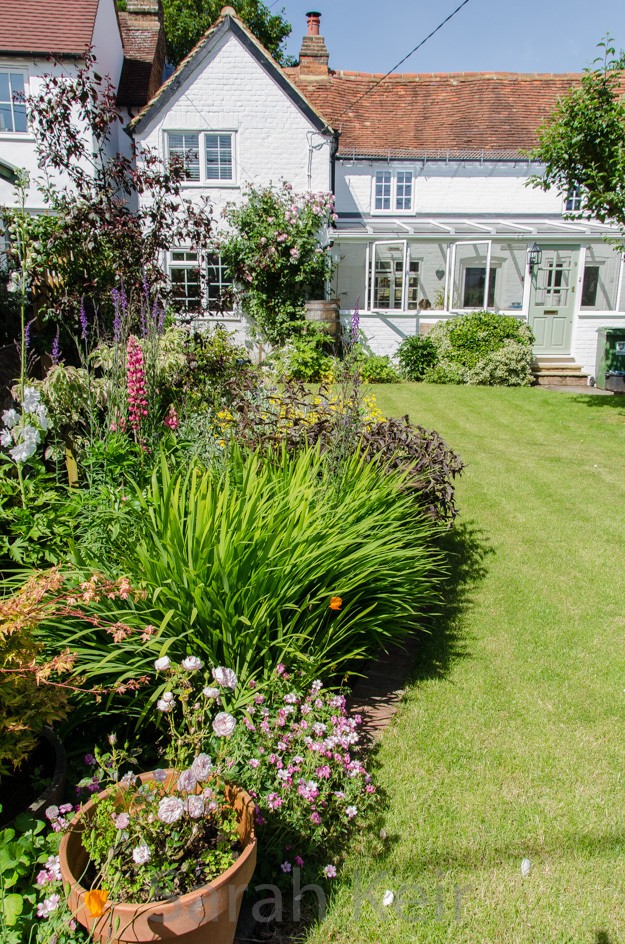
    And here is the original photo which was my inspiration; taken last summer at the height of the garden’s glory.

    embroidery-004


  6. More machine embroidery

    December 28, 2014 by sarah

    I decided to use my new found embroidery talents to make Christmas presents.

    embroidery-003

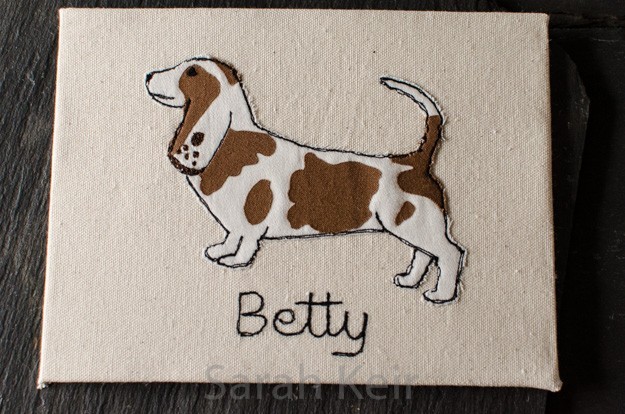
    ‘Secret’ santa present for a nurse at work – Betty the basset hound.

    embroidery-001

    Christmas present for my Mum – her springer spaniel Corrie.

    embroidery-002

    And her working cocker spaniel Millie.


  7. Friday off means making time!

    November 23, 2014 by sarah

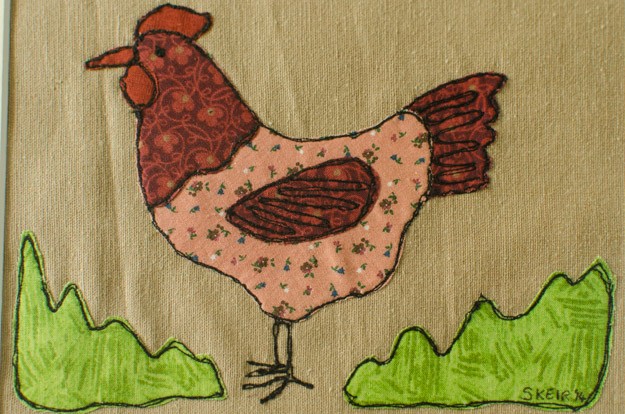
    I love it when I have a day off work to set aside for just ‘me’ stuff; no study or work and I get up whenever I want, do whatever I want, eat what and when I want. Unfortunately they only happen after I’ve worked 11 tiring days in a row. Made even worse this week a horrible flu-slash-cold. The flu bit has passed but left me energy-less and a snot monster! Poor me. But back to my Friday. After the free motion embroidery class at Fabric HQ’s new head quarters last week, I had a fabric picture to finish and several more ideas to put into motion. I made the chicken picture at the class and was toying up whether to add more embroidery to it but decided that less is more in this case and left it alone, just mounted it and then found I had no suitably sized frame. So that started a Friday morning shopping trip when I realised I would also need supplies for the next few projects; The Plainstitch in Wendover, Chilterns brewery for supplies for Jim, Fabric HQ (and a peek next door at Obsidian Art for inspiration) and Hobbycraft in Aylesbury.

    So here is the finished chicken. I am quietly satisfied with my first piece of free motion embroidery. I am toying with the idea of doing my three hens in a triple aperture frame and I would try to inject some of their individual personalities into the pictures.

    _1SK8974


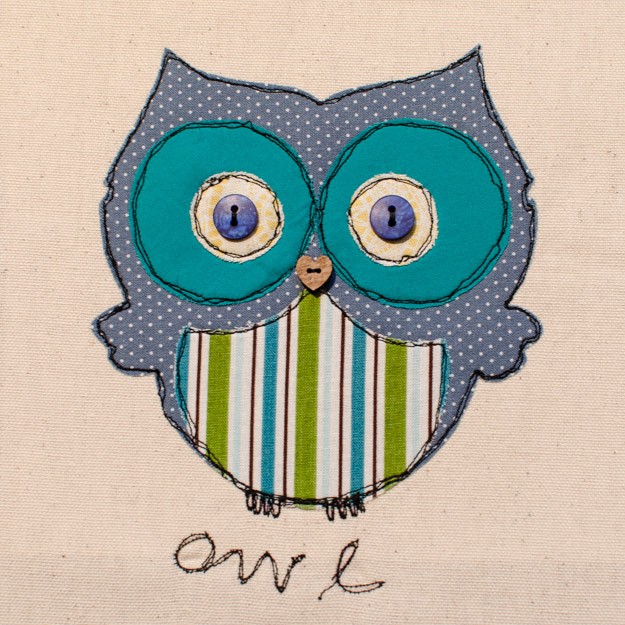
    I started this owl at the class but ran out of time to complete it. I definitely need more practice with the wording; it is very rustic looking! But I love the heart shaped button beak that I found in my button box.

    _1SK8995


    I am really excited about this medium as feels so free and impressionistic. Or perhaps that is just because I have changed myself, away from the perfectionist child that wasn’t happy with anything I produced to a more mature and relaxed adult. I don’t know the answer to that because my photography is still perfection driven but this combination of sketching with a machine and lovely bits of fabrics and the addition of anything else has really captured me. I am so entirely entralled that I have started on an ambitious project to make a fabric picture of our house. I hope to finish it before Christmas – I’ll let you know how I get on!

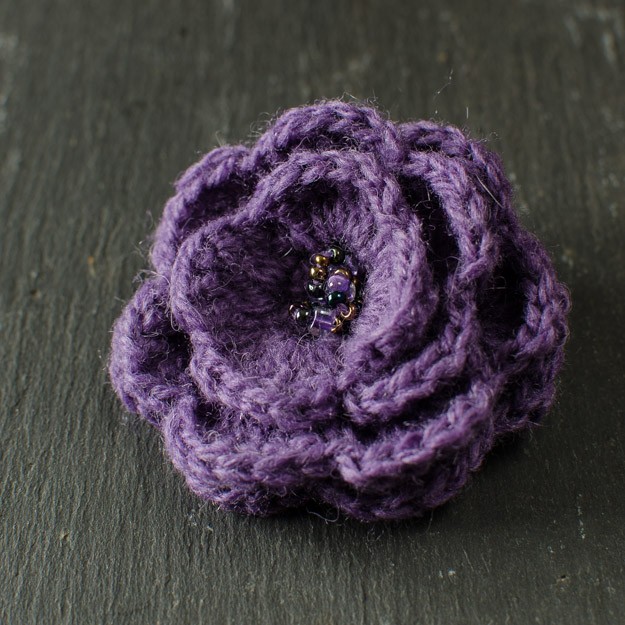
    I also finished the crochet flower brooch that I started on our weeks holiday in Suffolk. Here it is, ready to wear, perhaps on my tweed jacket if the rain holds off long enough!

    _1SK8981


  8. Elderflower champagne and cordial

    May 31, 2014 by sarah

    Late May into mid-June, depending on the weather that year, is elderflower time. And that is a very important time for me because it means it is time to make my own home brewed alcoholic beverage that is elderflower champagne. To me it marks the start of summer as they only flower when there has been enough sunshine. I have just finished the last bottle of last years brew and the date on it was July as last spring was awful. It is a delight to see the hedges filled with frilly lace caps of the elderflower heads and I start planning how many litres of the stuff I will make and if I have enough sugar and the lemons… The best time to pick the flowers is late morning on a dry, sunny day. You need a few hours of sun on the flowers to bring out the aroma but not too much otherwise they turn musky, almost a cat-pee smell, and I can’t image that is nice to drink. The best flowers are the ones that are still creamy coloured and not all the individual flowers have opened on the head; avoid the bright white or slightly brown heads as these are past their best. It is best to collect the flowers with scissors into a basket so that any insects drop off the flowers on the way home with your precious load. Use the flowers as soon as you have picked them. Remember not to pick all of the flowers as you want to be able to return in the autumn for the fruits!
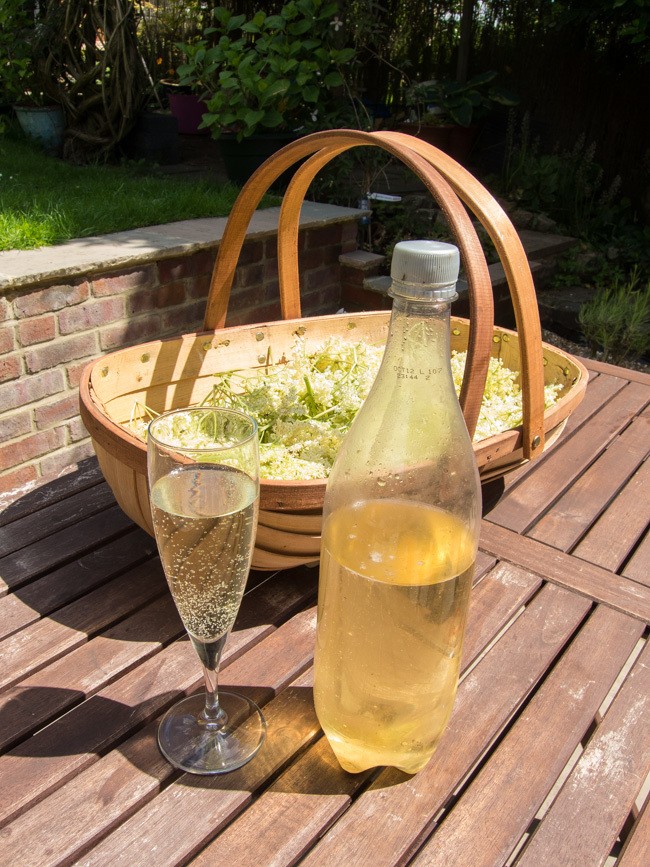
    DSCN1500

    Last of last years champagne with the flowers picked for this year’s brew!


    A few care warnings about this brew. I have no idea how alcoholic it is. In fact, it seems to vary from batch to batch as to its leg wobbliness effects. It is very much like cider in its effects; its doesn’t taste alcoholic and goes down easy and you don’t realise it has any effect until you stand up! Also, and this is VERY important, the brew is highly explosive, especially for the first few weeks as the pressure builds up. For this reason I reuse plastic pop bottle because if they do go bang you don’t get shards of glass everywhere and with a screw cap you can gently release the pressure as necessary. For the first couple of weeks I keep the bottles in the kitchen and feel the bottles daily for the tenseness of the plastic and I tend to release the pressure daily for a week then every second day for another couple of weeks until noticing that they are not completely taught when ready to be released. They perhaps get one more release before being stored somewhere cool and dark.

    I also make several litres of elderflower cordial which is a wonderfully fragrant ingredient for flavouring ice creams, panna cottas, other creamy desserts such as cheesecakes and the perfect pairing with gooseberries (which annoyingly come a few weeks later so the cordial is a great way to store the flavour until the gooseberries are ready for their turn). I also love the cordial diluted down with ice cold sparkling water; a refreshing summer spritzer. I have seen recipes for deep-fried elderflowers or fritters and I am dying to try them, if only I get long enough off work to pick some more flowers!

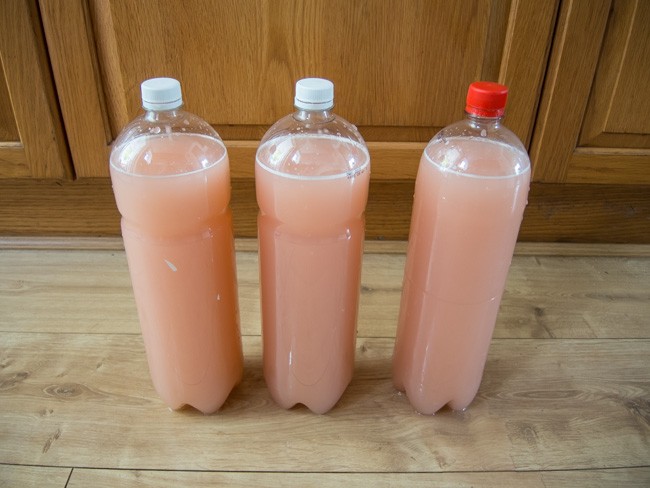
    This year I have also made a variation on the champagne theme as my parents brought me a huge bag of rhubarb from Scotland. So there are also 3 bottles of rhubarb champagne to try in a few weeks. It is a pretty pink colour. Anyone for a glass?


    Elderflower Champagne

    1 kg granulated sugar
    juice and zest of 4 lemons (organic, wax-less)
    2 tablespoons white wine vinegar
    about 30 elderflower heads – shake to dislodge insects before adding
    a teaspoon of wine yeast or a few pinches of baking yeast
     
    Boil 4 litres of water in a pan.
    In a large clean bucket, tip the sugar and then the hot/almost boiling water over the top. Use a clean spoon and stir until the sugar has dissolved. Add another 2 litres of water to the bucket.
    Allow this to cool to tepid/luke warm before adding the lemon juice, vinegar and elderflowers. Stir in the yeast.
    Cover with a lid or clean tea towel and stir daily.
    After 5-7 days when the brew is bubbling away well, strain the brew through a sieve lined with muslin and decant into sterilised bottles (I sterilise mine with Milton tablets and rinse out with a little boiled water so as not to taint the taste).
    Do the pressure releasing as described above and wait at least a few weeks before drinking; it is best served very cold and open the bottle very slowly so the yeast that collects in the bottom does not rise. It will keep in a cool, dry place for up to a year.
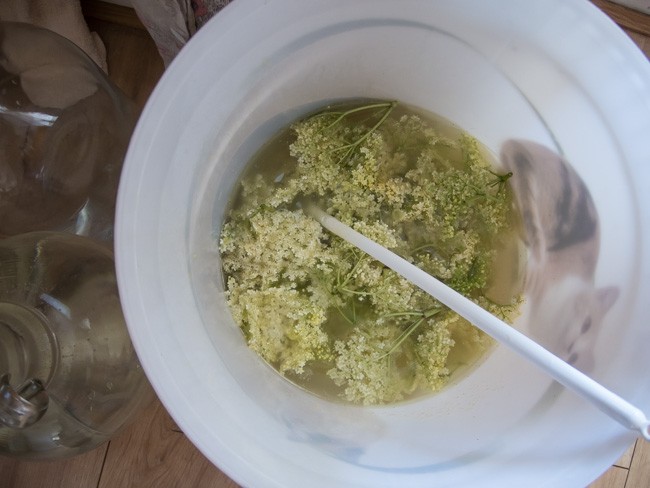
     
    DSCN1504

    The champagne bucket!

    Elderflower Cordial

     
    1 kg granulated sugar
     zest of 2 lemons which then sliced roughly
    25g citric acid (available in Wilkinsons)
    30 plus elderflower heads – more is easily acceptable
     
    Boil 1.5 litres of water. In a large clean bucket or bowl, tip the sugar and then pour the boiling water over; stir until the sugar has dissolved.
    Leave to cool and then add the other ingredients. Stir at least once daily for 5 days. Strain through a sieve lined with muslin and decant into sterilised bottles.
    This will keep in the fridge for a few weeks or in the freezer indefinitely. Remember if freezing, leave a little space at the top of the bottle for expansion.
     

    Rhubarb Champagne

     
    2kg rhubarb, roughly chopped
    2 lemons roughly chopped
    2 tablespoons of white wine vinegar
    1.5kg granulated sugar
    1 teaspoon wine yeast or few pinches of baking yeast
     
    Boil 4 litres of water.

    In a large clean bucket, tip the sugar and then the hot/almost boiling water over the top. Use a clean spoon and stir until the sugar has dissolved. Add another 2 litres of water to the bucket. Add the rhubarb now (unlike the elderflower champagne).
    Allow this to cool to tepid/luke warm before adding the lemons, vinegar and yeast.
    Cover with a lid or clean tea towel and stir daily.
    After 5-7 days when the brew is bubbling away well, scoop out the rhubarb with a slotted spoon and strain the brew through a sieve lined with muslin and decant into sterilised bottles (I sterilise mine with Milton tablets and rinse out with a little boiled water so as not to taint the taste).
    Do the pressure releasing as described above and wait at least a few weeks before drinking; it is best served very cold.
     
    DSCN1494

    Rhubarb champagne freshly bottled.

  9. Quilt number one is finished!

    May 27, 2014 by sarah

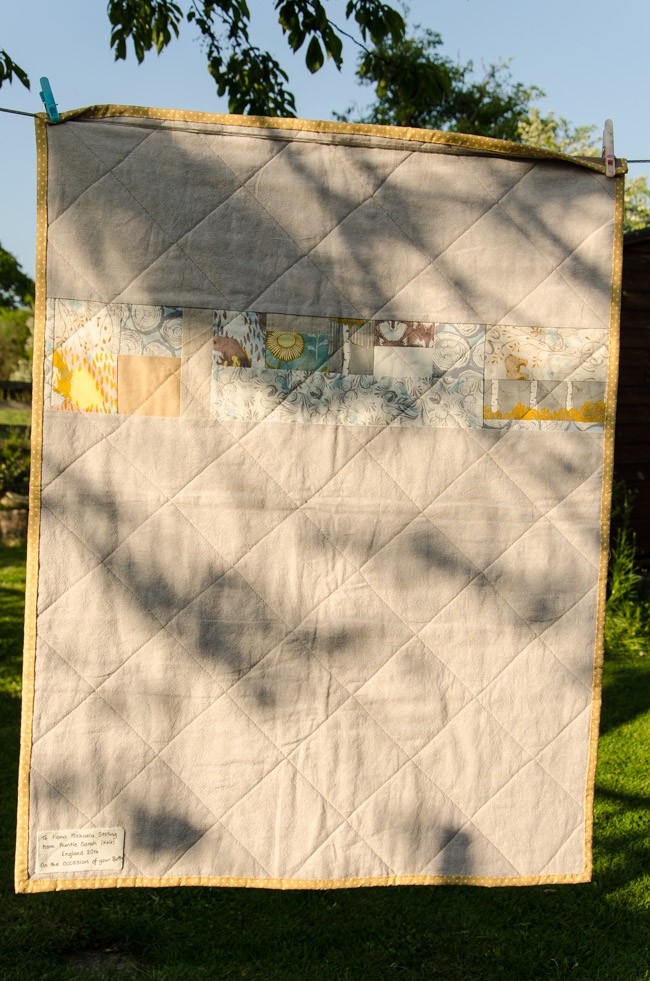
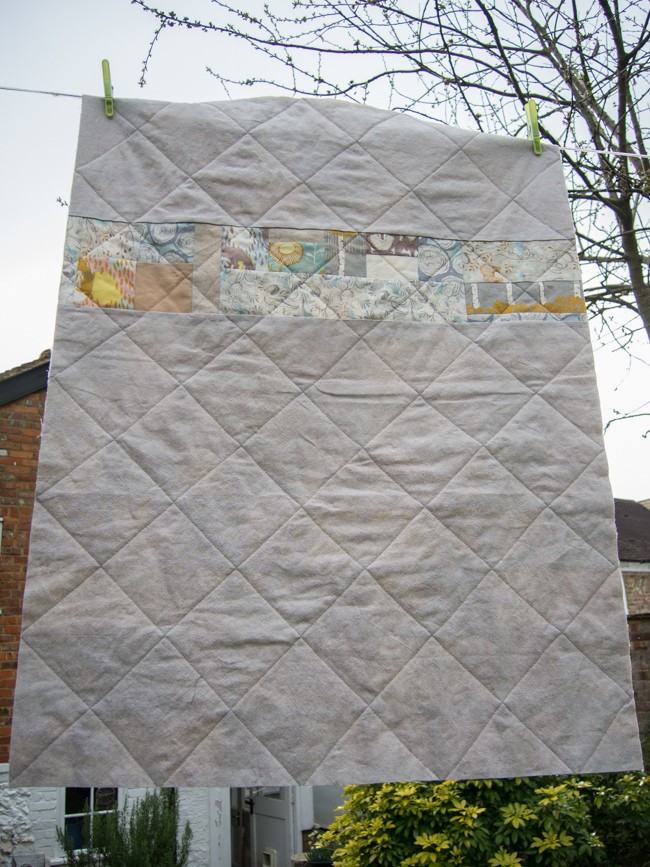
    quilt (2 of 3)

    The back – I love the patchwork strip I added.
    quilt (1 of 3)

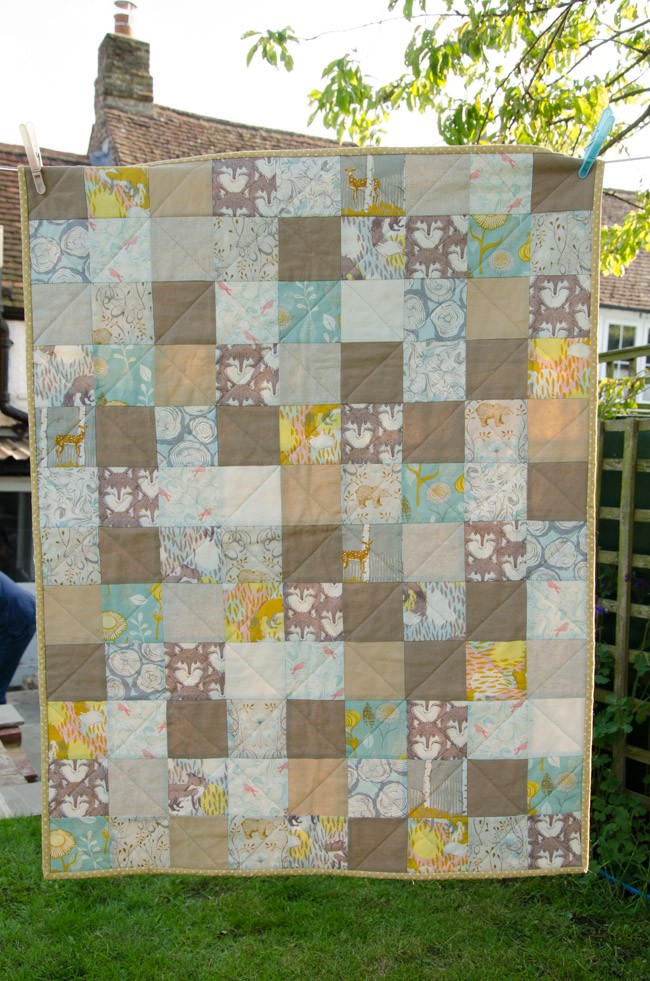
    The front.
    quilt (3 of 3)

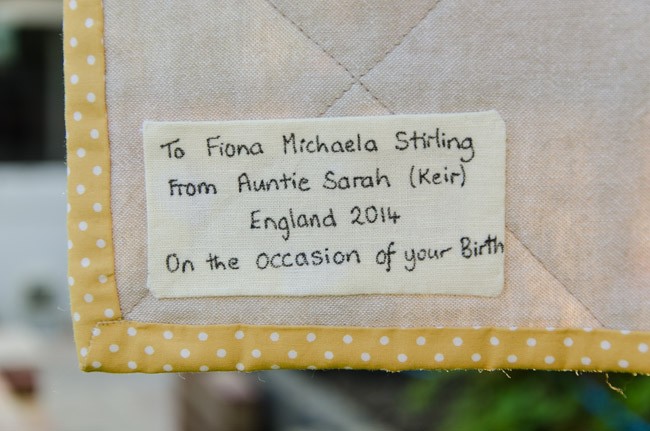
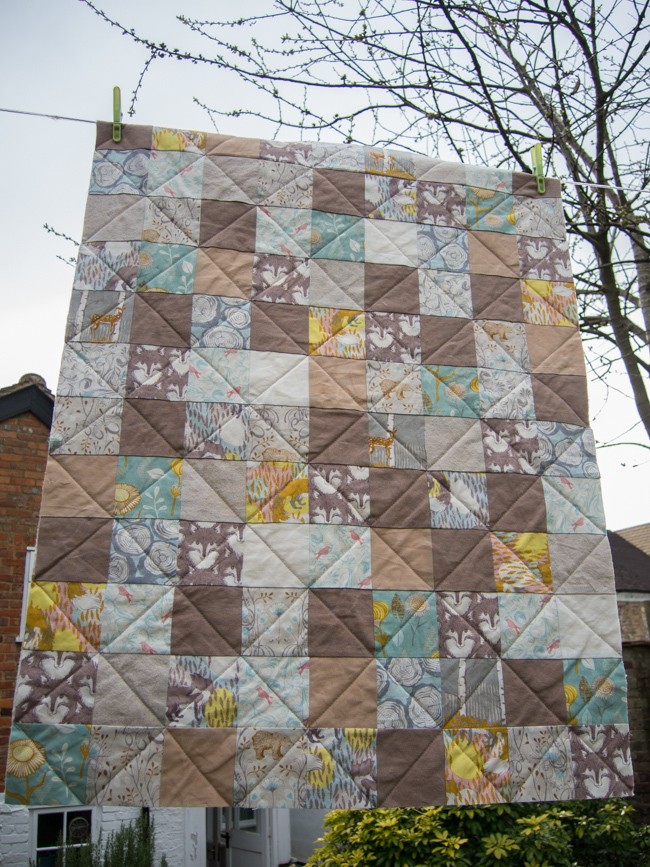
    The label

    Last week was a whirl wind of activity in order to get the baby quilt finished in time for its flight to the USA with my parents to get to my new neice. I didn’t get any of it done during the week before because a rotten cold and no energy (hopefully linked). So I watched a few YouTube videos on how to do binding plus some very useful websites and blogs (here and here). I got started at Plain Stitch’s Wendover Sewing Bee on the Tuesday evening, though I think I spent more time chatting and natting than actually sewing, and then finished it on the Friday I had off work. The ladies at the Sewing Bee were adamant I add a label so that was an extra job I hadn’t accounted for but luckily I have some fabric pens so it didn’t take too long to do. And I have to say the label finished it off nicely and I am very proud of my first proper quilt!


  10. Quilting progress

    March 30, 2014 by sarah

    I have had an enjoyable weekend learning how to machine quilt from tutorials and videos available online. The web is such an amazing source of information, meaning I don’t necessarily need to find time to take a class or buy and read a book. It was good to use the other half of my brain while my haemotology course notes sunk in! Just the binding to be done at some point. I think I like the back more than the front!

    DSCN1134 DSCN1136