RSS Feed

‘Home’ Category

  1. Chocolate Cherry Layer Cake

    March 18, 2015 by sarah

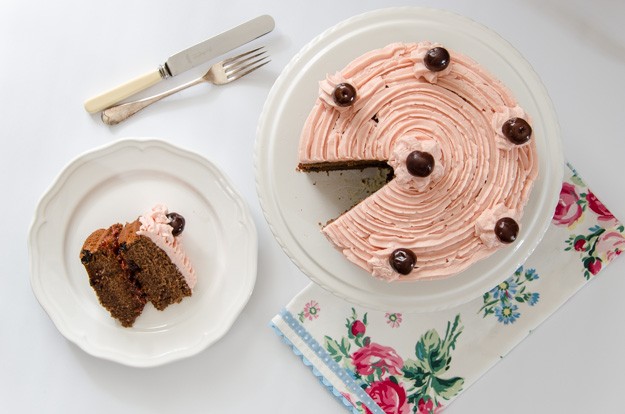
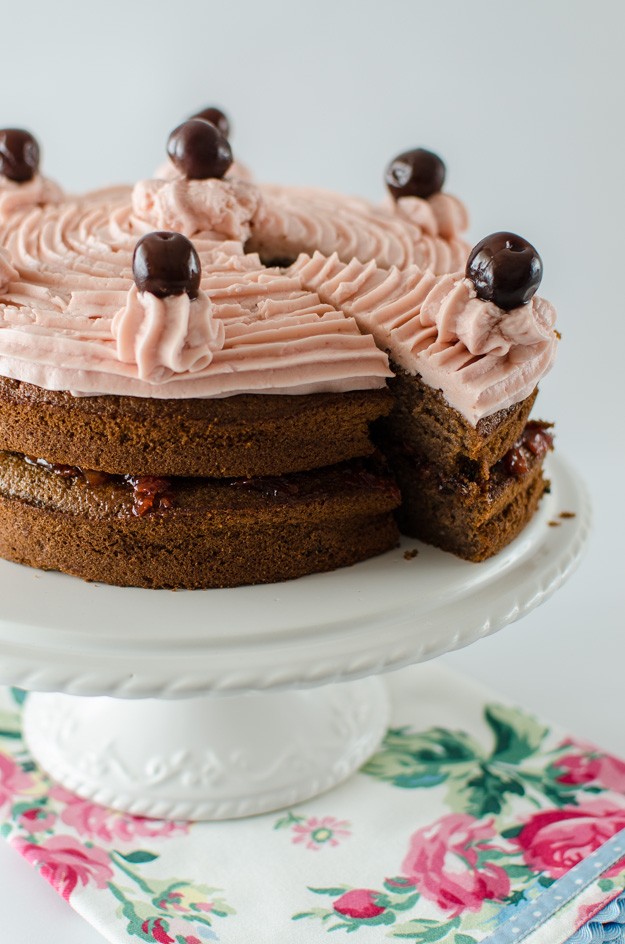
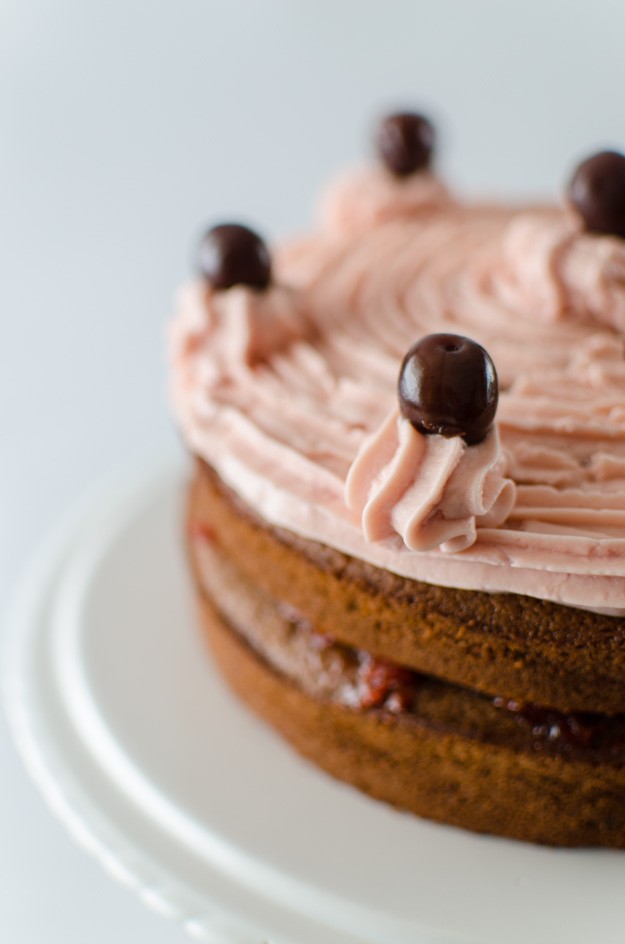
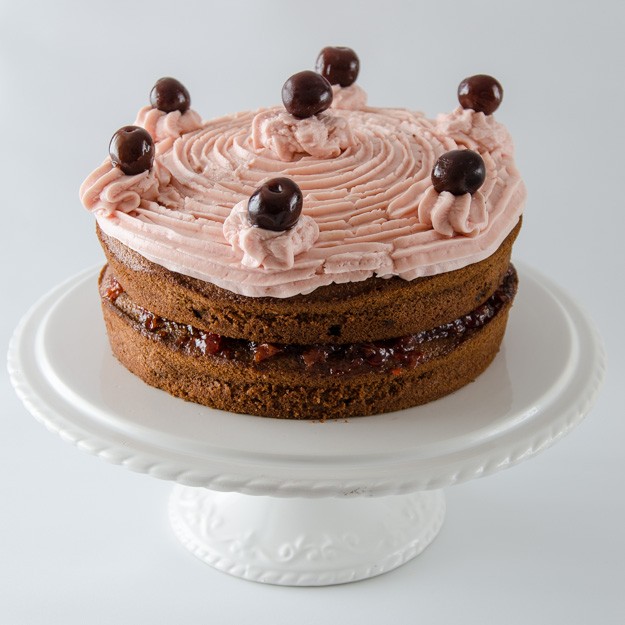
    Sometimes a cake has to made for the sheer beauty of the thing. Don’t get me wrong; flavour is still my primary aim but sometimes it is nice to luxuriate in the beauty of a cake before devouring it. And this cake has it in spades. The delicate pink icing and filling contrasting with the dark brown moist cake and the cherries on the top. Like a cute black forest gateau.

    cherry-004


    I wandered hungry and alone

    Downstairs to the kitchen

    Where upon I came across

    A recipe for a cherry chocolate cake.

    It was baked and made and iced

    And I drowned in the beauty of the cake I beheld.’

    cherry-002

    Chocolate Cherry Cake


    225g butter at room temperature
    225g caster suagr
    175g plain flour
    50g cocoa powder
    2 teaspoons baking powder
    1/2 teaspoon fine salt
    5 medium eggs
    200ml greek yogurt or cream or buttermilk
    1 teaspoon vanilla extract
    Handful (about 50g) of sour dried cherries

    Cherry jam, preferably sour cherry
    Swiss meringue buttercream (recipe here), add some cherry puree made from blended frozen cherries
    Cherries in alcohol for decorating, reserving some of the syrup/alcohol.

    Preheat the oven to 180 ºC/160 ºC fan. Grease and line the base of two 20cm/8″ sponge tins.

    Beat together the butter and sugar until creamed well. Sift over the dry ingredients. Beat together the wet ingredients to break up the eggs then add this to the bowl. Beat all together until well mixed, scraping down the sides of the bowl a few times. Fold in the dried cherries and then pour the batter into the prepared tins, trying to divide it equally.

    Cook for 30-35 minutes until a skewer comes out clean. While the cakes are cooking, make a cherry flavoured syrup by heating the cherry syrup or alcohol base with some extra sugar to make it syrupy. Allow the cakes to cool for 10 minutes in the tins then brush over this syrup. After half an hour, take the cakes out of the tins and allow to cool fully on cooling wracks.

    Assemble the cake with some cherry jam as the filling and pipe the pink tinged buttercream on top. Decorate with the reserved preserved cherries, or fresh cherries if they are in season.

    cherry-003 cherry-001


  2. Marmalade

    March 15, 2015 by sarah

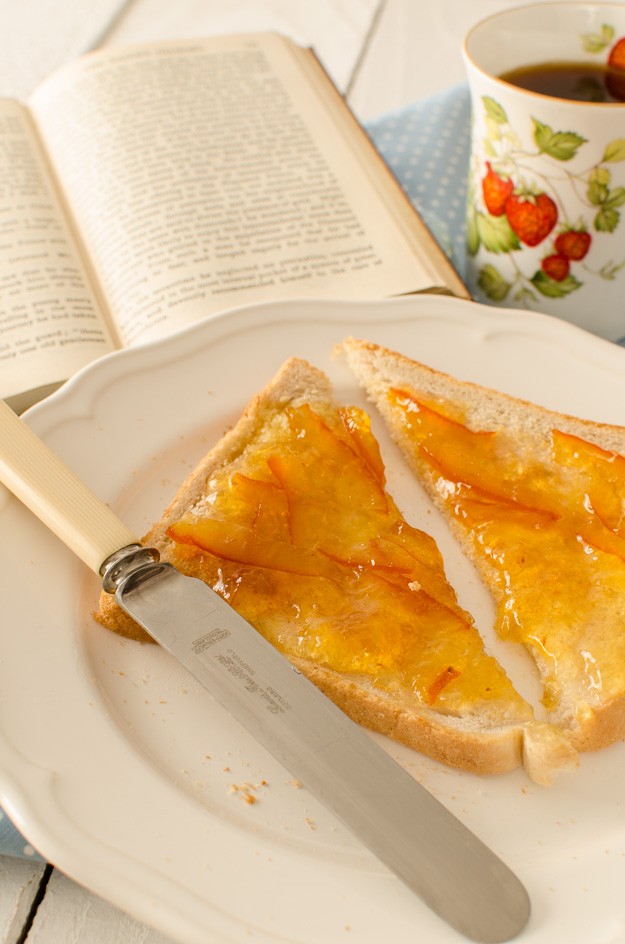
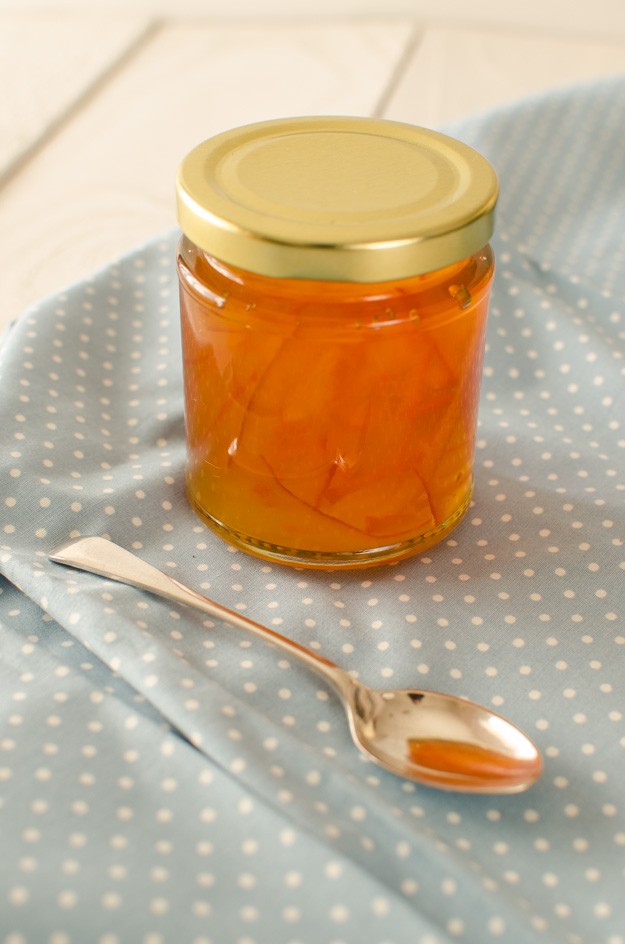
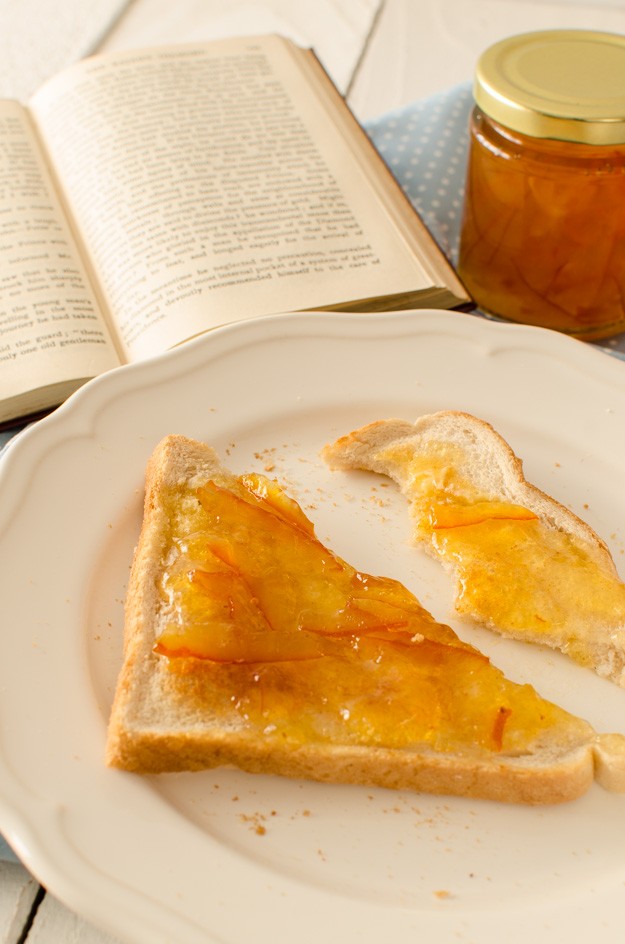
    The start of Spring means marmalade making time. The required bitter-sweet Seville oranges are only in the shops for a short time around about now so I always buy a bag when I see them before they disappear again. They bring bitter-sweet thoughts of places that are currently sunnier and warmer than this grey cold British start to Spring. But the sparkling bright orange jelly and tangy orange peel warm any breakfast.


    marmalade-001


    It is a pain hand cutting the peel but there is no way round that; using a food processor just leaves mush, even a mandolin failed. The acid in the oranges also makes the skin of your hands go all pruney! But there is no way round it, so stick on some music and get down to work. Orange or other citrus marmalade seems to be a uniquely British product. I do not recall seeing it in any of the countries I’ve been to around the world. But a certain bear from deepest darkest Peru was rather fond of the stuff!

    marmalade-003

    Marmalade

    Recipe from ‘The National Trust Good Old-Fashioned Jams, Preserves and Chutneys’ by Sara Paston-Williams

    Makes approximately 6 jars.

    1kg Seville oranges
    1 lemon
    2.4 litres of water
    2kg granulated sugar

    Wash the oranges well as the rough skins are prone to be dirty. Cut them in half (plus the lemon) and juice them, reserving the pips. Scrape out the pith (white bits and membranes inside the oranges) and also reserve with the pips. Then shred all the rind fairly finely.

    Place the shredded rind, juice and water in a large saucepan and bring to the boil. Boil for about 2 hours until the rind is very soft and disintegrates when squeezed.

    Heat the sugar in the oven and when the rind is soft enough, add to the pan. Then use the oven to sterilise half a dozen jam jars and lids.

    Tie up the pips and pith into a muslin bag and add to the pan. Gradually stir to dissolve the added sugar. Once the sugar has been added, increase the temperature and bring the mixture to a rolling boil. Boil briskly, stirring frequently so it doesn’t catch on the bottom, for about 20 minutes before starting to test for the set. Once setting point is reached, take the pan off the heat, remove the muslin bag (squeeze well to get the goodness out), skim off any froth and allow the pan to sit for a good 15 minutes. Stir well before potting and stir while potting to evenly distribute the peel.

    marmalade-002


  3. Cullen Skink – otherwise known as smoked haddock chowder

    March 10, 2015 by sarah

    I love how food can transport us around the world in one dish and we are privileged in this country to have access to so many different cuisines. Some people lament the lack of decent British cooking (which is something else that is not true, but a discussion for another time) but why worry when one night I can eat in India, the next in Mexico, the next in France, then Italy, China or Thailand. So partially my cooking is a way of satisfying my wanderlust without crossing continents and bankrupting us. I travel in my kitchen each time I cook.

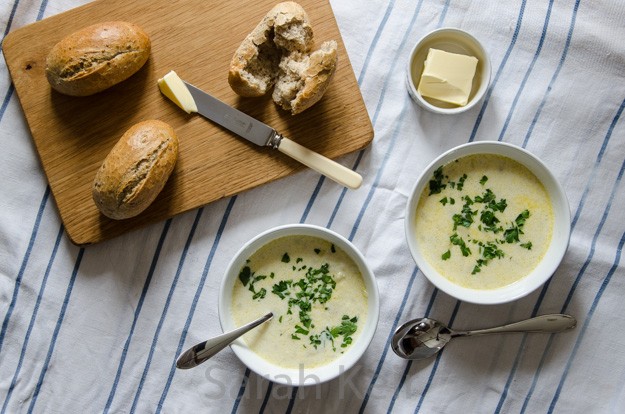
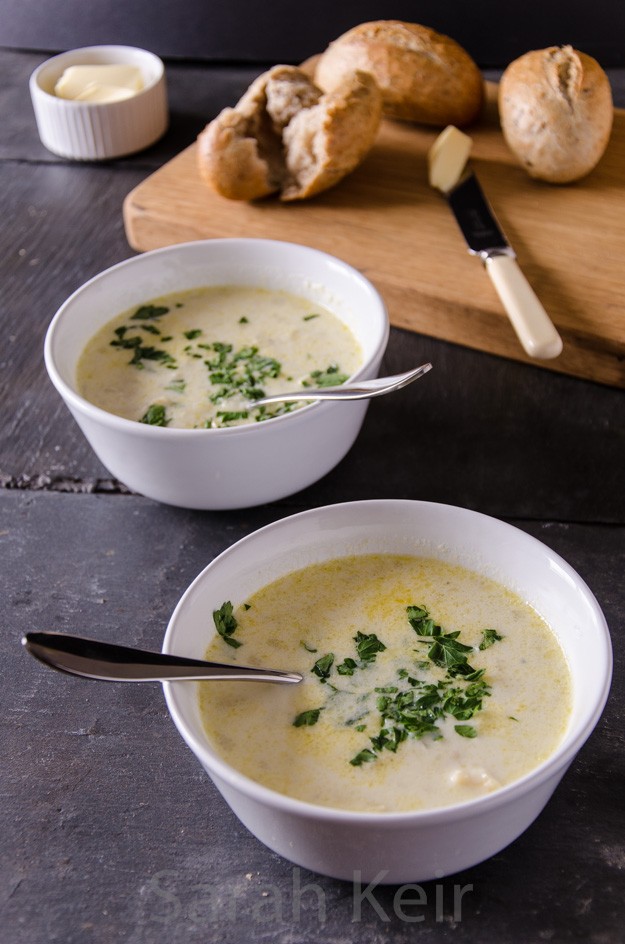
    Cullen skink (no, it is not a typo) is a traditional Scottish soup.  It is hearty enough to be an entire meal, served with some crusty bread. The last time I had it when it was not homemade was in Seattle where it is called a ‘Chowder’ and sprinkled with dry water crackers like you would have with cheese. The American version also contains sweetcorn but is otherwise the same dish. You must use good quality smoked haddock that is naturally smoked, not the bright yellow stuff.

    cullen-001

    Cullen Skink


    25g butter
    1 onion, finely chopped
    1 bay leaf
    1 blade of mace
    600ml/1 pint of milk
    100ml double cream
    350g floury type potato such as maris piper, cut into large chunks
    450g undyed smoked haddock

    can of sweetcorn, drained (optional)

    Melt the butter in a heavy bottomed large saucepan. Add the onions and a pinch of salt; sweat until the onions are translucent.

    Add the milk, 300ml water and the bay leaf and mace. Add the potatoes, bring to the boil and simmer for 15 minutes until the potatoes are soft.

    Meanwhile cook the smoked haddock. I usually poach it in a water/milk mixture and then add the liquid to the soup for more flavour. Allow the haddock to cool enough to touch and then remove skin and bones and break into large flakes.

    Remove the bay leaf and mace from the soup, use a potato masher to gently crush the potatoes so that some thicken the soup but some are still in chunks. Add the cream and sweetcorn if using and the fish. Heat again to the boil and taste, adjusting the seasoning as desired. Serve immediately or allow to cool and store in the fridge for up to 48 hours.

    cullen-002


  4. Biscuity Chocolate Truffle Balls

    March 8, 2015 by sarah

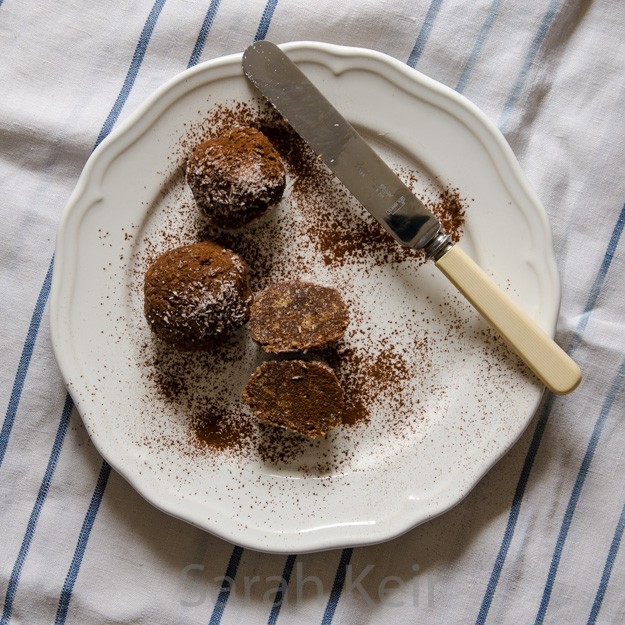
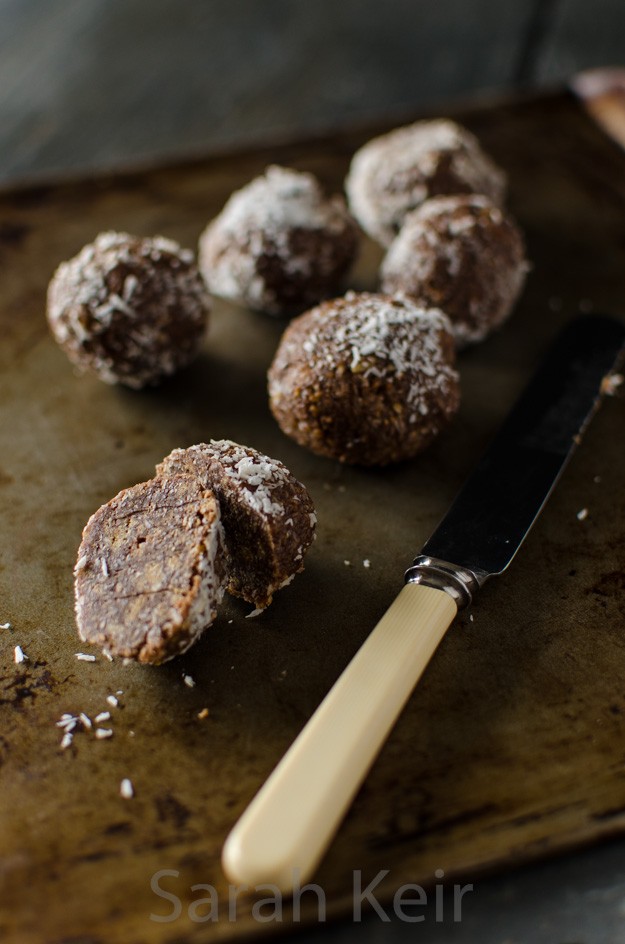
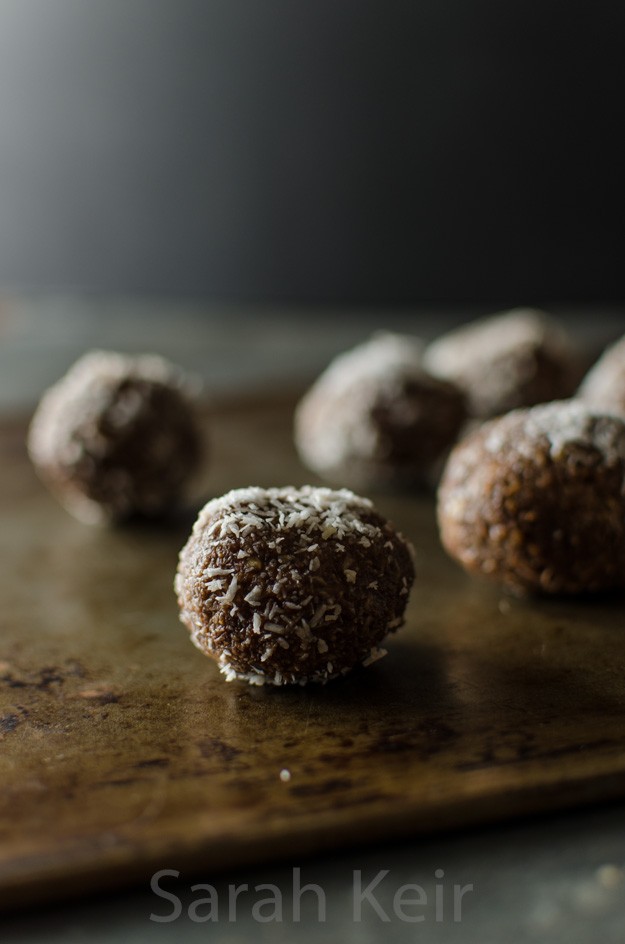
    These were actually made by my husband. He remembers buying them from the local bakers, Aulds, in Scotland in his youth and wanted a bit of nostalgia. He actually made them all by himself though I had to do the washing up! He says they taste very authentic. I wouldn’t know about that, having been deprived of Aulds bakery goods in my youth, but they do go down rather easily! And not at all posh unlike the proper chocolate truffle recipe I posted a couple of weeks ago. Also enjoy the random photo of our not posh cat, Brian.

    balls-003

    brian-001

    Biscuity Chocolate Truffle Balls

    20 oaty digestive type biscuits

    125g butter

    200g condensed milk

    2 tablespoon cocoa powder

    125g desiccated coconut

    chocolate strands or desiccated coconut to roll them in

    Put the butter and condensed milk in a small pan heat gently until the butter is melted.

    Put the biscuits into a food bag, hold the end closed and bash with a rolling pin until you have fine crumbs. Put the biscuits, cocoa powder and desiccated coconut into a large bowl and pour over the melted butter/condensed milk. Mix until well combined.

    Form the mixture into ping pong sized balls with your hands and place on a tray lined with grease-proof paper. Put the extra coconut or chocolate strands into a food bag. Drop in the balls and roll around to cover them. Place them back on the grease-proof paper and store in the fridge until set firm. Store in the fridge until needed. These will last a week once made.

    balls-002 balls-001


  5. Polenta and olive oil cake

    March 3, 2015 by sarah

    Reading this title you probably thought that something had gone wrong. Perhaps a supper dish from Italy? But a cake? Made from savoury ingredients? Have I gone mad? No, my dear readers I have not gone mad. This cake is indeed a delicious and light sponge perfect any time of day from breakfast to dinner, as my husband can attest. It also happens to be healthier too as it is not made with butter.

    This cake was deliberately chosen to use up some store cupboard ingredients I found in my January clear out. I don’t particularly like polenta as a starch for a meal so this recipe was ideal way of trying it in a different way. I have to admit though it is a little drier than one would expect a teatime cake to be, probably because of its lack of butter, but this was definitely balanced with some poached fruit or yogurt on the side. The polenta gave a fine gravelly, but not unpleasant, mouth feel. Buon appetito!

    polenta-008

    Polenta and Olive Oil Cake

    6 medium eggs

    1 cup white caster sugar

    freshly grated zest of 2 lemons

    1 and 1/2 cups of plain flour

    3/4 cup instant fine polenta

    2 teaspoons baking powder

    1 teaspoon fine salt

    3/4 cup olive oil

    drizzle: juice of the 2 lemons and 100g caster sugar

    Preheat the oven to 180 ºC/160 ºC fan. Lightly grease a 9″/20cm springform pan with oil.

    Place the eggs and sugar in the bowl of a mixer and with the whisk attachment, beat for at least 5 minutes until light in colour and tripled in volume. Pour in the oil and sift over the dry ingredients. Start the mixer on very slow, beat until incorporated, scraping down the sides a couple of times. Pour the batter into the prepared cake tin and place in the middle of the preheated oven for 25 to 35 minutes until risen and slightly coming away from the sides; a skewer should come out clean.

    While the cake is in the oven, dissolve the sugar in the lemon juice for the drizzle; you may need to heat it in a small pan to get it to dissolve fully. Once the cake is cooked and taken out the oven, sit it on a tray and pour over the drizzle. Allow to cool fully in the pan before turning out.

    polenta-007


  6. Why I Cook and Blog – and Chocolate Truffles

    February 24, 2015 by sarah

    I am often asked why I put so much effort in to cooking and how I find time to write, photograph and publish this blog. I have been wondering the same thing myself lately. I have just finished 2 weeks of study time, cramming in an amazing amount of information into a sluggish and aging brain. But yet, instead of being sensible and filling the fridge with Marks and Spencer ready meals, I continued to cook our everyday suppers most nights and some treats too. I make the time because it is important to me. Yes, I could eat ready prepared food and it would be nutritious (mostly) and quick but it would not satisfy my soul. This blog may look like a collection of recipes but that is wrong way to look at it. This blog is about my cooking and cooking is about my life, not a list of recipes… I made this dish because I needed cheering up, I made this dish because it was January cupboard clear out, I made this cake for a special event. And so in my way, I am writing about life, my life.
    truffles-004


    Cooking makes me happy and happiness is an art and therefore requires practice and concentration; a different type of concentration to my studies and day-to-day work but no less demanding.  There are few true masters of happiness but we can all dabble, practice and improve. Like art, happiness is ‘in the eye of the beholder’ so whether something makes you happy or not is your choice. Food and cooking makes me happy so I continue to play with it. And the photography too. Also I am not hugging person and being an introvert it is difficult for me to express my care for other people except through my cooking for others and so this has become a tangible way of loving them. I hope they appreciate that. Cakes taste better if made with love.

    I thrive on being busy, when everything (especially emotionally) is in balance. Give me a challenge and I can think of nothing better than running with as far as I can, or until something better comes along. At school I was told I couldn’t do three sciences, so I did; I was told it was too hard to get into vet school, aim your sights lower, so I aimed higher; I was told I was just average and was bullied so strived to prove I wasn’t; I was getting too comfortable in my job so I aimed for a postgraduate certificate. And this blog is part of this journey of my life. I laugh at the photos I took just 18 months ago but look how I play with light now! But it is not easy and I constantly have to push myself to improve and currently this means getting up for work an hour early so I get the photography done in the short daylight hours of a British winter. No 12 hours of sunshine here, unlike the blogs I follow that are written in sunny California.

    Go find the happiness and importance in all you do.
    truffles-003


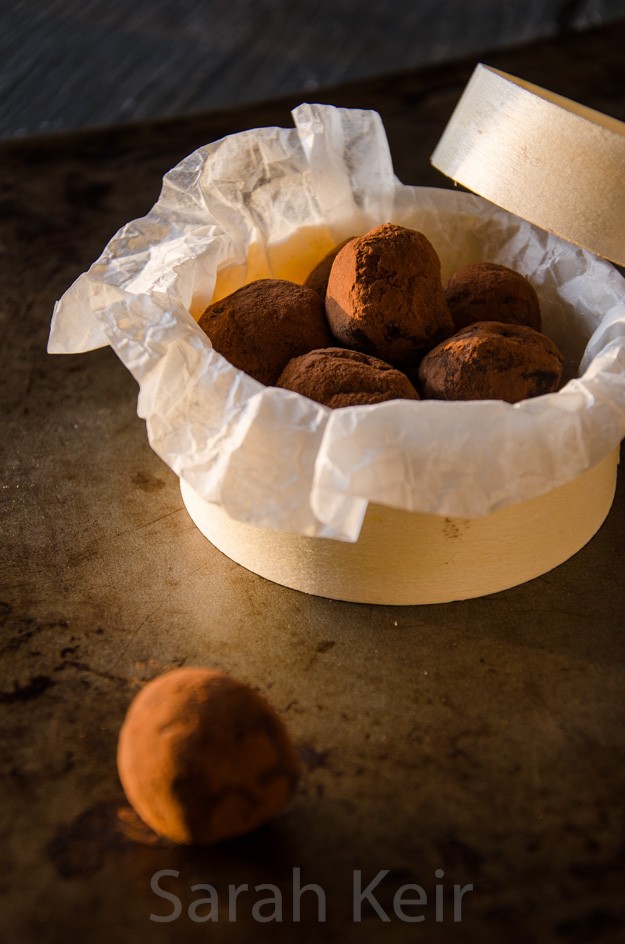
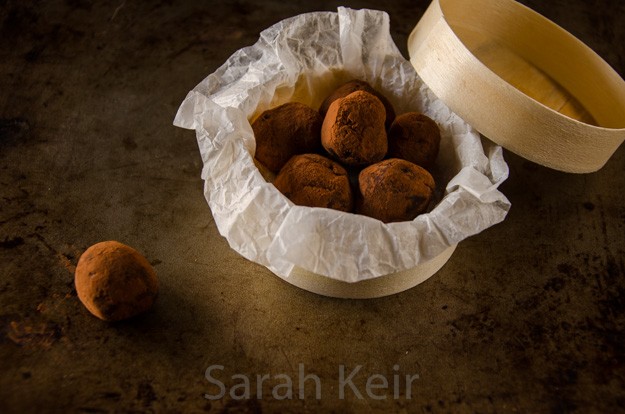
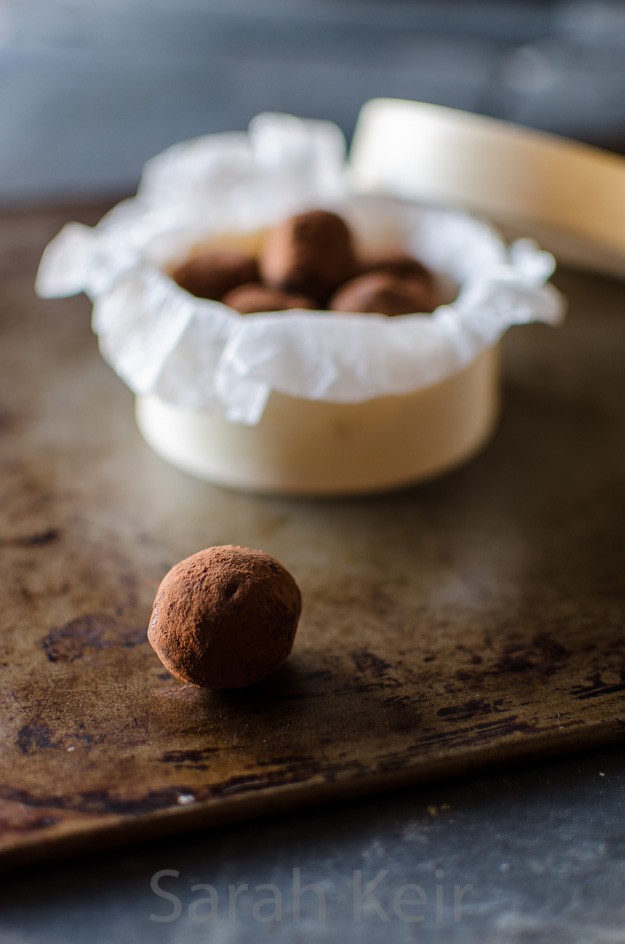
    I had meant to make these in time for Valentines Day. But it didn’t happen. I suppose part of me despises the crass commercialisation that comes with Valentines Day; the shops fill with pink and heart shaped things and ugly teddies and over priced flowers and cards with sickly sweet sentiments and overpriced heart-shaped food in a restaurant packed out with courting couples. So rather than have one overblown day of the year, my husband and I reaffirm our love on a regular basis with a simple ‘I love you’ when getting in from work, a spontaneous gift, a box of home made truffles…

    Chocolate truffles

    120ml double cream
    120g good quality plain chocolate
    1 tablespoon butter
    1 tablespoon golden syrup
    cocoa powder
    flavouring (optional) - orange liqueur, coffee liqueur

    Place all the ingredients (except the cocoa powder and flavouring) in a double boiler pan or a pyrex bowl over a pan of barely simmering water. The key is to make sure that the mixture is heated very gently. Stir occassionally until almost fully melted, take off the heat and stir until fully melted and smooth and glossy. Stir in your chosen flavouring if wished.

    Place in the fridge for a few hours or overnight until set.

    On a small plate, sift a good dredging of the cocoa powder. Have a second plate nearby. With a teaspoon (or melon baller of you have one), scoop out small scoops of ganache, roll quickly in your hands until roughly spherical, drop on to the cocoa powder and roll around until covered. Store on the second plate. If the chocolate ganache is turning into a sticky mess, cool it down by sitting it in the freezer for 15 minutes or so and cool your hands down (under a cool running tap if you can stand it).

    Once made, store the truffles in the fridge and eat within a week. You can customise these to your favourite flavour by adding a dash of spirits or flavourings to the mix before it sets. Or alter the outside by rolling in desiccated coconut or cocoa nibs.
    truffles-001


  7. Tahini biscuits

    February 18, 2015 by sarah

    I apologise for my absence over the past couple of weeks. I have been very busy studying for my certificate exams that were last week. But now they are out the way I should have more time for baking and blogging! It feels like such a relief to get them out the way. At the weekend I had the complete freedom of choice of what to do so I cleaned the house thoroughly on Saturday and relaxed on Sunday. Bliss!

    tahini-002


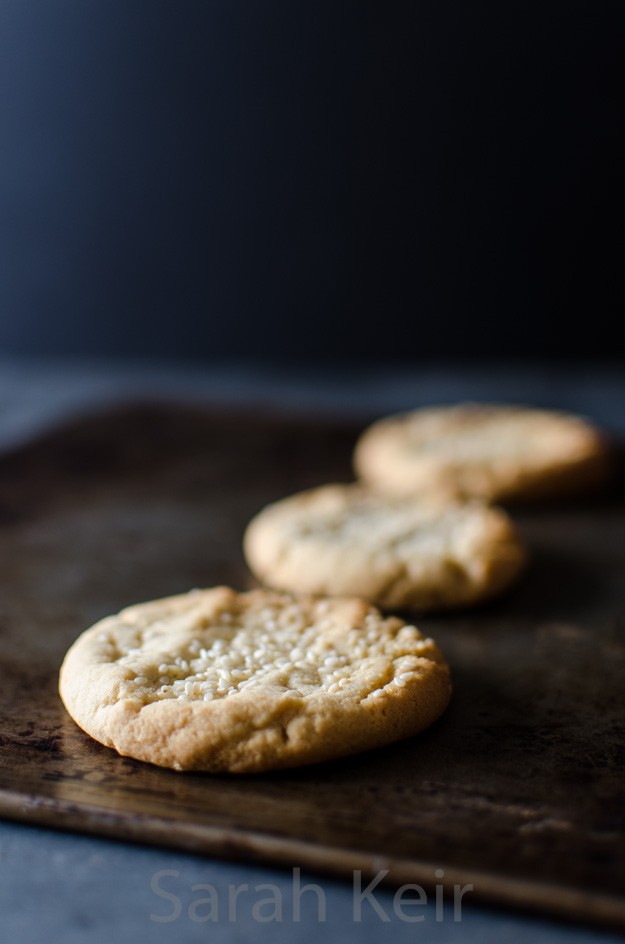
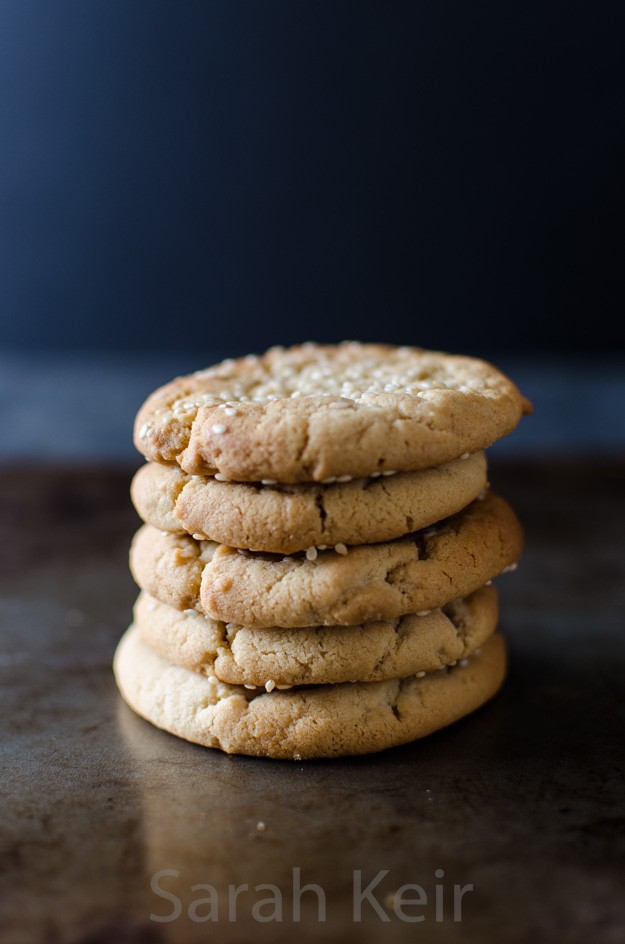
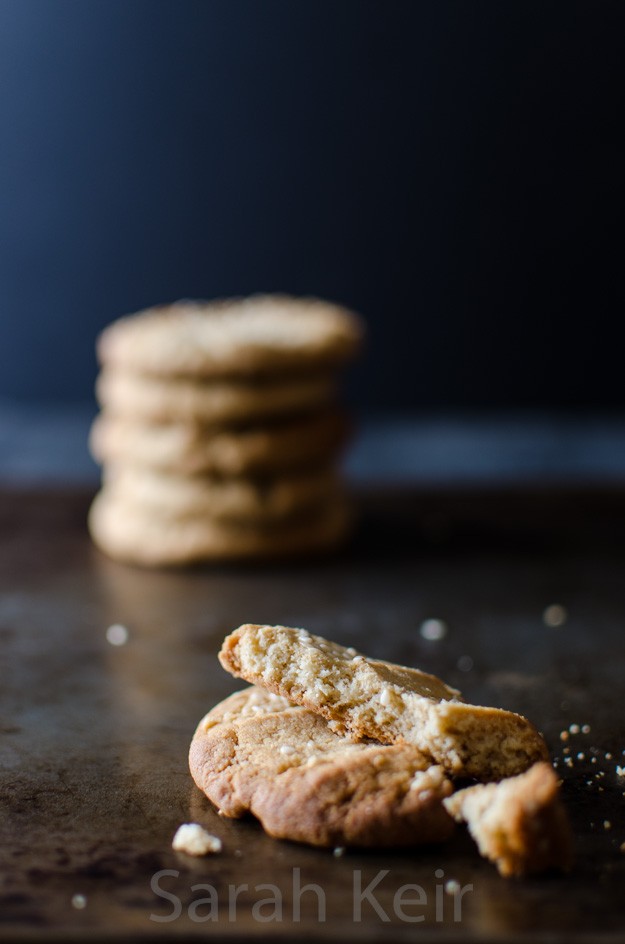
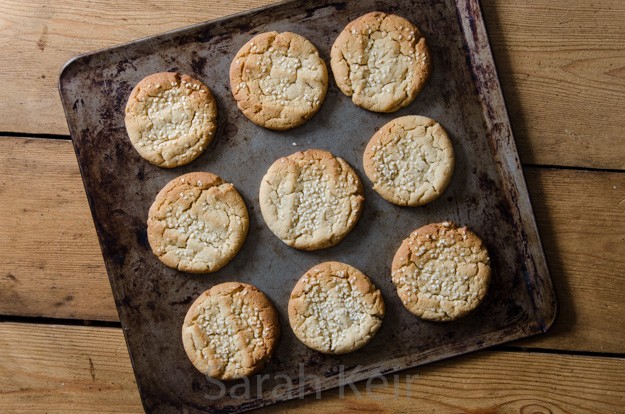
    This recipe is another beginning of the year attempt at using up cupboard bits and bobs, a side effect of my food hoarding. I can’t remember why I even had tahini in the cupboard, perhaps from a hummus recipe. But though I love hummus, I cannot currently imagine making it as the weather is so cold and the supermarket stuff is pretty good. So these biscuits came about as a way of using up the last bit of tahini in a jar. As usual, this is a combination of several recipes cobbled together but I have to admit they turned out perfectly. They are very short and crumbling with a buttery sesame seed flavour in the background that is not at all over powering but is mystical and mouthwatering. These biscuits did not last long, I can tell you; they didn’t even make it as far as my work colleagues. Darn, now I will have to buy some more tahini just to make these biscuits…


    tahini-003

     tahini-005

    Tahini Biscuits


    100g white caster sugar
    120g unsalted butter, soft
    175g plain flour
    1/2 teaspoon baking powder
    1/2 teaspoon fine salt
    120ml/110g tahini, well stirred
    1/2 tablespoon runny honey
    1 teaspoon vanilla extract

    sesame seeds, for sprinkling

    In a bowl, beat the butter and sugar with a wooden spoon. Add the tahini, honey and vanilla and beat in. Add the dry ingredients and bring together to a soft ball. Wrap this dough in cling film and put in the refridgerator for an hour until firm.

    Preheat the oven to 170 ºC/150 ºC fan.

    Using clean hand, break off small lumps of dough and roll in your hands until roughly spherical. Place on a baking parchment lined baking tray, allowing 2cm/1″ between the balls, and press down gently with your fingers to flatten slightly. Once all the dough has been used up this way, sprinkle the biscuits with sesame seeds and place in the preheated oven for 12-15 minutes. Watch carefully as they brown easily. Allow to cool on the tray for 5-10 minutes before transferring to a cooling wrack to complete the cooling. Store in an airtight container and eat within a week.

     tahini-006

  8. Medlar Pie

    February 8, 2015 by sarah

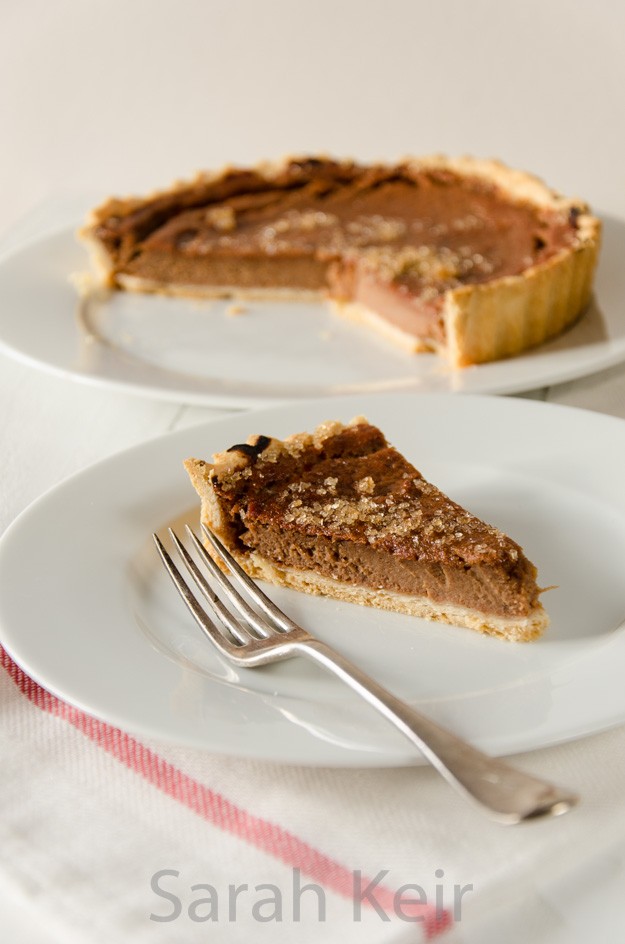
    Following on from my post about medlars before Christmas, I had a bowlful of medlars left at the beginning of December. It was sort of deliberate as I wanted to experiment a little further using this fruit but was unsure of what to make plus a lack of time. And then I came across a recipe using medlars in a tart and it sounded intriguing. A recipe from 1660 – would it work? Would it translate to modern tastes? So I put some course work lectures on in the background and made this tart.

    medalr tart-003


    The original recipe is a little lacking in details:

    Take medlars that are rotten, strain them, and set them on a chaffing dish of coals, season them with sugar, cinamon and ginger, put some yolks of eggs to them, let it boil a little, and lay it in a cut tart; being baked scrape on sugar.

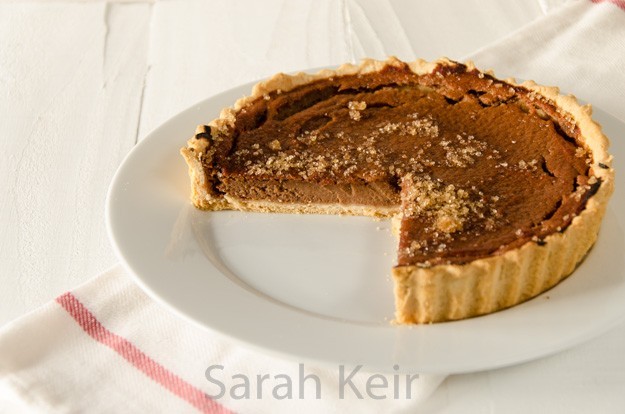
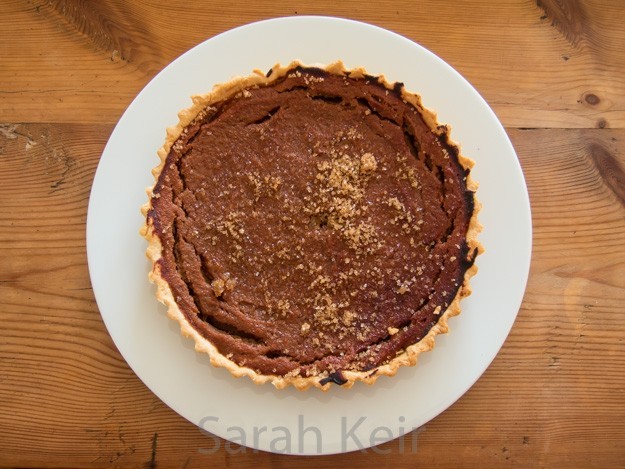
    But luckily Tracey at her Norfolk Kitchen blog had already done some research and testing and came up with this interpretation. And she is right, it is very similar to an American pumpkin pie recipe but so much nicer. Whereas pumpkin is just plain bland, the medlars lend this pie a creamy fruity intenseness which is heightened by the spices rather than being the main event as in pumpkin pie. This pie was delicious to eat at any time of day, warm or cold. Next time I may try adding some orange zest for an extra dimension, though I am not sure this sublime pie needs it.

    My ever thoughtful husband bought me a cookery book for my birthday. But not just any cookery book, ‘The Compleat City and Country Cook: or Accomplifh’d Housewife’, published in 1736. There are some interesting recipes in there that I am going to experiment with when I have time. Finally a recipe for the brace of teal I have in the freezer!

    medalr tart-002

    Medlar Pie

    8″/20cm loose bottomed tart tin, lined with shortcrust party and blind baked
    bowl full of medlars (was about 500g or more)
    70g caster sugar
    3 egg yolks
    1 teaspoon mixed spice
     
    Prepare the medlars – stew with a little water until soft and bash up with a potato masher. Push the fruit through a sieve, discarding the skins and seeds, and put the fruit puree in a medium bowl.
    Beat in the sugar, egg yolks and spice. Taste to see if it requires more sugar or spice.
    Pour this mixture into the cold blind baked pastry case. Place in the oven preheated to 180 ºC/160 ºC fan and bake for 30-40 minutes until set. Allow to mostly cool before serving with a crunchy topping of demerara sugar.
     
    medalr tart-004

  9. Raspberry and Marzipan Scones

    February 1, 2015 by sarah

    scones-001


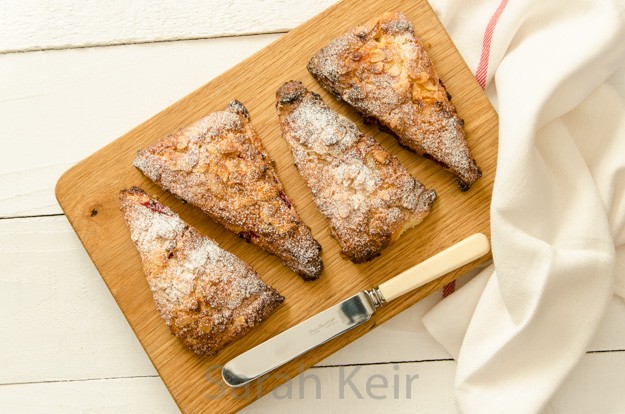
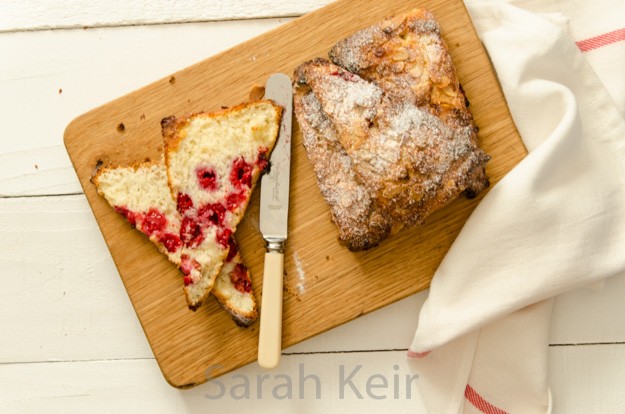
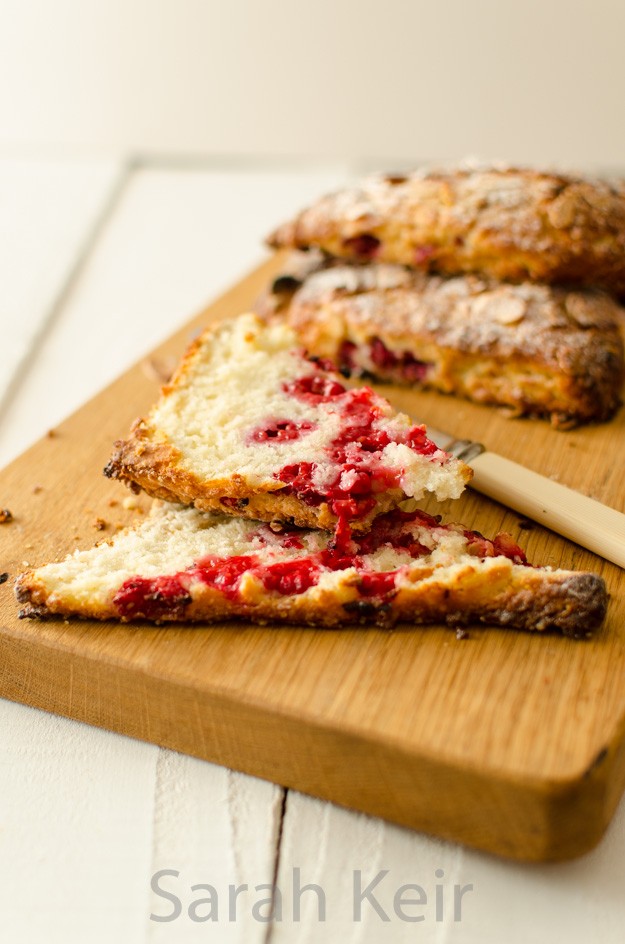
    January is the month in the year when I go through my cupboards. Clothes I haven’t worn for several years go to the charity shop or eBay and the same for food; any food that is getting near its use by date or just been sitting there or been in the freezer for more than 6 months gets used up. It leads to some odd collections of recipes. What can you do with Christmas puddings except eat them as Christmas pudding? I also had a lump of marzipan left over after the Christmas cake had been iced and the stollen was made. Now, I just love marzipan and would be quite happy just to eat it in chunks or dip it in chocolate or, if I had time, make some marzipan fruits but then that wouldn’t be a baking recipe to put on this site. So I found a recipe in which marzipan was mixed into a scone dough but to cut through the cloggying sweetness of the marzipan, I added a layer of frozen raspberries to my recipe (also in need of using up). The finished scone is more like an American shortcake, in that it is rich enough to not need any other adornments though clotted cream would not go amiss with any scone type recipe. Enjoy!

    scones-002

    Raspberry Marzipan Scones


    120g marzipan
    70g unsalted butter
    25g caster sugar
    250g plain flour
    1 teaspoon baking powder
    1/2 teaspoon salt
    180-200ml of buttermilk or milk mixed with yoghurt
    1/2 teaspoon almond essence
    120g frozen raspberries (or fresh if in season)

    optional – flaked almonds, demarara sugar

    Weigh out the butter and marzipan, wrap in cling film and freeze for at least an hour. Once frozen, grate over the top of the dry ingredients. Using a fork, mix in the buttermilk mixed with the almond essence. Add enough so it comes together but do not work too much otherwise your scones will be tough.

    Dump the dough out onto a floured work surface and pat or roll to a thickness of about half an inch/one centimeter. It is easier if this is a rectangle that is two-thirds deep to long. Pat the raspberries over one half of the width but for the full length and then fold over the over half that hasn’t got the rasberries over the top. Gently pat/squidge together so you have a long narrow sandwich of dough with the raspberries in a layer in the middle.

    Cut the dough sandwich into squares then the squares into triangles and place them on a baking tray lined with baking parchment. Brush the tops of the scones with milk and then sprinkle over flaked almonds and demarara sugar. Put in the fridge while the oven heats to 200 ºC or 180 ºC fan. Place the scones into the middle of the preheated oven – they need about 15 -20 minutes but watch them like a hawk because the marzipan will burn easily and will then taste bitter (mine were almost too brown). Cool on a baking wrack. They are best served warm from the oven but can be reheated for a few minutes in a medium oven to revive them over the next couple of days.

    scones-003


  10. Moist Lemon Bundt Cake

    January 25, 2015 by sarah

    lemon bundt-001


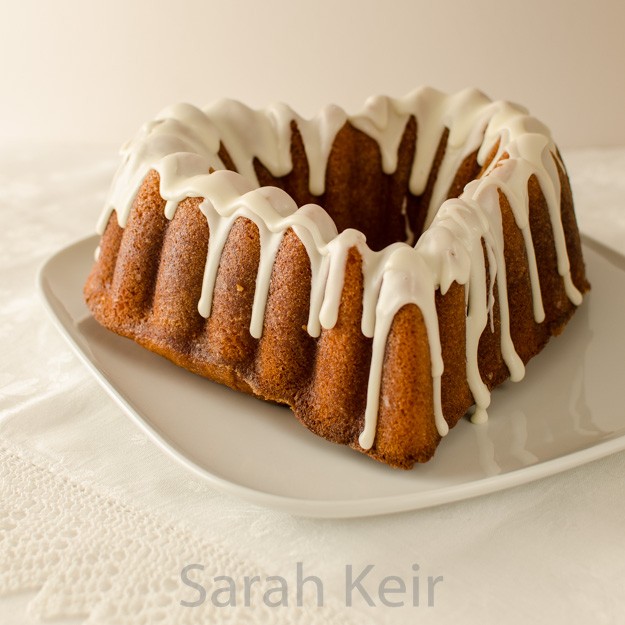
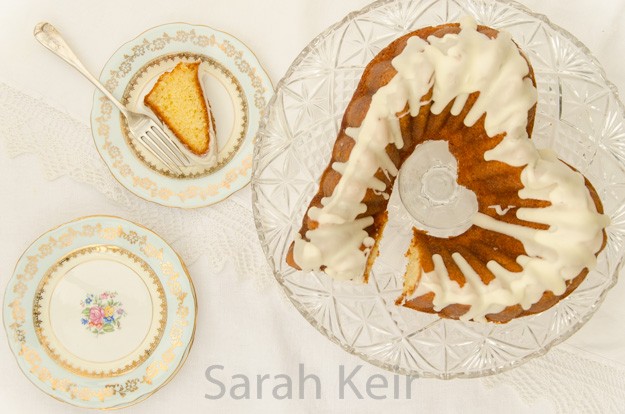
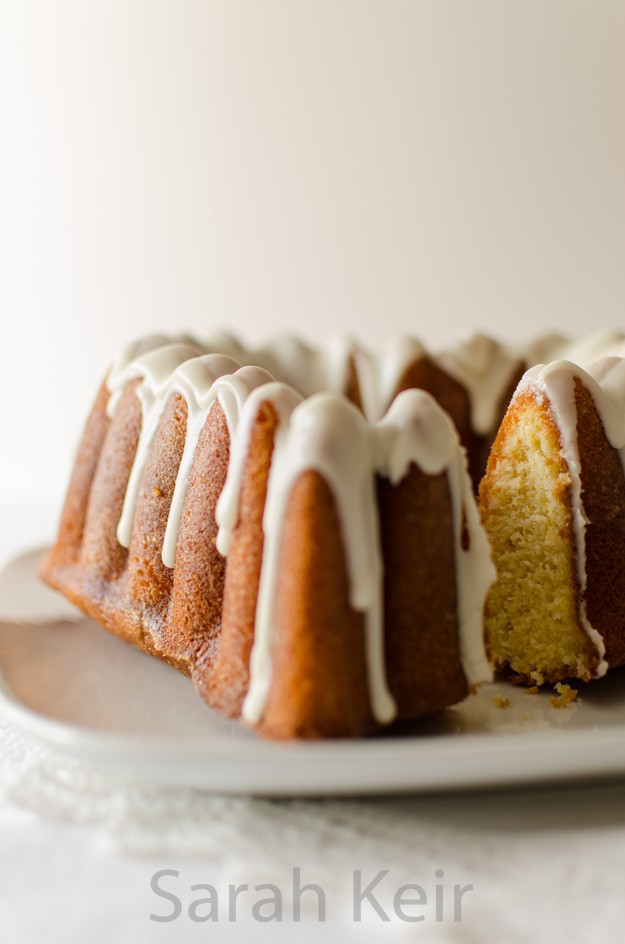
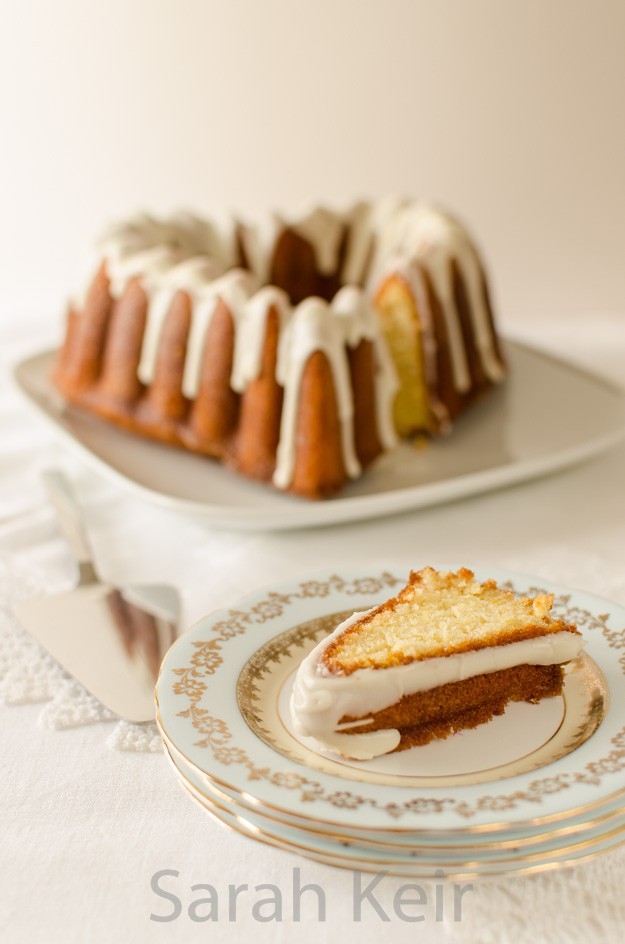
    My bundt tin was calling me from the cupboard and desired to be used. Ideally, I also had a glut of eggs last week and so this cake came about. The moist lemoniness was a great little January pick-me-up especially in the run up to the exams in a few weeks time. I also used cup measures for the first time as I had a folding cup measuring gadget as present from my Mum last year. Makes it easier with all these American recipes, though I have included usual metric measurements for the rest of the world.

    lemon bundt-004

    Moist Lemon Bundt Cake

    2 lemons, grated and juiced, zest sitting in the juice until ready to use
    340g (2 and 1/2 cups) plain flour 
    1 teaspoon baking powder
    1/2 teaspoon baking soda
    1 teaspoon fine salt
    200ml (3/4 cup) buttermilk
    5 medium eggs
    1 teaspoon vanilla extract
    200g soft margarine or butter
    200g (1 and 1/2 cups)caster sugar
    
    For the glaze - 3 tablespoons fresh lemon juice
                  - 100g (1/2 cup) caster sugar
    
    For vanilla icing - 120g (1 cup) icing sugar
                      - 1 teaspoon vanilla extract
                      - 2 tablespoons double cream or milk
    

    Preheat the oven to 160 ºC fan. Spray the bundt tin (10 cup size) with cake release and the dust the inside with flour, knocking out the excess.

    In a stand mixer with the flat beater, beat the margarine and sugar until light and fluffy.

    In a jug, beat the eggs with the buttermilk and vanilla extract. In a large bowl sift the flour, baking powder, baking soda and salt. Dump the egg mix, dry mix and lemon zest with juice into the stand mixer and start off slow speed to mix and then speed up to incorportate all, stopping and scraping down the sides a couple of times. Add some milk if it looks excessively stiff.

    Scrape into the prepared bundt tin so it is evenly distributed. Bake until the top is golden brown and a squewer comes out clean – about 45 minutes.

    While the cake is baking, combine the glaze ingredients, warming in the microwave to get the sugar dissolved if necessary. When the cake is done, allow to cool in the tin for 10 minutes so the sides shrink away and then turn out the right way up onto a cooling wrack. Sit the cooling wrack over a tray (carrying tray or cookie tray) and pour the glaze over the cake slowly so it sinks in. Scrape up excess glaze from the tray and pour over the cake; repeating until bored or the glaze sets.

    When the cake is entirely cool, mix the icing ingredients together (warm very briefly to achieve correct pouring consistency) then artfully drizzle over the cake. Serve!
    lemon bundt-003 lemon bundt-002