RSS Feed

‘Home’ Category

  1. Chocolate immersion weekend!

    December 23, 2015 by sarah

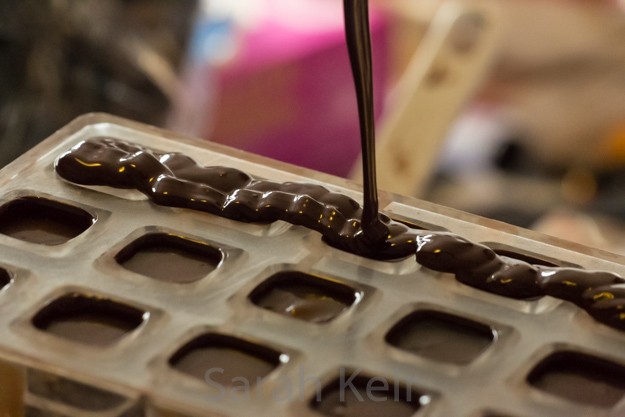
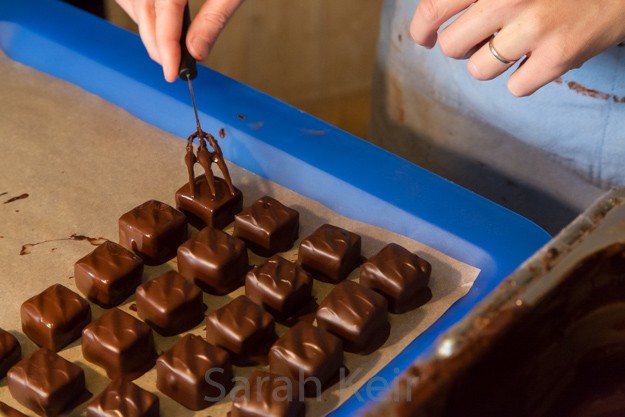
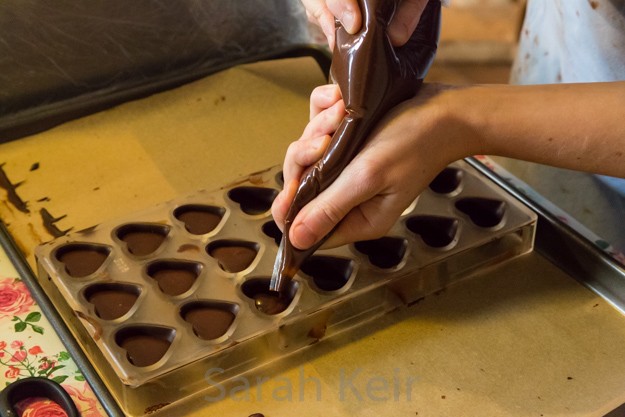
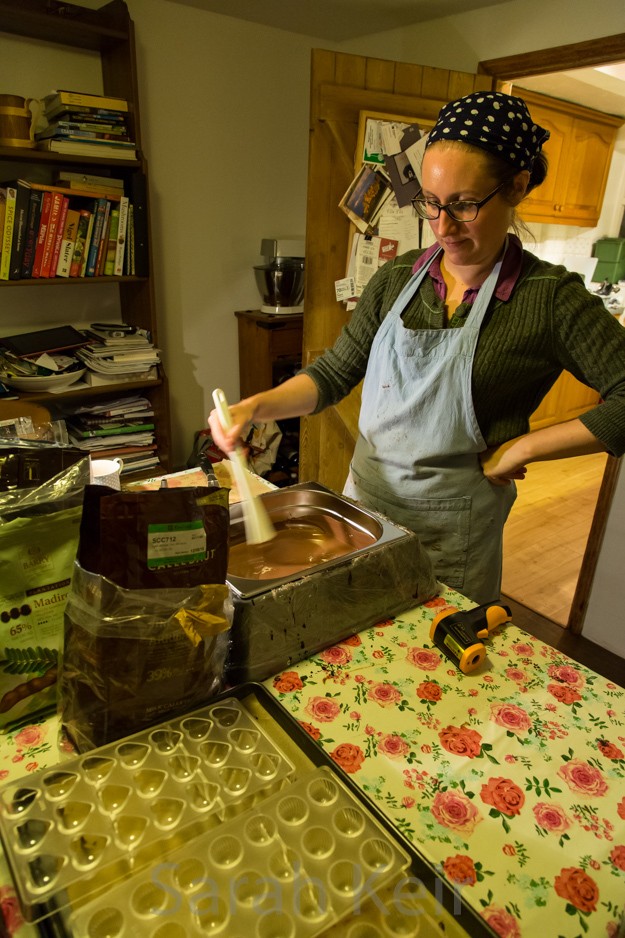
    I was really busy at the weekend. And I mean seriously busy. It was my chocolate immersion weekend! I decided that as part of my teaching myself the art of chocolatier, immersing myself in the chocolate making process from start to end would be a great way to learn. Eight kilograms of chocolate and 25 hours later, I feel I am happy to temper dark, milk and white chocolate, make molded chocolates, hand dipped and rolled truffles and improvise chocolate recipes to get my flavours nailed. And I definitely learned too; I need to charge more, I need to estimate weights for boxes of chocolates better and I need to reduce wastage especially on molded chocolates. But the seconds are not going to waste – I am sick of eating them over the past few days so I am going to take the remainder to work tomorrow for our Christmas Eve lunch party. And for all those who didn’t get any this year – get your orders in early next time!

    Happy Christmas one and all, and may it be a chocolately one!

    chocs-002

    Capping molded chocolates

    chocs-003

    Hand dipped pate de fruit with hand decorated tops.

    chocs-004

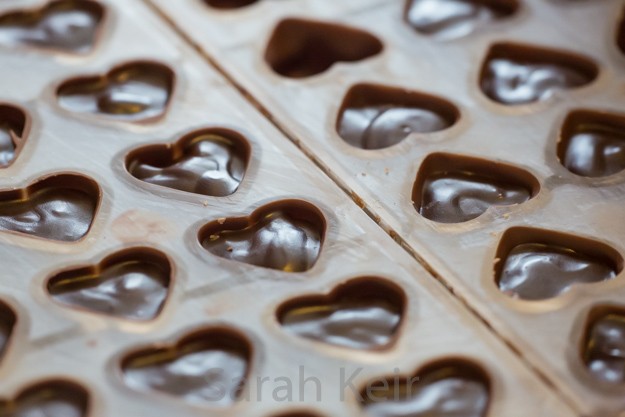
    Filling molded chocolates – with a gingerbread ganache in this one.

    chocs-005

    Intense look of concentration as I temper the milk chocolate.

    chocs-007

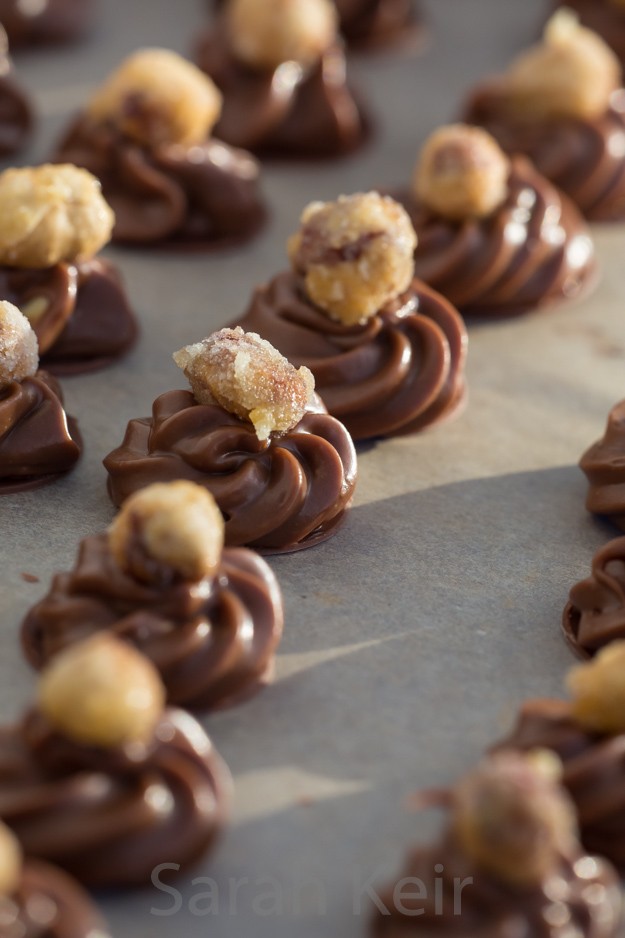
    Hazelnut praline whips with crystallised hazelnuts, waiting to be dipped.

    chocs-008

    Molded chocolates waiting to be capped.

    chocs-009

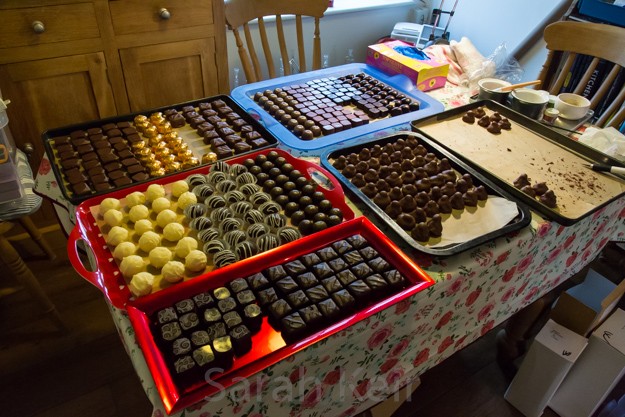
    All the chocolates laid out, nearly ready for boxing up!

    chocs-010

    Don’t they looks pretty?

    chocs-014

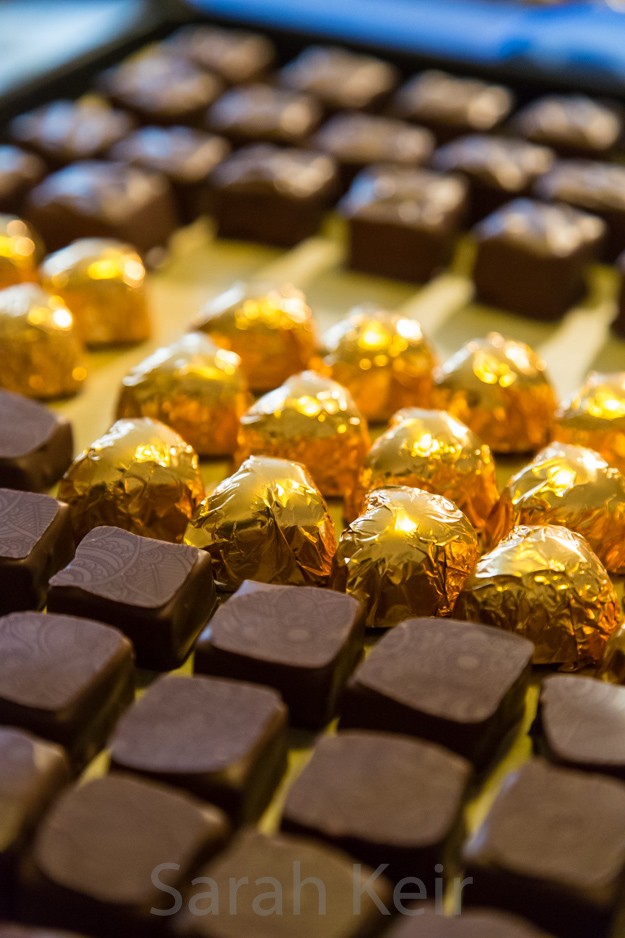
    Hazelnut praline whips finished with a dusting of gold.

    chocs-015

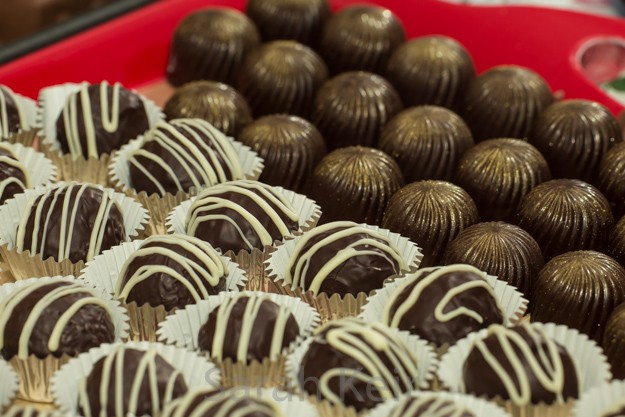
    Black forest hand rolled truffles in the fore ground and port ganache swirls behind.

    chocs-016

    Close up of the hazelnut praline whips.

    chocs-017

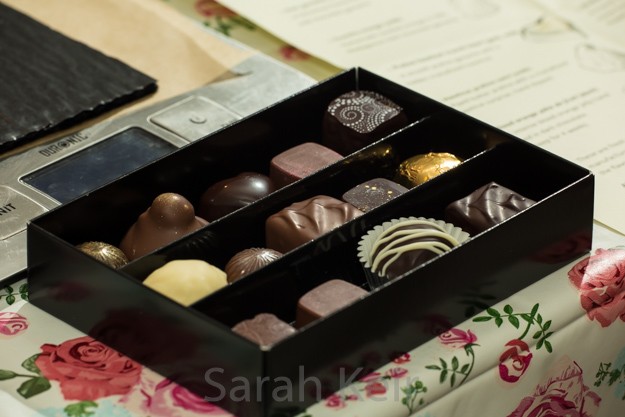
    Boxed chocolates

    chocs-018

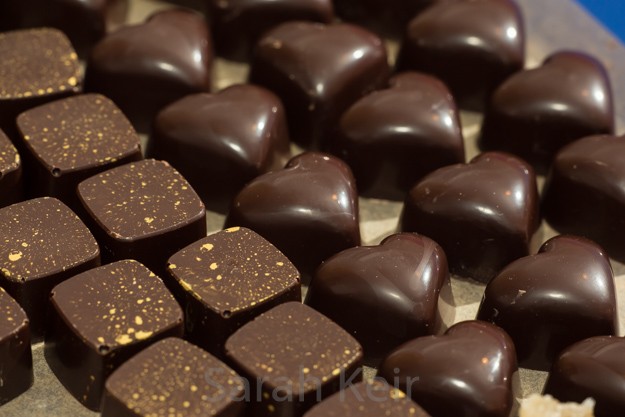
    Caramel squares in dark and gingerbread ganache hearts.

    chocs-020

    A box ready to be dispatched.


  2. Lemon & Blueberry Layer Cake

    December 12, 2015 by sarah

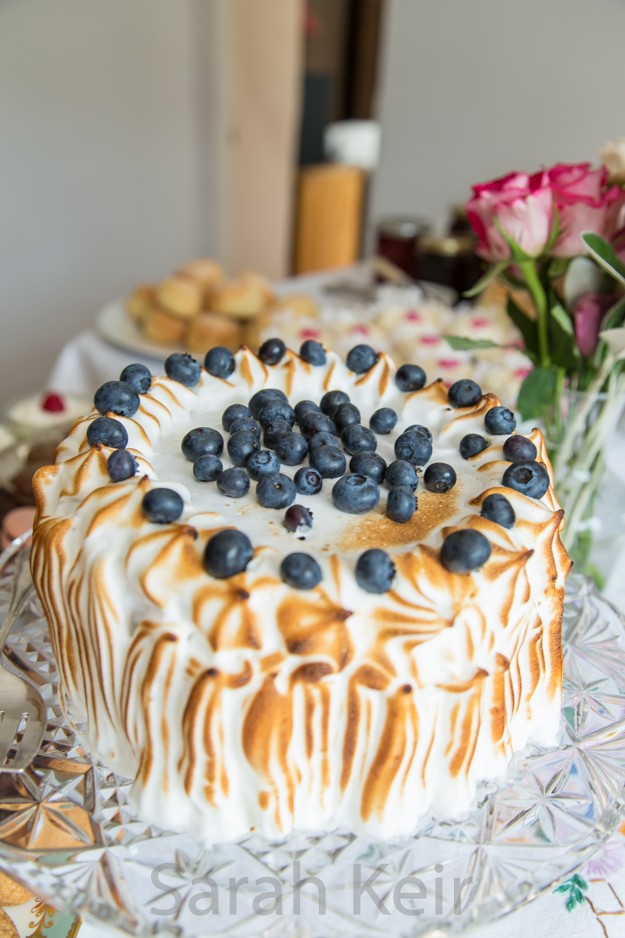
    I made this cake way back in the seemly long distant summer, for the tea party I held in our garden. Gosh, it seems so long ago that the sun was here especially as now the days are very short and what daylight there is is veiled in grey cloud and rain. I am dreaming of the lovely Ethiopian sunshine! Even my blue light therapy cannot dispel the winter blues!
    lemon-001


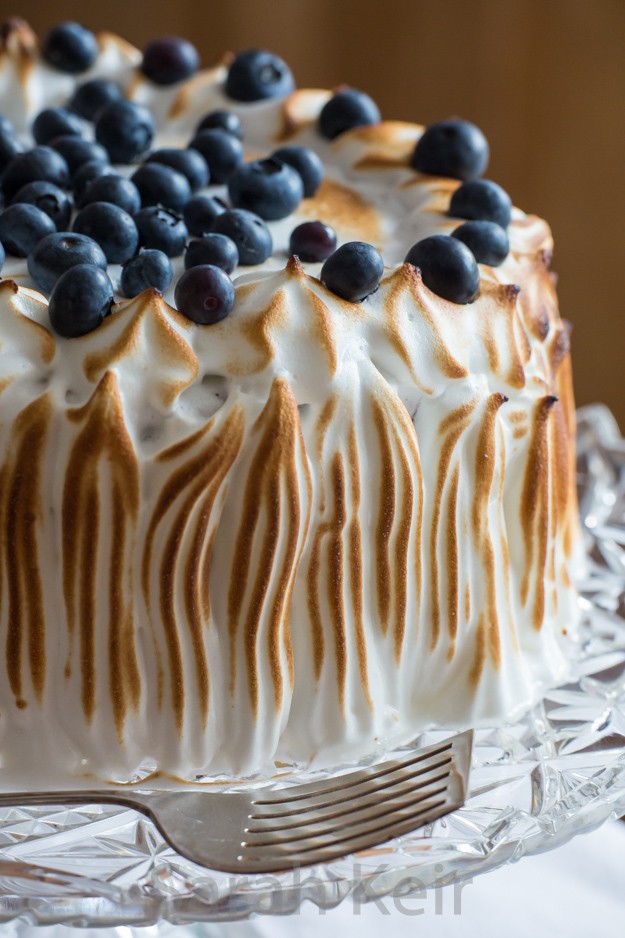
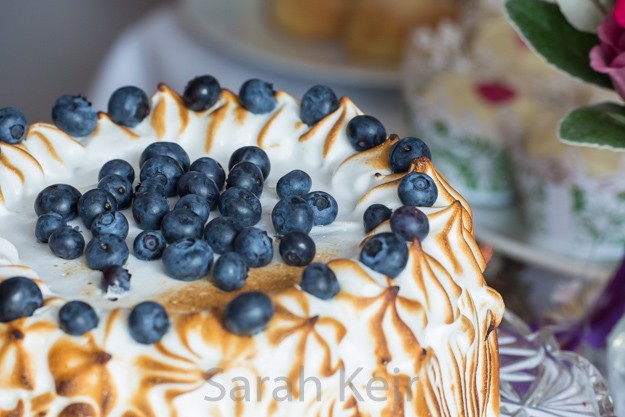
    But I chose to write up this recipe now as it has a sunny warm feeling about it. I wanted a light fruity cake to complement the heavier, richer cherry chocolate cake and lemon flavour always goes down well. And this cake ticked all those boxes; the light but flavourful sponge interspersed with bright bursts of blueberries, the bright sour flavour of the homemade lemon curd and the soft marshmallow of the Italian meringue topping enveloping the whole lot with a touch of caramel sugar where the blow torch caught as a foil against the floral tones of the elderflower. The list of ingredients and steps may seem an insurmountable hurdle but broken down into components, it really is not that a big a deal. You can make the lemon curd (you can find my fool-proof recipe here) a week or so in advance or buy a good quality one (I’m not judging). The cake layers (recipe adapted from here) can be made the day before and stored well wrapped in cling film. Only the assembly and meringue topping needs to be done shortly before eating. I was surprised by the keeping qualities of this cake. The meringue did weep terribly after about 12 hours but the syrup it produced kept the cake moist for several days!
    lemon-003


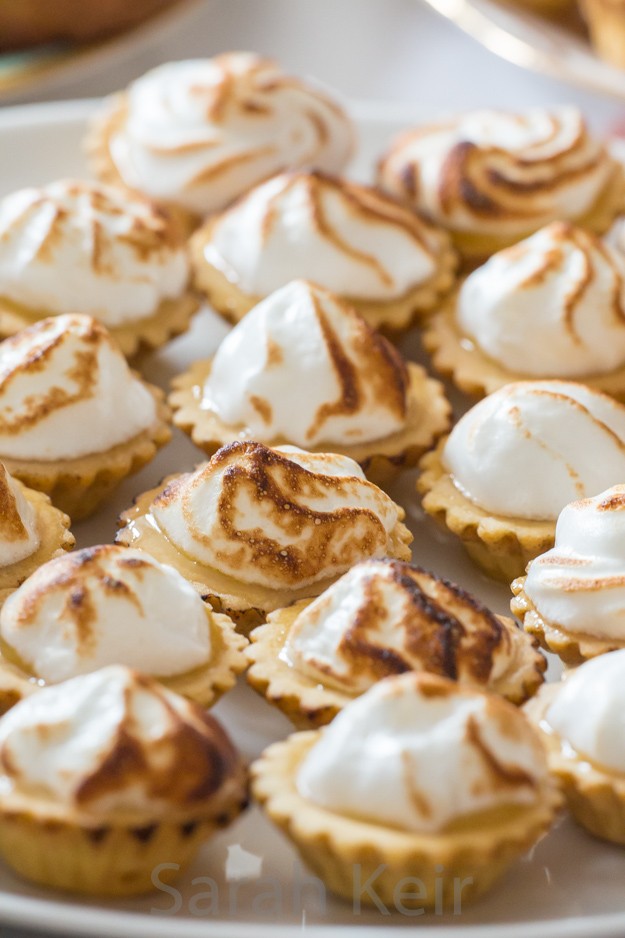
    If you have any lemon curd and meringue left over, you can easily make a form of lemon meringue pie – I made mini ones to have at the tea party. Marks and Spencer sell good quality ready made pastry shells which are so easy to use for this recipe.
    lemon-002

    Lemon & Blueberry Layer Cake

    Cake Layers
    230g soft unsalted butter
    250g caster sugar
    100g soft light brown sugar
    6 medium eggs
    1 tablespoon vanilla extract
    360g plain flour, sifted
    1 tablespoon baking powder
    1/2 teaspoon salt
    240ml buttermilk (or full cream milk with lemon juice added)
    zest and juice of 3 lemons
    275 of still-frozen blueberries, tossed in 2 tablespoon plain flour just before adding
    
    Filling
    Jar of lemon curd
    Some plain or lemon buttercream (100g butter, 200g icing sugar, a little milk if necessary)
    
    Italian Meringue
    300g caster sugar
    200g egg whites
    1/2 teaspoon cream of tartar
    1 teaspoon elderflower essence (I used Uncle Roy's, available here)
    
    Fresh blueberries for decoration.


    Preheat the oven to 180°C/160°C fan. Grease and line the base of three 9″ cake pans. It is easier to make this cake in a stand mixer, but it is perfectly possible to use a hand mixer or even entirely by hand.

    Beat the butter with paddle attachment until creamy. Add the sugars and beat until well creamed, scraping down the sides of the bowl as needed.

    Beat together the eggs and vanilla. Add to the butter/sugar mix a spoonful at a time with the beaters on medium, adding tablespoons of the flour if it looks like it is separating.

    Sift the dry ingredients (remaining flour, salt and baking powder) over the wet mixture, beat very slowly and then start adding the buttermilk, lemon zest and lemon juice. Do not over mix otherwise it will be tough – it is better to so the last bit by hand. Toss the blueberries into the flour and fold in. Spoon the batter evenly into the three prepared tins.

    Bake the three layers on the same shelf on the oven if possible and they will take 20-25 minutes, until a toothpick comes out clean. Remove from the oven, cool in the tins and do not proceed until they are completely cold.

    Stick the bottom layer of the cake to the serving dish with a blob of buttercream. Pipe a ridge of butter cream around the outer edge of the top of the cake layer – this is going to act as a dam to stop the lemon curd running out from the layers! Spoon the lemon curd into the centre, as much as you dare and then place the next cake layer on top and repeat the buttercream dam and lemon curd and then sit the final cake layer on the top.

    Make the Italian meringue by placing the sugar in a saucepan with 175ml water and bring to a rolling boil; place in a candy thermometer. Meanwhile, place the egg whites and cream of tartar in a stand mixer with the whisk attachment and beat to soft peaks. When the sugar syrup has reached 115°C, slowly trickle in down the side of the bowl of egg whites while they are going at high speed. Continue to whisk the meringue on high speed for about 10 minutes during which time it will thicken and cool but it is easier to use when still warm. Whisk in the elderflower essence if using and spoon into a piping bag. Use some of the meringue to cover the top first, smoothing with a spatula, then piping vertical lines (it is easier to go from bottom to top and it leaves nice spikes on top too) so that the whole of the cake is covered. If you have a blow torch then run it over the meringue to colour it. Dump some fresh blueberries on top, and an individual one on the top of each piped blob!
    lemon-004


  3. Ethiopia trip – we’re back!
    November 30, 2015 by sarah

    We have just got back from our trip to the wilder parts of Ethiopia in the Afar/Danakil region. It was an absolutely fabulous place and brilliant experience with an amazing group of people. I was a little dubious that I could fill three days and nights on an active volcano but I found it mesmerising and constantly changing. Getting back to normal life and reality is going to be difficult after this adventure!

    Ode To Erta Ale

    Erta Ale you are so fair
    With your golden pele's hair,
    Such a beautiful and mesmerising sight
    I wish I could stand here all night
    And take pictures of the changing light.
    Lava fountains of spectacular height,
    Splashing plumes of orange and yellow
    As you churn, grumble and bellow;
    We feel Earth's raw power and in awe
    Know that after three days we still want more.
    Erta Ale in your lava embers
    Such sights we will forever remember.
    
    
    ethiopia-001

    Me and Jim next to Erta Ale lava lake.


    ethiopia-002

    Erta Ale lava lake.

    ethiopia-003

    Erta Ale at dawn.

    ethiopia-004

    Pele’s hair on Erta Ale.

    ethiopia-005

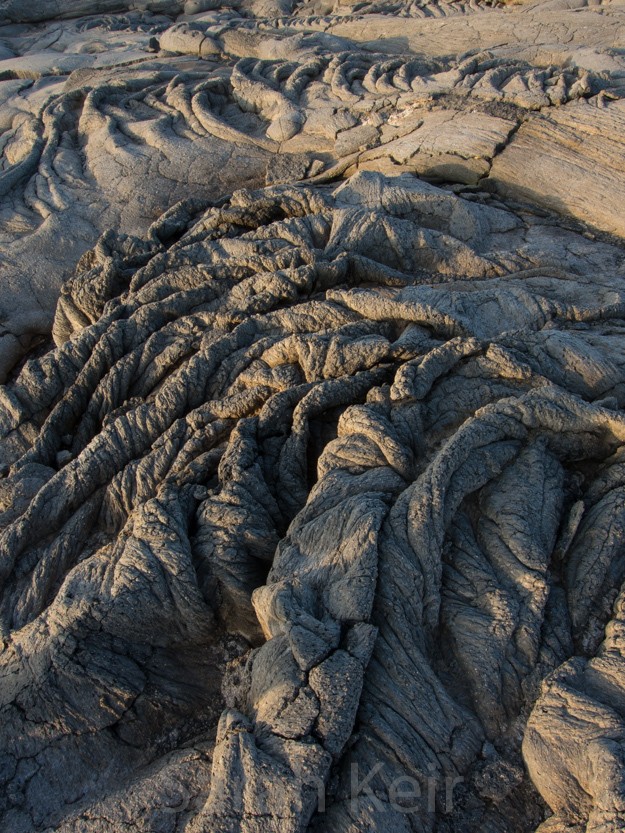
    pāhoehoe lava on Erta Ale.

     ethiopia-006
    ethiopia-007

    Night time displays were the best but also the most difficult to photograph!

    ethiopia-008

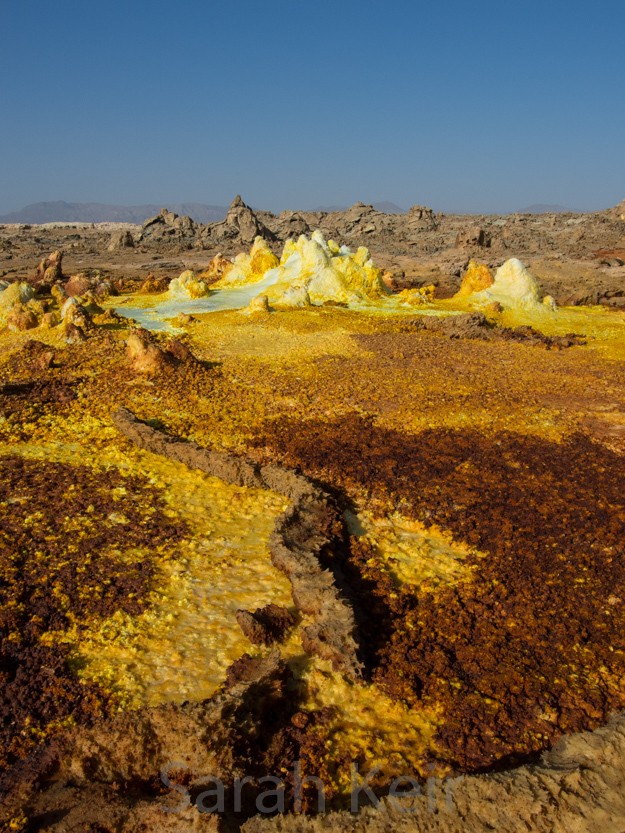
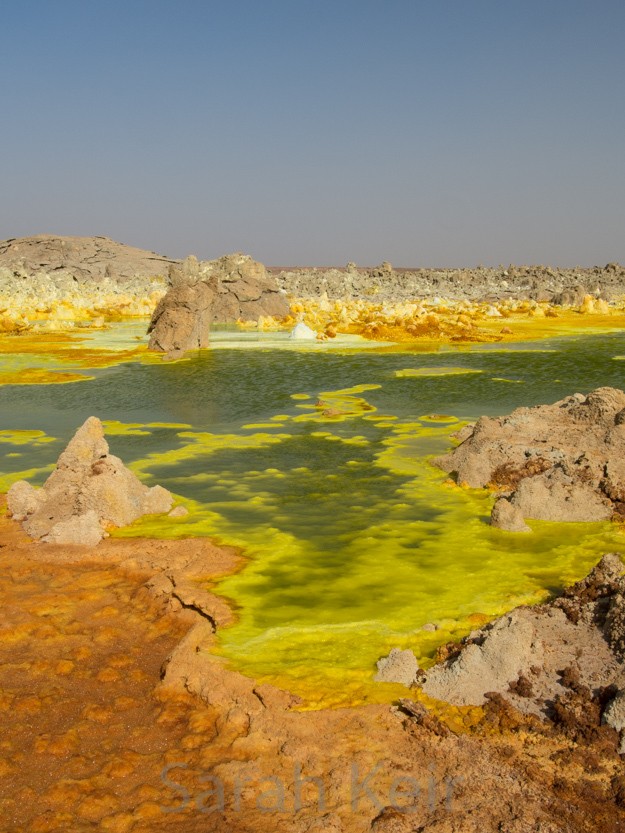
    Sulphur vents at Dallol.

     ethiopia-009
    ethiopia-010

    Camel trains carry hand worked salt blocks from Dallol to the highlands.

     ethiopia-011 ethiopia-012
    ethiopia-013

    Our group.

    ethiopia-014

    Toyota Landcruiser of the desert.

    ethiopia-015

    Into the cooler highlands.

    ethiopia-016

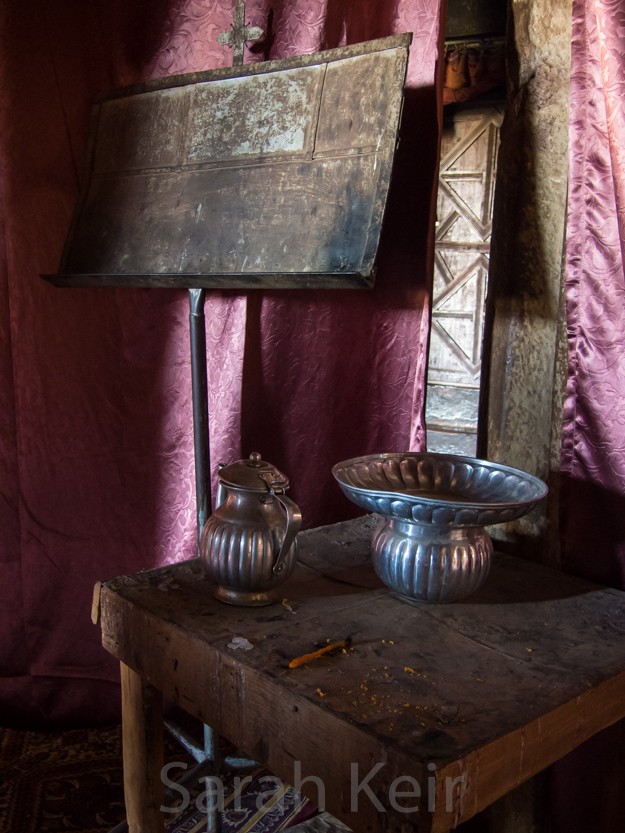
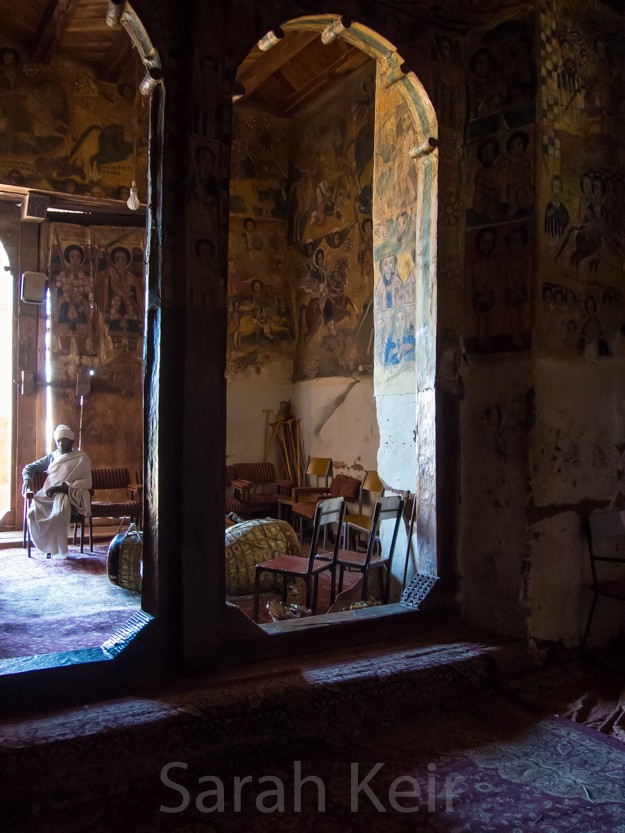
    Inside Ethiopian church.

     ethiopia-017 ethiopia-018
    ethiopia-019

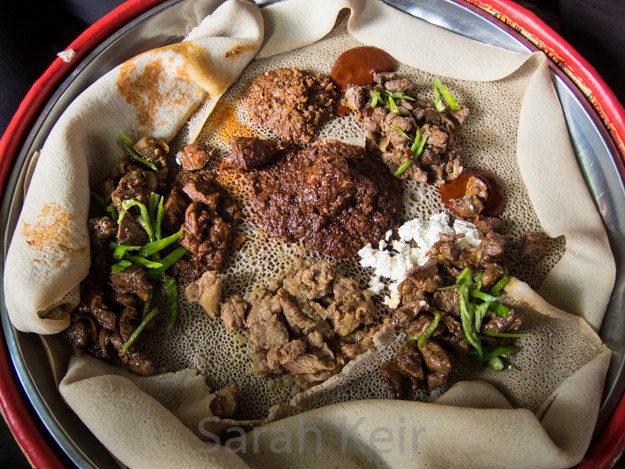
    Ethiopian food is delicious.


  4. Mille feuille

    November 13, 2015 by sarah

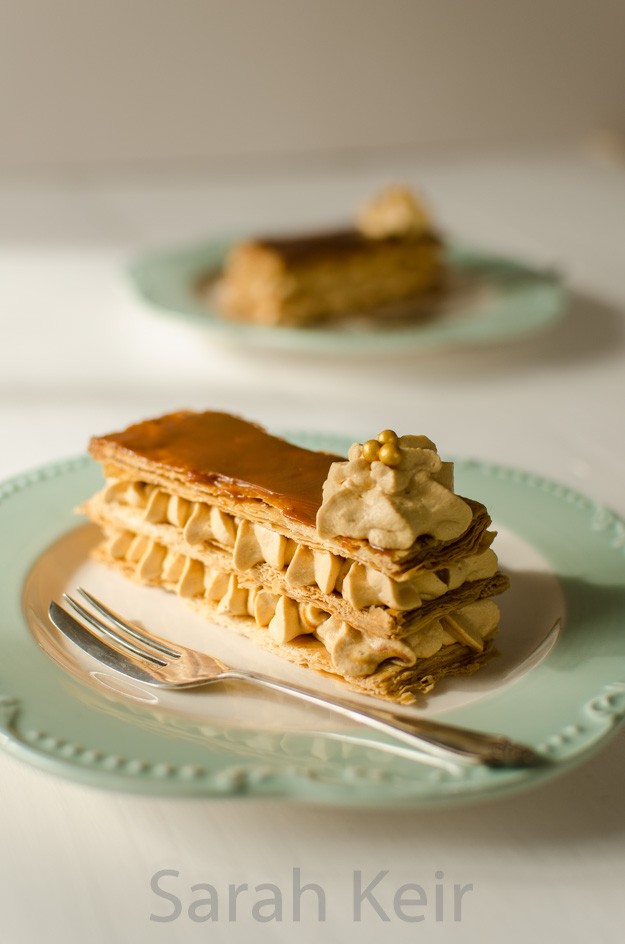
    Just a very brief post to say bye-bye for a couple of weeks as we are off on holiday – back to lovely Ethiopia. I was hoping to have time to write some posts before I went but I ran out of time. So I’ll leave you with a little taster of what is to come… dulce de leche mille feuille!

    Cheats recipe – Bought ready-rolled all-butter puff pastry. Bake according to packet but lie a heavy flat baking sheet on top to prevent too much rise. Cool on wire rack. Once cool, carefully cut into rectangles. Caramalise the top of what will be the top layer with sugar under the grill or with blow torch.

    Whip cream until soft peaks, fold in dulce de lech and pinch of salt. Spread some more dulce de leche on the top of the bottom and middle layers of pastry. Pipe the flavoured cream on top of the bottom and middle layers and sandwich together, adding some carmalised nuts if you have some available. Done. Eat. Enjoy.

    bye-001


  5. Homemade Artisan Chocolates

    November 3, 2015 by sarah

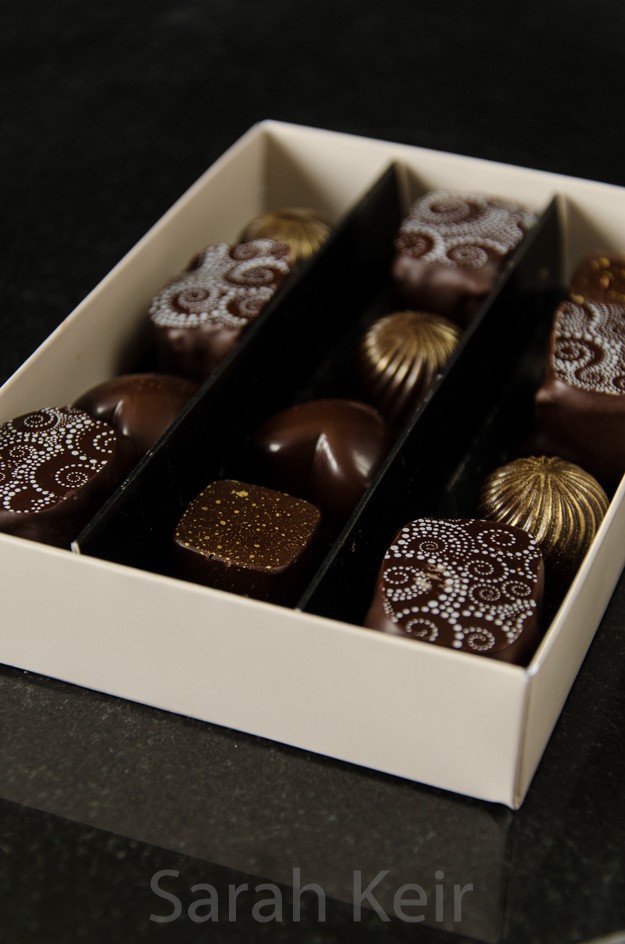
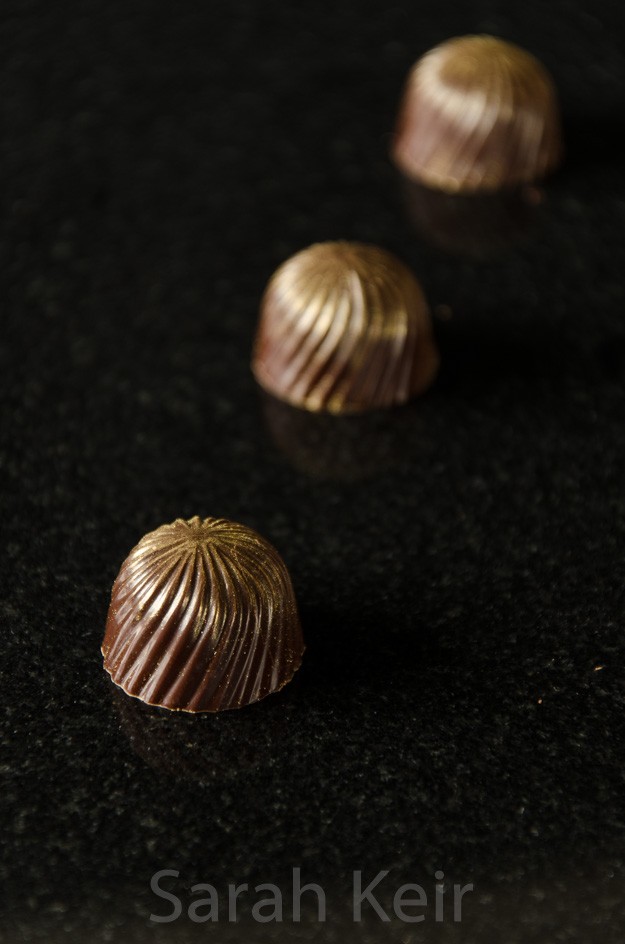
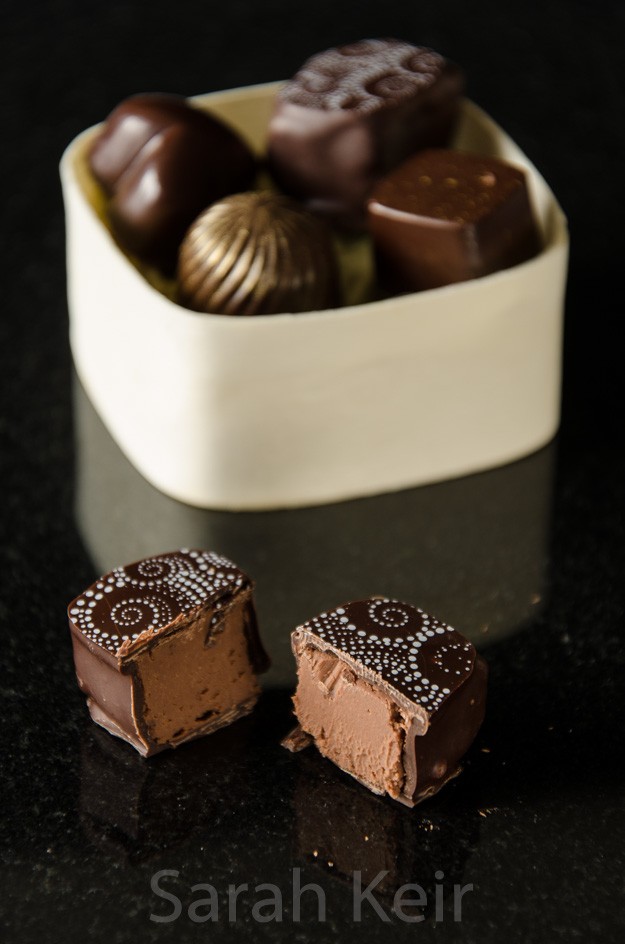
    Not a recipe as such this week. After the chocolatier course I attended in September, I have been dreaming of chocolate. So as a treat for finishing my course work, plus some early Birthday presents, I gathered together the necessary ingredients and equipment to make some professional looking chocolates. The tempering went very well though I think I need some more practice with the hand dipping – it was rather messy and thick. The molded chocolates I filled with salted caramel (mmm) and the hand dipped ganches are an ale flavoured ganache, recipe as Paul A. Young here. I used ‘Death or Glory’ ale from the local Tring microbrewery and it was fantastic – who would of thought it, beer flavoured chocolate!

    chocolates-001 chocolates-002 chocolates-003


  6. Nougat

    October 27, 2015 by sarah

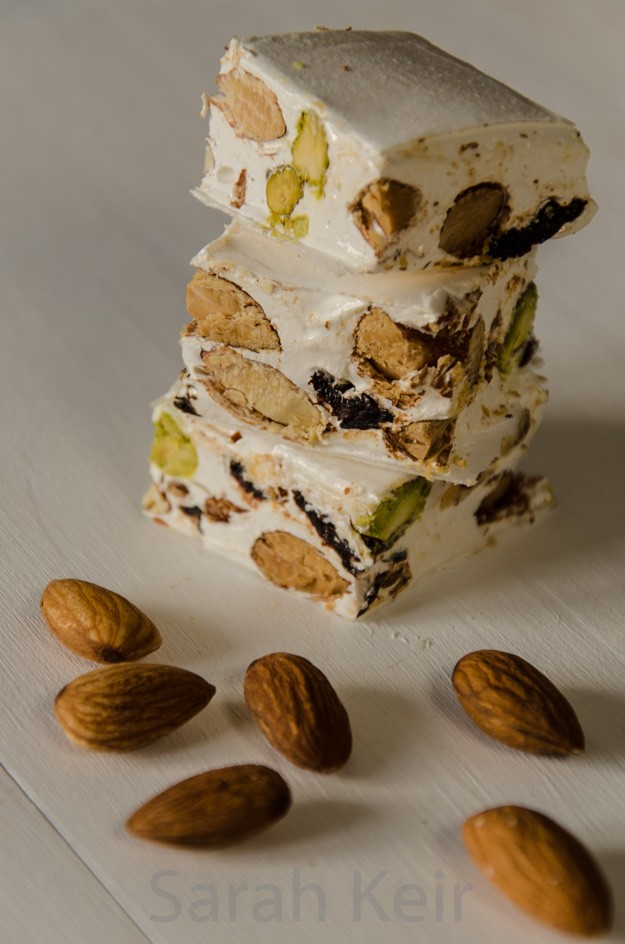
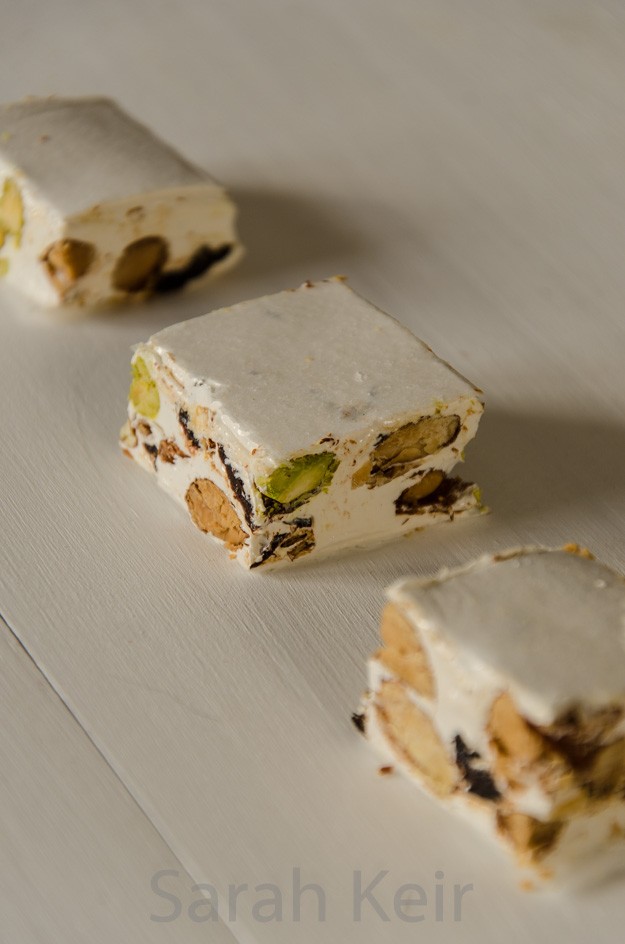
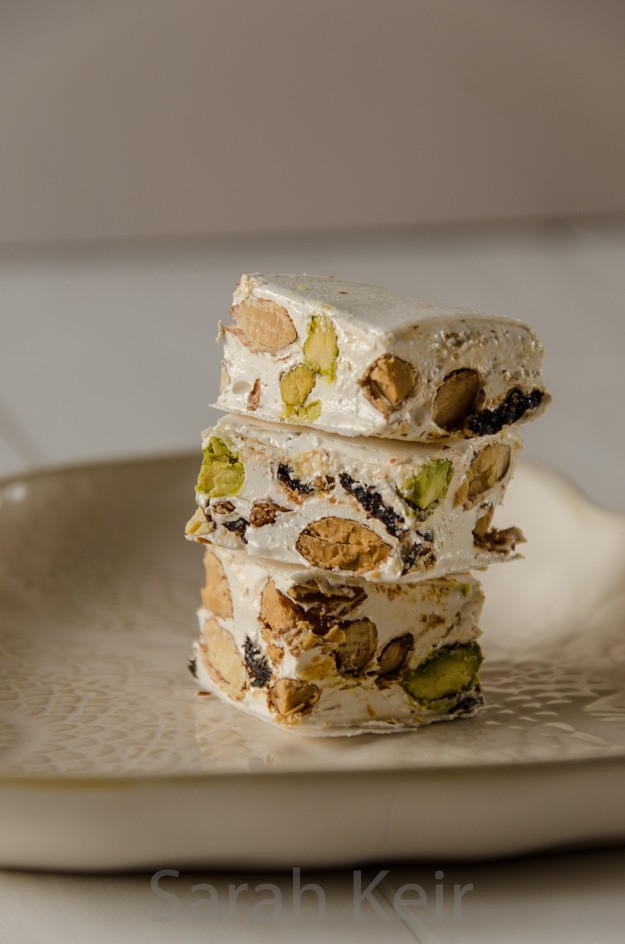
    I love real nougat but usually only get to enjoy it at festive times. A couple of weeks ago I had some egg whites left over and felt in the mood for something sweet and decadent and decided to give it a try. The other option was marshmallows but I don’t like marshmallow so nougat it was. Nougat is a chewy sweet made with sugar and egg whites with nuts and dried fruit. This is ‘white nougat’ a traditional candy from Italy (“torrone”), France and Spain (“turrón”), though weirdly in Germany, gianduja (a smooth mixture of hazenuts and chocolate) is traditionally called nougat. So give this recipe a try and make some artisan nougat!

    nougat-005


    This recipe makes loads of nougat – you could half the recipe if you don’t think you could eat it all or give it away. This recipe is a combination of this one from Great British Chefs website and from Miss Hope’s Chocolate Box book of splendid recipes.

    nougat-002

    Artisan Nougat

    400g caster sugar

    100g liquid glucose

    125g runny honey

    2 egg whites (1 used 3 medium egg whites, about 100g)

    pinch of salt

    200g toasted whole almonds

    40g pistachios

    75g dried sour cherries

    rice paper

    Line the base and sides of a square tin with rice paper.

    Put the sugar, honey and liquid glucose in a large heavy-bottomed pan with 125ml water. Heat gently to dissolve the sugar and then place in a sugar thermometer and bring the mixture to the boil.

    As water is driven off, the temperature will rise; boil to 125°C.

    Place the egg whites in a stand mixer and beat until they form stiff peaks but no further.

    Continue to boil until 145°C is reached, then put the mixer onto medium speed and slowly and steadily pour the hot sugar over the egg whites while they are being beaten.

    When all the sugar is added, add the salt and turn the speed up and beat for 5 minutes until the mixture is thick and glossy.

    Fold in the nuts and fruit then press the mixture into the prepared tin and cover with more rice paper, pressing the mixture so it is level. Alternatively, place between two large sheets of siliconised paper and roll to make an even 2cm thickness. Allow to cool before cutting with a lightly oiled knife. It helps if you clean and oil the knife between each cut.

    nougat-001


  7. Damson bavarois with roasted damsons

    October 18, 2015 by sarah

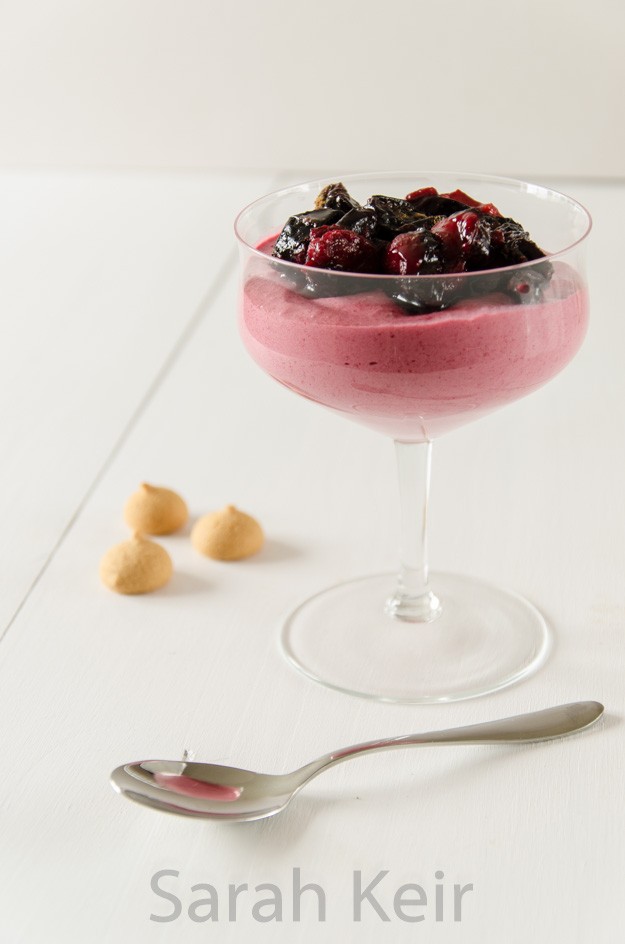
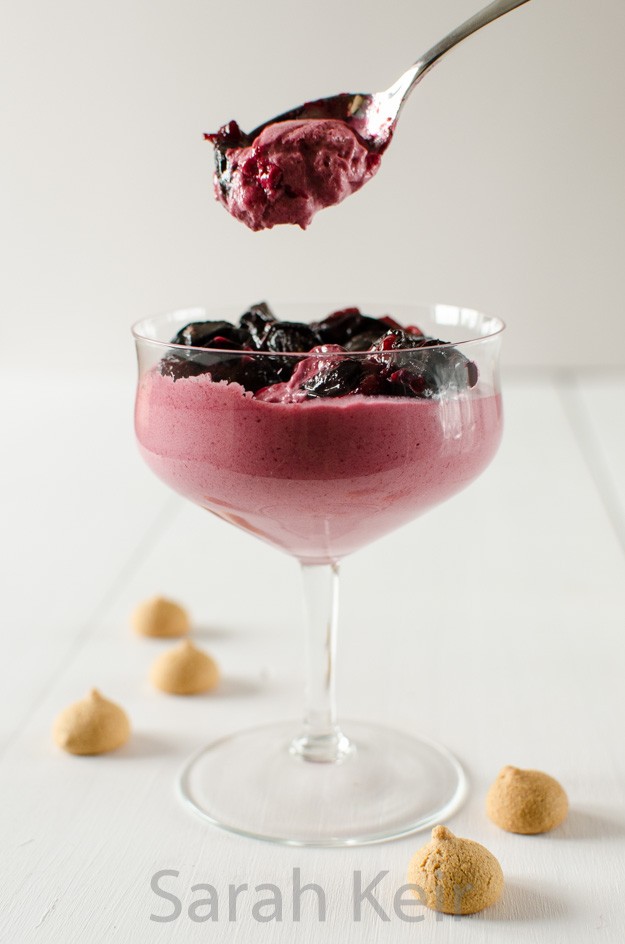
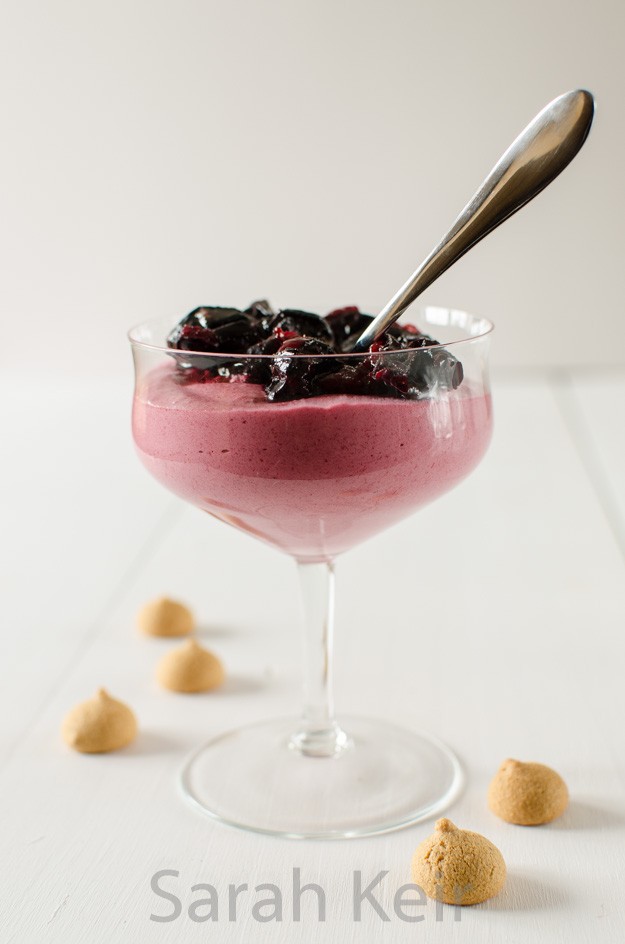
    Here is a lovely seasonal recipe which makes fantastic use of a forgotten fruit. Don’t be put off by the steps needed as the result it most definitely worth it and any extra freezes well for a few weeks. Damsons are a old fashioned sour type of plum with a very intense plum flavour – far superior to anything in the shops. I find these in local hedgerows or the car park of a National Trust property south of London! A bavarois is very similar to a mousse but is usually based on a creme anglaise: in this case the egg yolks are beaten over heat. Pureed fruit or chocolate and gelatine are added, and after an initial cooling the bavarois is aerated with lightly beaten whipping cream. When allowed to stiffen in the freezer or refrigerator the bavarois acquires its characteristic creamy, airy texture.

    damson-001


    This recipe is slightly modified version found here at The British Larder, a restaurant in Suffolk which I am dying to visit (they were fully booked when we tried to go there on a spur of a moment last year).

    damson-004

    Damson Bavarois with Roasted Spiced Damsons

    For the spiced baked damsons
    250g damsons, halved and stoned
    125g soft brown sugar
    1 teaspoon mixed spice

    For the damson bavarois
    300g damsons, stones in but washed
    100ml cold water
    150g caster sugar
    5 medium free-range egg yolks
    3 sheets of gelatin, bloomed in cold water
    300ml double cream

    mini amaretti biscuits to serve

    To prepare the baked damsons, preheat the oven to 200 °C/180 °C fan. Spread the damson halves out on a baking tray lined with baking parchment (this really helps with washing up later!). Sprinkle over the brown sugar and spice and bake for 20-30 minutes, stirring a couple of times until the damsons have turned all jammy. Allow to cool and store in fridge until needed (up to a week).

    For the damson bavarois, you first need to prepare a puree. Place the washed damsons and water in a medium pan and place over a medium heat. Bring to the boil and then simmer for 10-15 minutes until the damsons have burst and broken down. Remove from the heat and press the mixture through a sieve into a non-metal bowl and place in the fridge to cool down.

    Place the caster sugar, egg yolks and 30ml of water in a glass bowl over a pan of gently simmering water. With a hand-mixer whisk continuously until thickened and pal e yellow in colour (took about 10 minutes). Remove from the heat and whisk in the bloomed gelatin until all dissolved and now add the cooled damson puree and whisk in. Whisk the cream in a separate bowl until it reaches soft peak then fold into the egg/damson mixture.

    Spoon or pipe the bavarois mixture into glasses or small ramekins. Refrigerate for at least 4 hours until set and only then cover with cling film It can then be frozen if required or served with the roasted spiced damsons on top and some dessert biscuits.

    damson-003


  8. Thame Food Festival

    October 7, 2015 by sarah

    The weekend before last we went to Thame food festival. We had not been before and it was just by luck that I spotted an ad in a magazine. I am so glad we went – it was a fantastic day out. We, or really I, bought lots of lovely things to eat and drink and there was so much choice of food stalls that we could of eaten there for 3 meals a day for a week and not had the same thing twice. Also, it was a beautiful sunny day, just the start of Autumn, in a beautiful old market square of a pretty town. Enjoy!

    Thame-001 Thame-002 Thame-003 Thame-004 Thame-005 Thame-006 Thame-007


  9. Baked cheesecake

    August 29, 2015 by sarah

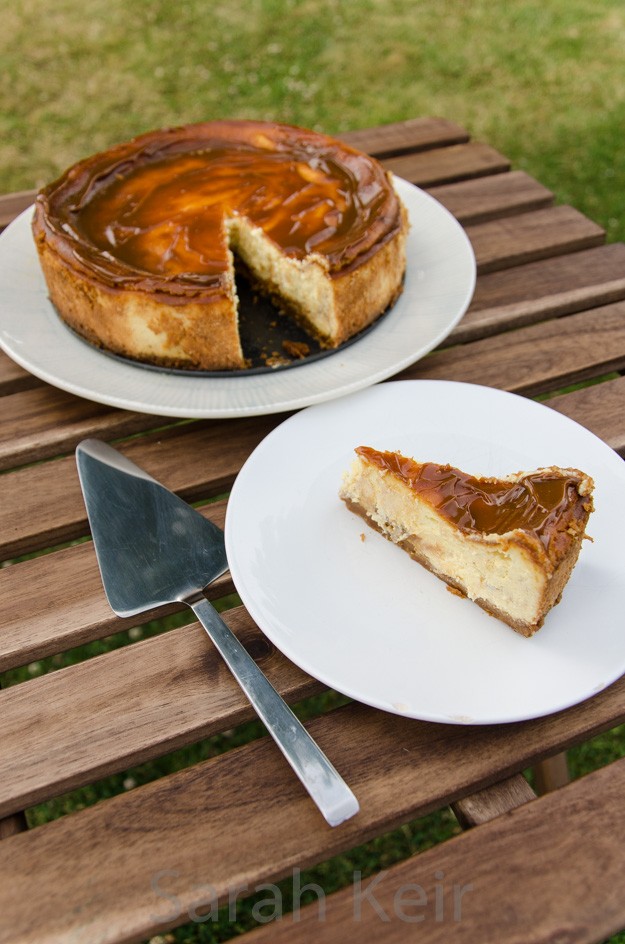
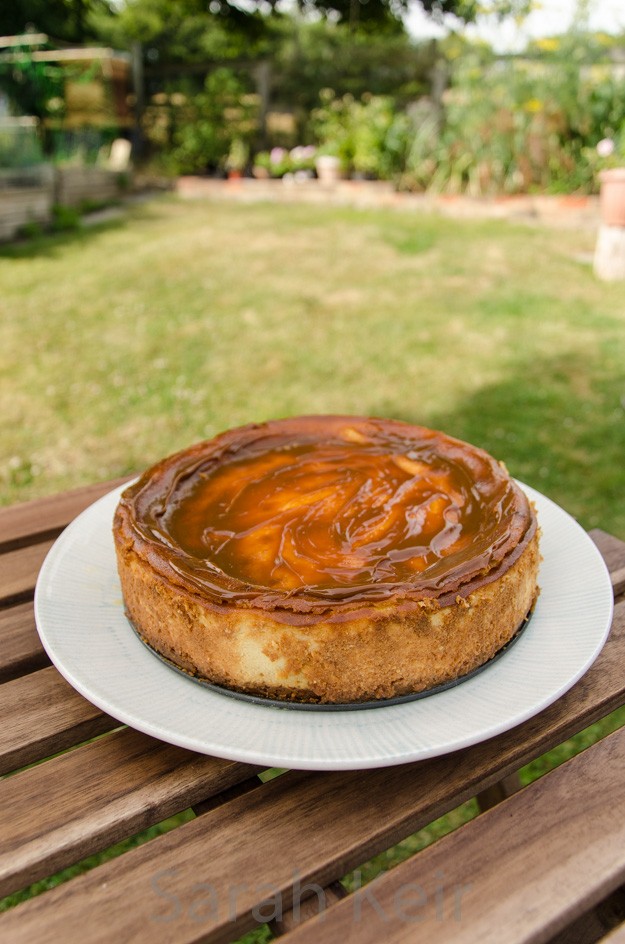
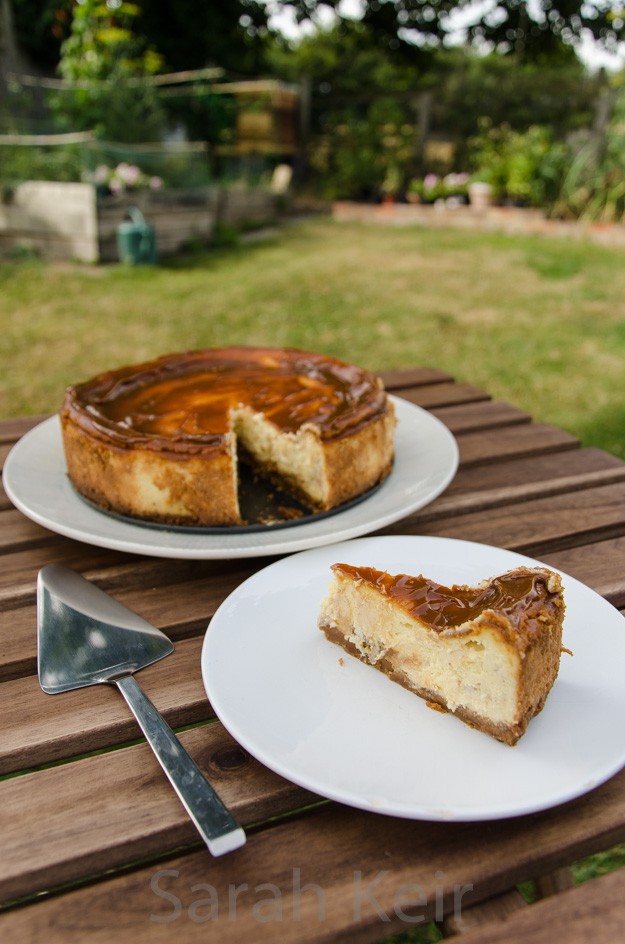
    I never used to like cheesecake. I used to find it dense and cloying in the mouth and far too heavy to end a meal. But when we were on the Isle of Wight at Easter time, I tried a baked cheesecake in the local pub and it was sublime; rich but not dense, smooth and creamy. I knew I had to try making this myself.

    cheesecake-003


    I actually made this cheesecake over a month ago, but low and behold what was on Great British Bake Off this week; baked cheesecakes! I would like to think that mine would have done well against the other contestants. I was certainly please about how it turned out. I have been converted to the joys of baked cheesecake and I hope you are too!

    cheesecake-001

    Baked Caramel Cheesecake

    Serves 12-14

    Many alternative recipes separate the eggs, whisk the egg whites until stiff and fold them in at the end. This probably gives a lighter resulting cheesecake.

    250g ginger snap biscuits, crushed to fine crumbs
    125g butter, melted

    750g full fat cream cheese
    150ml sour cream
    150ml double cream
    200g caster sugar
    2 tablespoons corn flour
    4 eggs
    2 teaspoons vanilla extract
    1/2 teaspoon salt
    a 400g tin of caramel e.g. Nestle Carnation, I used dulche de leche

    Mix together the crushed biscuits and melted butter. Press into a 24cm spring-form pan. Put in the fridge for at least half an hour to set.

    Preheat oven to 170 °C/150 °C fan.

    In a large bowl, mix the sugar, corn flour and salt then beat in the cream cheese, sour cream, eggs and vanilla. In a separate bowl, beat the double cream until soft whipped and then fold this into the mixture too.

    Pour half the cream cheese mixture over the prepared biscuit base. Top with caramel – caramel tends to be thick so just glop small lumps dotted over the top and then use a knife to swirl it through. Pour over the remaining cream cheese mixture.

    Place on a baking tray and cook for 1 to 1 and half hours until the cheesecake is golden brown on top and just set (slight wobble still). Run a knife around the edge of the cheesecake and pop back in the oven. Turn the oven off, prop the door slightly ajar and leave the cheesecake to sit for another 2 hours at least; overnight is fine. Unmold from the spring-form pan and place in the fridge for another few hours until set. Spread some more caramel over the top and the cheesecake is ready to serve!

    cheesecake-002


  10. Chocolate Caramels

    August 23, 2015 by sarah

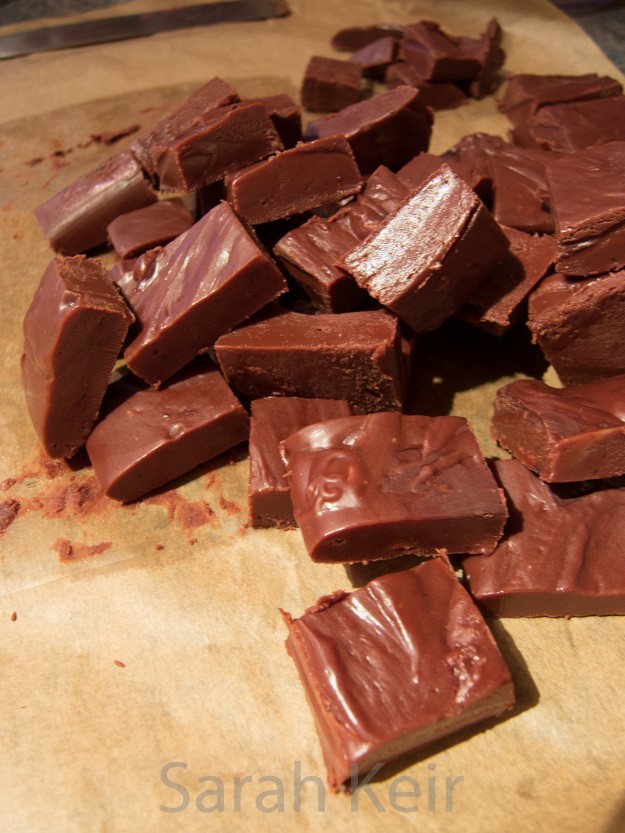
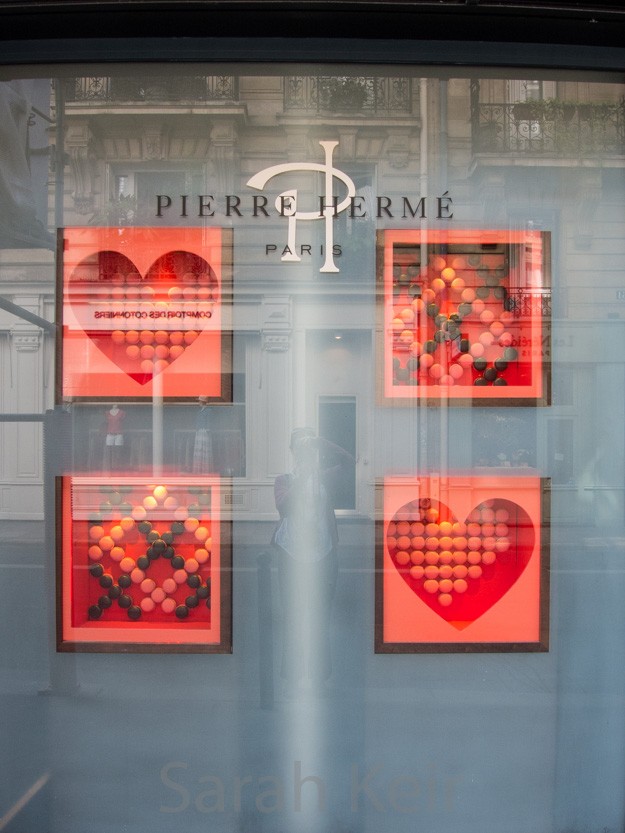
    When we were in Paris, which seems a life time ago even though it was only three months hence, I bought some Breton caramels from a posh Parisian shop. I was disappointed in them to tell the truth. All I could taste was sugar, and yes, the ingredients do contain sugar but they should also be buttery and creamy. Also they were crumbly like fudge, instead of smooth and almost chewy like a caramel should be. Only one thing for it; to make them myself. Which is what I did a few weeks ago. Unfortunately I forgot to take any decent photographs of them before they got devoured so you will just have to take my word for it as to how good they were. And the people at the Tea Party; they got to try them. They were so moreish that just one was not enough.

    caramels-001


    I used a combination of recipes from this blog and my ‘Patisserie Maison’ book by Richard Bertinet, a Christmas present from my Mother. A sugar thermometer is a must for this recipe. Use the best possible ingredients you can afford because you taste it all; I splashed out on proper French 40% crème fraîche and butter from Waitrose.

    Chocolate Caramels

    125g food quality chocolate, chopped
    100ml double cream
    100g crème fraîche
    200g caster sugar
    75ml water
    150ml liquid glucose (you can use light corn syrup if you are in the USA, or golden syrup)
    25g salted butter
    1 teaspoon sea salt

    Line a 8-9 inch (20-23cm) square pan with baking parchment.

    Heat the double cream and crème fraîche in a medium pan until just coming to the boil and the crème fraîche has melted. Remove from the heat but keep warm.

    In a separate pan with a heavy bottom, heat the sugar and water until the sugar has dissolved; then bring to the boil without stirring and add the glucose syrup. Simmer until the mixture is thick and syrupy; this took me about 15-20 minutes.

    Take off the heat and stir in the butter and the cream mixture. Put back on the heat and stir continuously and monitor the temperature until you reach 120 ºC. Take off the heat and stir in the chocolate and sea salt, stirring until the chocolate is completely melted.

    Pour the mixture into the prepared tin and leave until completely cool. Slice the caramel into squares and wrap individually in cellophane or parchment paper. They will easily keep for up to a month in a sealed container in the fridge.


    caramels-003


    Update 22/9/17 – recipe for a 8″ x 8″ pan to give a good even depth for dipping. Also cut in to 25mm x 25mm squares so this recipes gives 64.

    155g chocolate
    125ml double cream
    125g creme fraiche
    250g caster sugar
    95ml water
    185g liquid glucose
    30g salted butter
    1 teaspoon sea salt, ground in pestle and mortar

    These won first prize in the Wigginton Show this year!