RSS Feed

‘Home’ Category

  1. Quilting progress

    March 30, 2014 by sarah

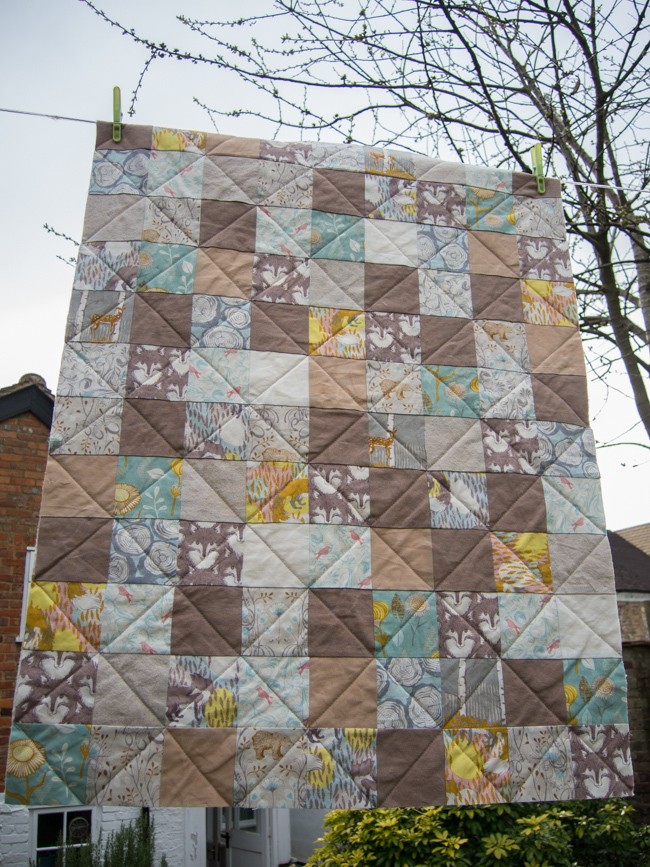
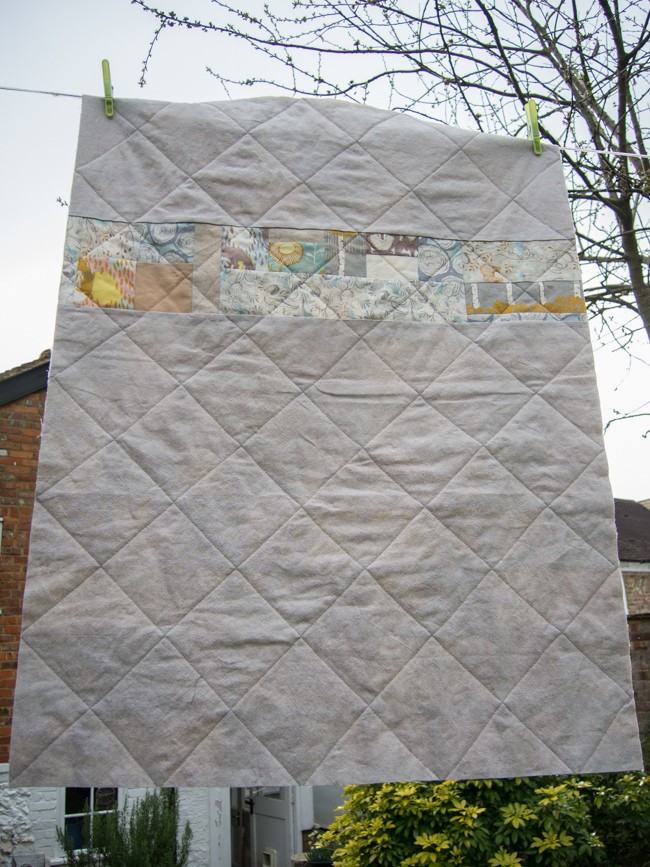
    I have had an enjoyable weekend learning how to machine quilt from tutorials and videos available online. The web is such an amazing source of information, meaning I don’t necessarily need to find time to take a class or buy and read a book. It was good to use the other half of my brain while my haemotology course notes sunk in! Just the binding to be done at some point. I think I like the back more than the front!

    DSCN1134 DSCN1136


  2. Spice 5 – Cinnamon – Cinnamon Rolls

    March 30, 2014 by sarah

    Cinnamon. A beautiful warm, sweet spice, which I am sure we are all familiar with. Essential in many of the recipes we know and love, such as apple pie and mulled wine. True cinnamon comes from the bark of young saplings of Cinnamomum verum, a tree native to Sri Lanka (also known as Ceylon), which is stripped and rolled by hand to form quills. The cinnamon available in Europe can only come from this source, but it is also possible to get ‘cassia’ which is harvested from other Cinnamomum species, but is less aromatic and subtle than true cinnamon and the bark is much tougher. Cinnamon has many health benefits including anti-clotting and anti-oxidant actions, helping to control blood sugar levels in diabetes, and anti-viral and anti-microbial actions. However, too much cinnamon can be harmful due to it containing coumarin which can cause liver and kidney damage in high concentrations. The EU has set limits to reduce exposure to this but at levels that will actually affect the taste in the produce – so if you want your cinnamon baked goods to actually taste of cinnamon, you know who to blame so make it yourself! See this article on cinnamon!

    cinnamon (4 of 4)


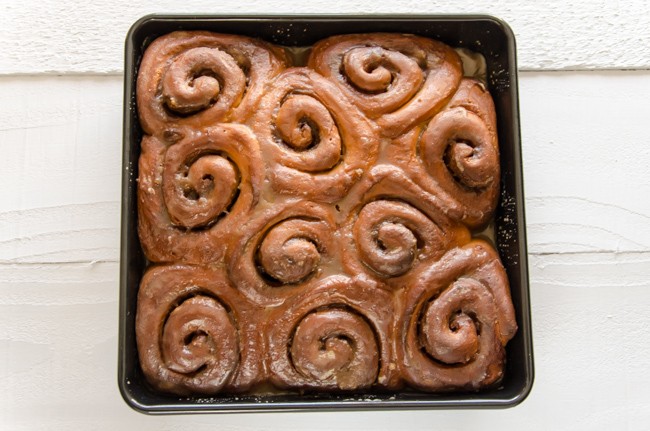
    I decided to make cinnamon rolls as they were made recently on a blog I follow irregularly. However, this and all the other recipes I could find were American so had the usual problems with measurements in cups and using something called all purpose flour. Also, this is an enriched dough and in the past I have had great trouble getting enriched dough, such as for hot cross buns or stollen, to rise. Where do you leave your dough to raise – an airing cupboard or low oven? I found that using a reptile heat mat obtained online for a small sum gave me a specified level of warmth so that even on the coldest winters day when the heating has been off for hours I can still rise dough and make bread. This time I used our conservatory as the sun had been warming it all day but did the second proving on the mat as it was evening by then.

    cinnamon (1 of 4)

    Grown-up Cinnamon Rolls

    Dough
    500g strong white bread flour
    100g caster sugar (golden/unprocessed if you have it)
    75g butter, melted
    2 medium free-range eggs, beaten
    200ml milk
    1 sachet/7g dry yeast
    1 teaspoon salt
    zest of 1 lemon
     
    Filling
    50g unsalted butter, softened
    100g soft brown sugar
    2 teaspoons of ground cinnamon
    1/4 teaspoon freshly ground nutmeg
    1/4 teaspoon salt
     
    Glaze
    150g soft brown sugar
    1 tablespoon whiskey or other alcohol of choice
    1 teaspoon vanillar extract
    30g butter
    115g icing sugar
     
    Make the dough. Heat the milk until body temperature/tepid and add the yeast; leave until starting to foam (how quickly depends on type of yeast). In a large mixing bowl, mix the flour, sugar, salt and lemon zest and make a well in the middle. Into the well add the now activated yeast, the two beaten eggs and the melted butter. Mix with fingers/hand until comes together then turn out onto a well floured surface. Knead for about 5-10 minutes until comes together and is silky smooth. The dough will be quiet wet/tacky to begin with but keep working and will firm up. If it feels very sticky, add a little more flour when kneading.
    Place the kneaded dough into an oiled bowl and cover with oiled cling film. Leave somewhere warm until at least doubled in size.
    How log this takes varies with a lot of factors but allow at least 2-3 hours.
     
    Make the filling. In an small bowl, beat the dry ingredients into the softened butter.
     
    Make the rolls. Punch down the proven dough and roll/stretch out on a work surface until forms a rectangle 15″ long by 9/10″ wide. Sticking the edge closest to you down to the table and then rolling away works best. Spread the filling evening over the rectangle, leaving a 1/2″ border at the long edge furthest from you. Starting at the long end closest to you, tightly roll up the dough over the filling. Seal the final unfilled margin but dampening with water and then pressing the dough firming into it.
    Cut the dough across the roll up to make 1″ sections. This amount should make about 18 slices.
    Lightly grease a couple of pan such as square brownie pans. Put the slices in the pans, allowing a good 1/2″ around each to allow for expansion.
    Cover with greased cling film and leave somewhere warm until doubled in volume – about an hour.
     
    Cook the rolls. Preheat the oven to 180 C or 160 C fan. Bake until golden brown, take about 20-25 minutes.
     
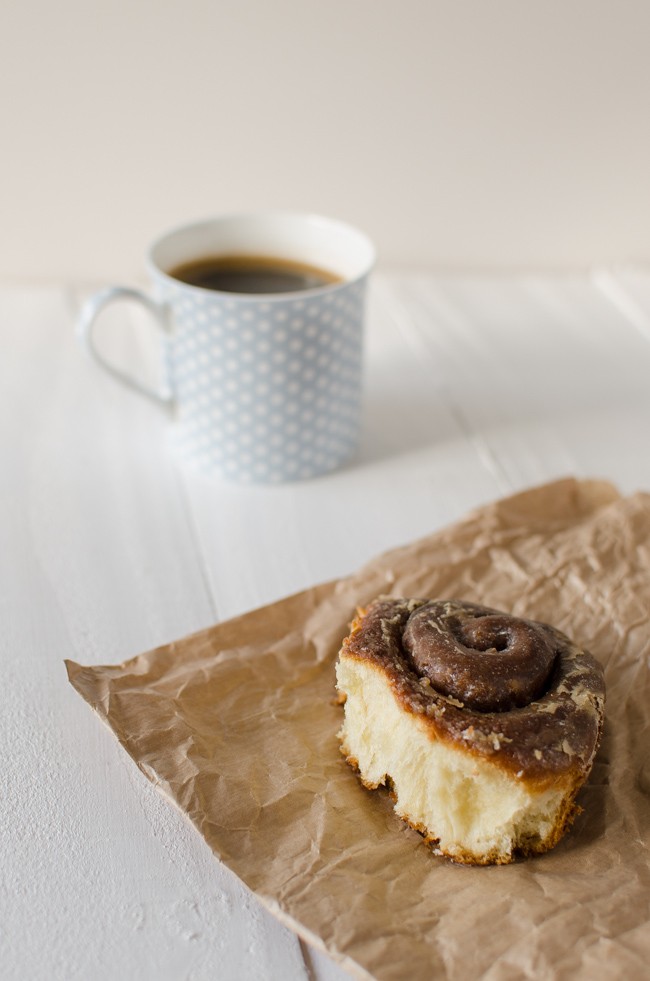
    Make the glaze. While the rolls are cooking, make the glaze. Combine all the ingredients except the icing sugar, in a small pan and gently heat until the sugar has dissolved and the butter melted. Take off the heat and beat in the icing sugar, sieving over the top to stop lumps forming. Alow the rolls to coll for 10 minutes in their pans then pour the glaze over so that it covers all the buns and soaks through to the bottom. Allow the glaze to set for 20 minutes or so before serving with a large mug of coffee.
     
    cinnamon (3 of 4) cinnamon (2 of 4)
     

  3. Chicken, Lemon and Olive Stew

    March 23, 2014 by sarah

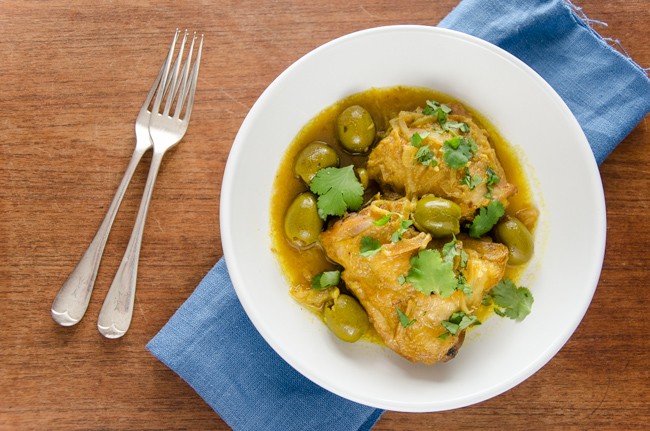
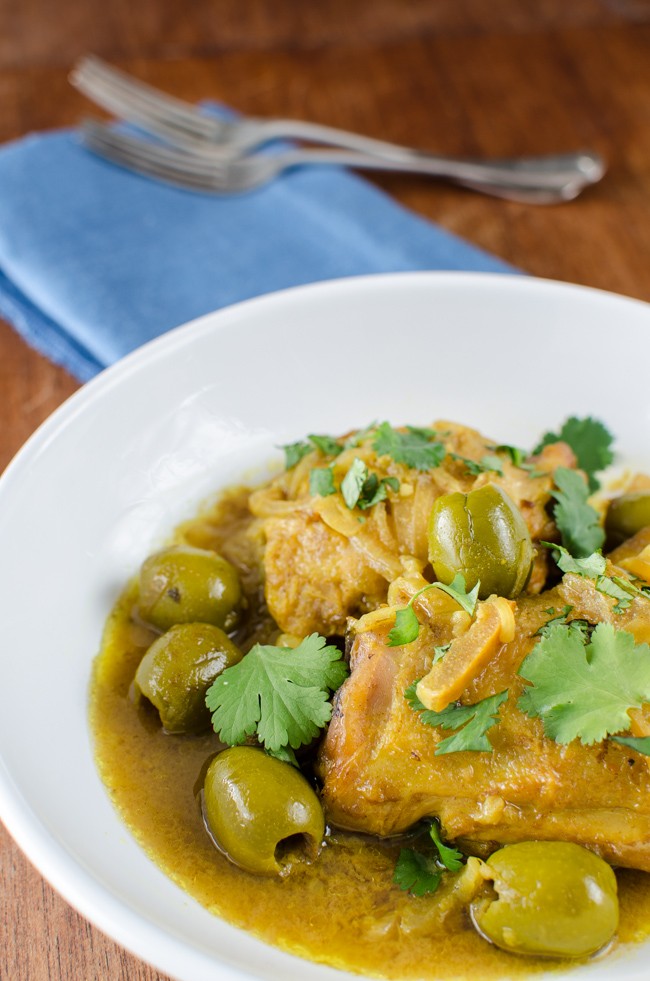
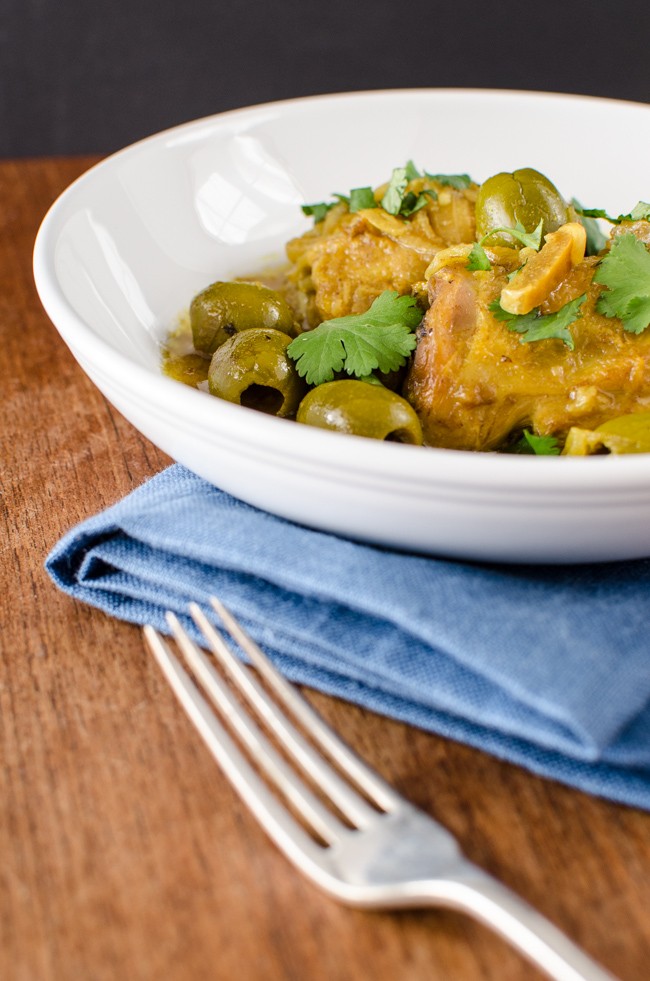
    The lovely yellow colour and gentle spice warmth of this recipe brightens up the these cold Spring evenings. Just don’t dribble the juice down your favourite top as it will stain. You have been warned!

    juniper (3 of 6)


    I almost always have a jar of homemade preserved lemons in the cupboard. I make it from the lemon skins left over from pressing the juice from other recipes, such as elderflower champagne or lemon curd, so it is practically free rather than the very overpriced and over coloured jars in the supermarket. But feel free to use what ever preserved lemons you have to hand. Even a quick trip to Marrakesh to pick some up is quite alright by me. If you take me too.

    Chicken, Lemon and Olive Stew

    Serves 4
    1 kg or so of chicken thighs with skin on, or chicken pieces or a jointed chicken
    2 tablespoons of olive oil
    1 large onion cut into fine half moons
    2 garlic cloves crushed
    a large thumb sized knob of fresh ginger, finely grated
    1 teaspoon ground cumin
    1 teaspoon ground tumeric
    1/4 teaspoon ground cinnamon
    1 tablespoon honey
    1 pint/half a litre of chicken stock (from a stock pot is fine)
    half a jar of green olives (pitted or not as to your preference or what is on offer), rinsed
    1 preserved lemon
    fresh coriander, chopped finely
     
    Heat the oil in a large heavy bottomed casserole (my lovely new Creuset pan is perfect) and brown the chicken all over. Remove the chicken from the oil and rest on a plate. Reduce the heat to medium or less and soften the onion for a few minutes. Once the onions are softened, add the dry spices, garlic and ginger and stir until fragrant. 
    Pour over the chicken stock and with a wooden spoon, rub the bottom of the pan to release the crusted yumminess.
    Return the chicken to the pan and put on the lid; simmer for 30 minutes.
    Prepare the lemon by scraping out the sludgy insides and rinsing the rind under a cold tap. Cut the rind into small pieces and add to the pan with the rinsed green olives and the honey. Allow to simmer for 15-20 minutes with the lid off. Taste and adjust the seasoning if required (will probably not need salt due to the lemon and olives). Serve over couscous.
     
    juniper (5 of 6) juniper (4 of 6)

  4. Spice 4 – Juniper Berries – Venison Casserole

    March 19, 2014 by sarah

    Right, time for another spice and this time something that is probably known to you but perhaps lurking in the back of the cupboard unused? Well, mine was until I found this recipe. The recipe is actually a hand me down from my Mum, hand written into my recipe book from about 15 years ago!

    juniper (6 of 6)


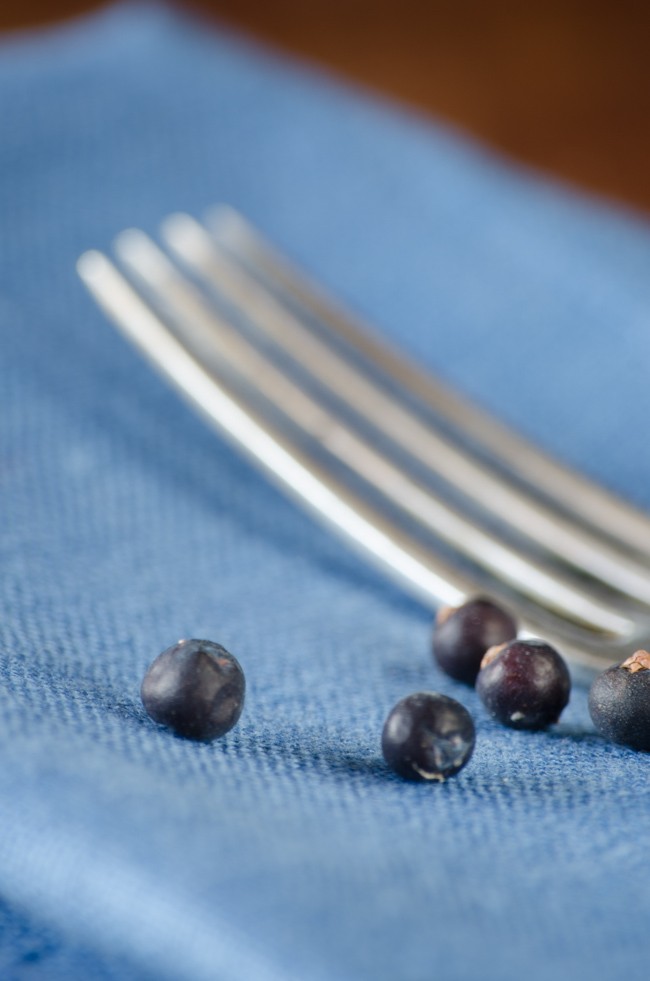
    Juniper is actually the female seed cone (i.e. not a berry or fruit) of Juniperus communis but the scales are fleshy and fused to give the berry like appearance. It is one of the few spices that is native to Europe, and even occurs in the UK though it is rare here. It is used a lot in Northern European, particularly Scandinavian, cuisine in particular to flavour game and cabbage dishes. And who can forget juniper is used to flavour gin. My favourite cocktail has got to be the plain, but oh so mouth watering, gin and tonic. Made with Hendricks of course!

    Venison Casserole with Juniper

    Serves 4

    1 pack of diced venison (about 400g)
    1/2 teaspoon of peppercorns
    1/2 teaspoon juniper berries, bruised in a mortar and pestle
    2 tablespoons olive oil
    3 bay leaves
    good sized sprig of thyme from the garden
    1/2 a bottle of red wine
    2 garlic cloves, finely sliced
    1 onion finely diced
    1 tablespoon plain flour
    rind of 1 orange and juiced
    2 tablespoons of red currant jelly (I used damson jelly because that is what I had – it worked well)
    sherry glass of port
    a dozen small shallots, pan fried
    one pack of vacuum packed chestnuts (or roast and peel and blanch and remove skin yourself – if you are a masochist)
     
    Marinade the venison in the wine, peppercorns, juniper,  1 tablespoon of olive oil, bay leaves, thyme, garlic and onion for 24-48 hours.
    Drain the venison, reserving the liquid.
    Brown the venison in the other tablespoon of olive oil, dust with 1 tablespoon of plain flour and rest on a plate and soften the onions from the marinade mixture. Add the venison, softened onions and the rest of marinade ingredients to a casserole dish. Add the juice and rind of the orange, the redcurrant jelly and the port and season. Add more water if necessary to make sure the venison is covered.
    Cook slowly for 2 hours on the hob or in a low oven.
    Add the shallots and chestnuts and cook for a further 30 minutes.
    Serve with mashed potatoes, celeriac mash or gratin or any other starch to your preference and it is obligatory to serve braised red cabbage with this stew.
     
          juniper (2 of 6) juniper (1 of 6)    


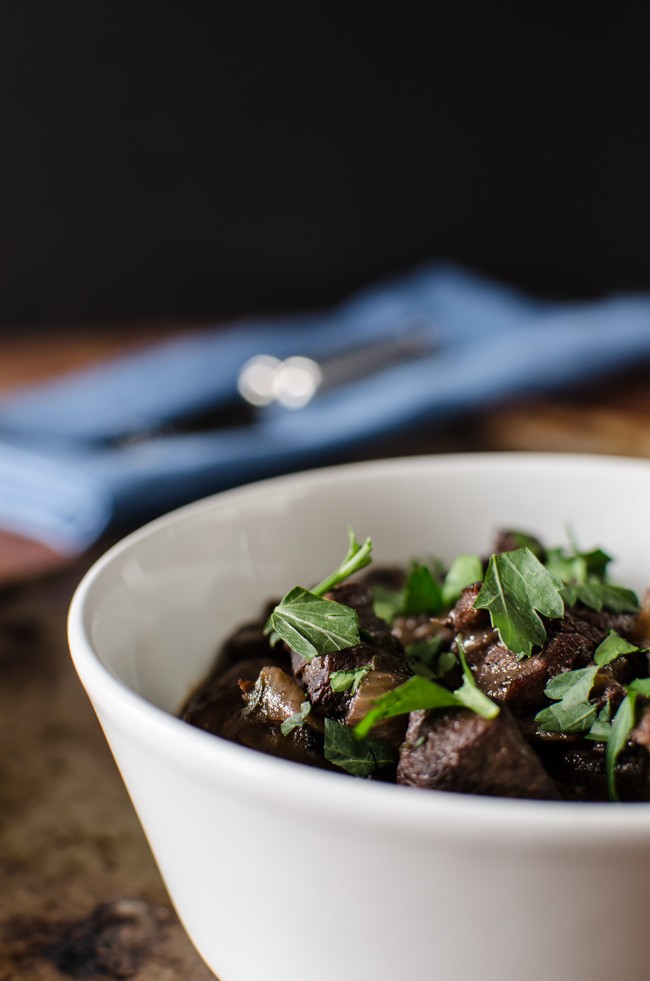
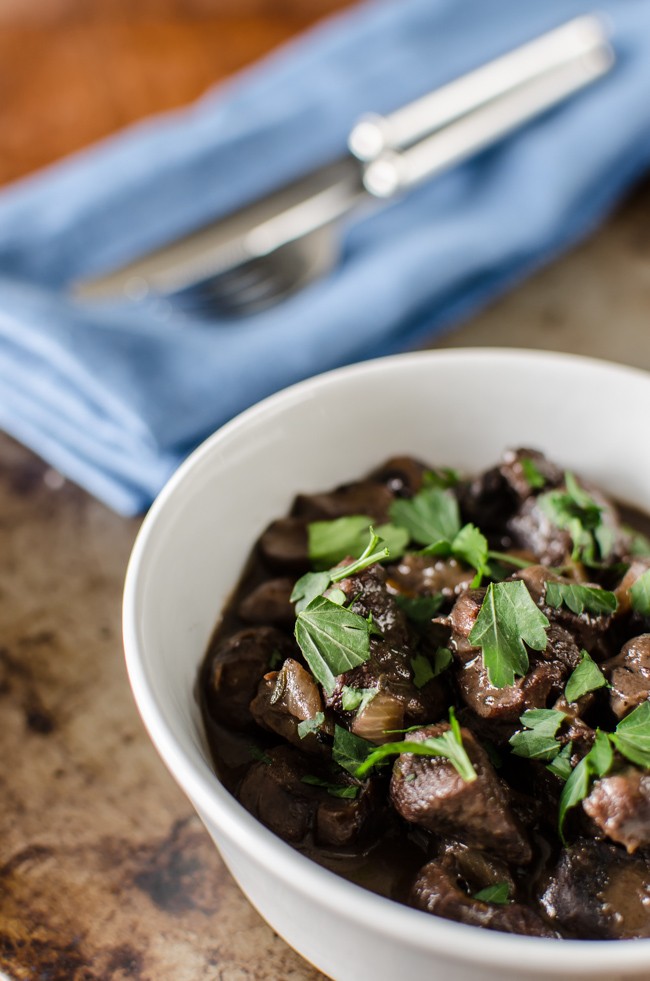
     I had quite a lot of problems photographing this dish. Though incredibly tasty, the stew is just BROWN and brown things don’t look that appetitsing. Hense the use use of the contrasting blue napkin and a fair sprinkling of parsley! Also, to get height in the bowl I used a a trick of placing half an upturned apple in the bottom of the dish to raise the chunky bits above the liquid of the stew and give more of a 3-D appearance.

  5. Jammy Bakewell Slice

    March 13, 2014 by sarah

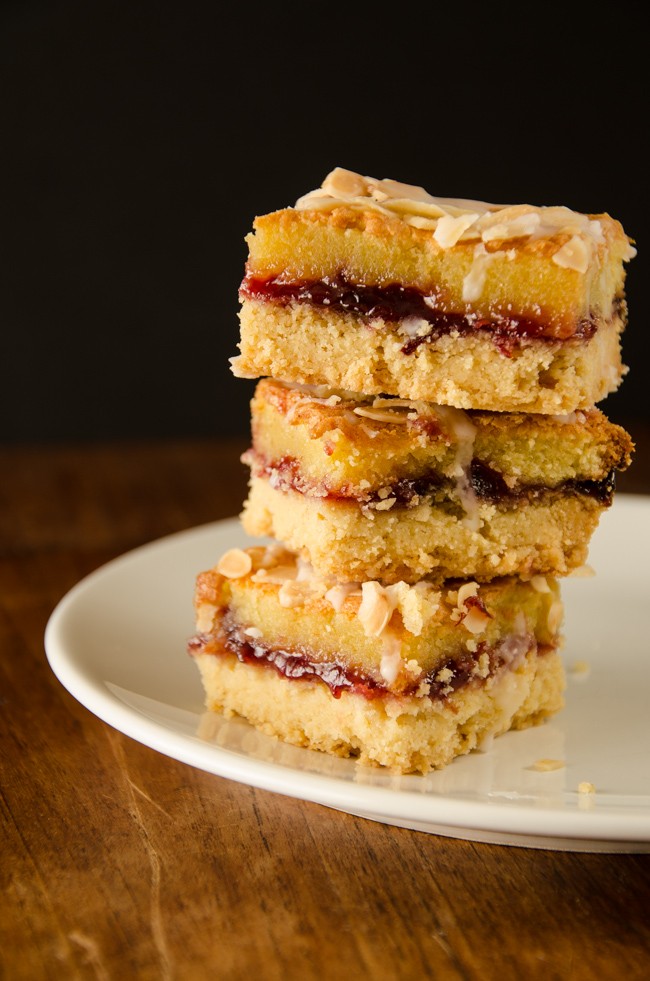
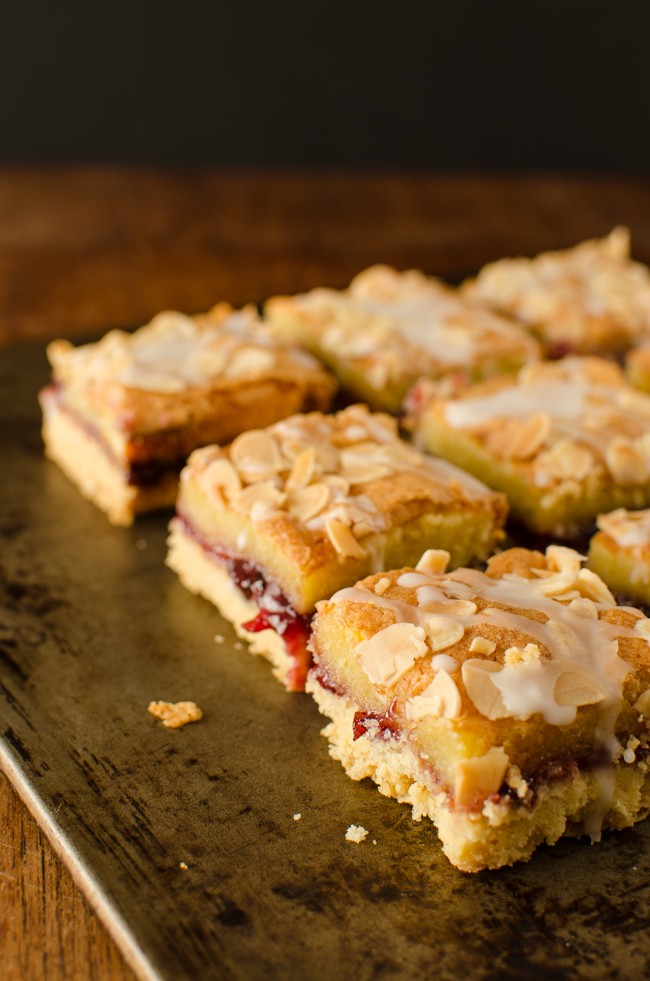
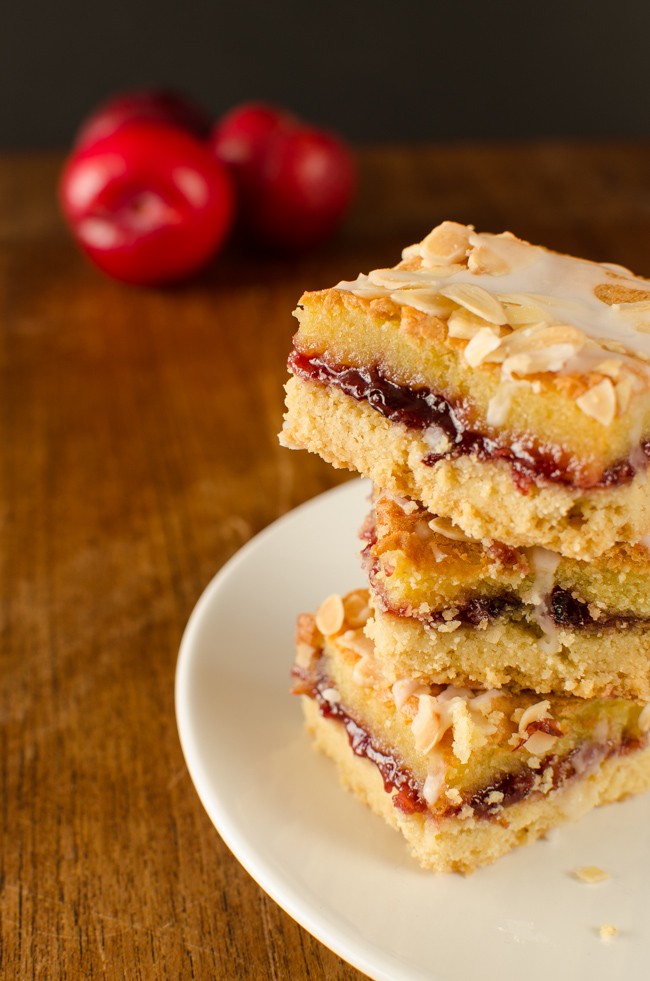
    This past weekend I woke to a sunny Spring day and a yearning for a cakey and biscuity homemade bake. I had been sorting out the jam from last year and found I had rather a lot of damson jam left over and some how a bakewell slice type of cake popped into my head. Perfect; uses up some jam, biscuity base and almost cake like top. I was right; it ticked all the boxes and I polished off 3 slices while taking the photographs. Never mind as a good long dog walk in the sun (probably) burnt off some of the calories and it made me happy to bake it, eat it and and give the leftovers to the guys at work. Top up your vitamin D levels!

    I have adapted a recipe I found online at www.bakingmad.com.

    _1SK5018


    Jammy Bakewell Slices

    300g plain white flour
    65g rice flour
    275g unsalted butter
    50g caster sugar
    1/4 teaspoon baking powder
    1/2 teaspoon salt
     
    good sized jar of good flavoured jam (cherry is traditional)
    4 medium eggs and one extra egg yolk
    150g caster sugar
    175g ground almonds (I only had 150g and added 25g fine semolina and this worked great)
    175g unsalted butter
    1/2 teaspoon vanilla extract
    1/2 teaspoon almond essence/extract
     
    25g flaked almonds
    1 tablespoon icing sugar
     
    Preheat the oven to 180 C or fan 160 C.
    Make the base by rubbing the butter into the flour, rice flour, baking powder and salt until it resembles fine bread crumbs. This made my hands ache like anything so I suggest you use a food processor if you have one.
    Bring the crumbs together into a ball and lightly knead for a few squeezes to make sure it all sticks together. This part is important otherwise your shortbread base will be too crumbly, but in a nice way. Tip in to a large square or rectangular baking tin (about 8″ by 12″, or 20cm by 30cm) and press down so equally covered. Bake for 20 minutes then allow to cool.
    While the base is cooling, make the top layer by whisking the eggs together in a large bowl then adding the other ingredients except the second lot of butter, which you melt first then whisk in.
    Spread the jam in a generous layer over the cooled base then pour over the topping.
    Cook for 20 minutes then sprinkle over the flaked almonds (this stops them getting too brown) and cook for a further 15-20 minutes. It is done when the top is golden and spongey.
    Leave to cool for half an hour and then drizzle over a simple sugar glaze made by mixing the icing sugar with just enough water to allow it to drizzle successfully. Now cut into slices and cool completely on a cooling rack. Makes about 20 pieces.
    _1SK5003 _1SK5028

  6. Getting the quilt under way

    March 8, 2014 by sarah

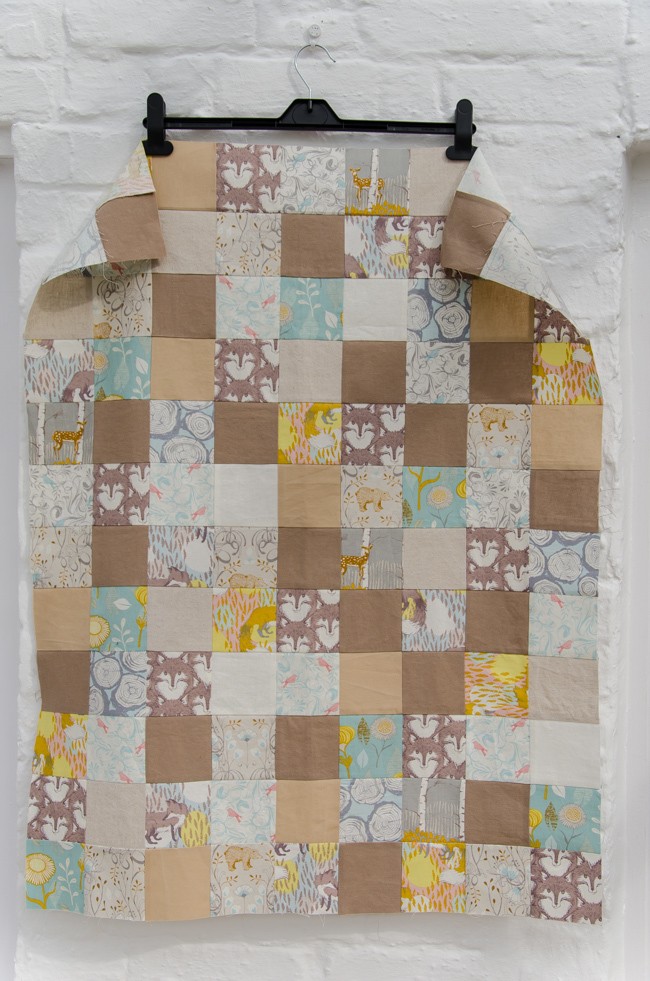
    After my ‘Get to Know Your Sewing Machine’ class with Deb and Jeanne of Plain Stitch, I felt confident to start on the baby quilt. The cutting of the blocks was a little boring, the arrangement of the blocks was agonising (how many times can you procrastinate over the layout of tiny pieces of material?) but at least the sewing flew by as the blocks became strips which finally built into the quilt top. I wouldn’t say it is perfect but then only God/Allah can create perfection (my excuse anyway).

    _1SK4956


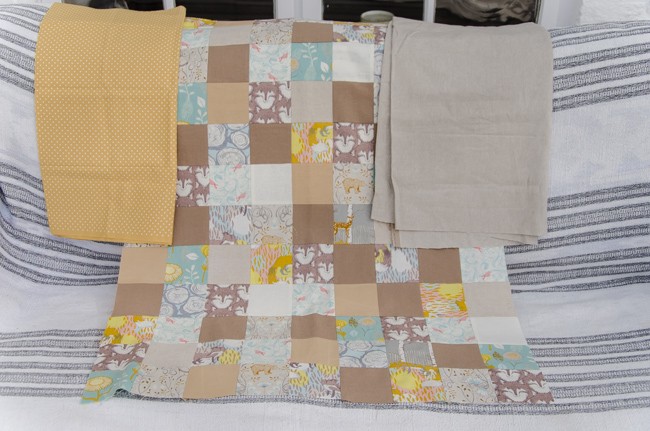
    Then, with perfect timing, I saw a notice for Plain Stitch Open Day as they have just opened a work room in Wendover. So on Thursday afternoon I popped over and picked up some perfect material for the backing and edging and some lovely soft wadding. Now I just need to wait for the dual feed foot for the sewing machine to arrive so I can actual start the quilting process. I can’t wait to get some free time back and join one of the classes; perhaps next year.

    _1SK4958


  7. Beetroot, Kale and Walnut Salad

    March 8, 2014 by sarah

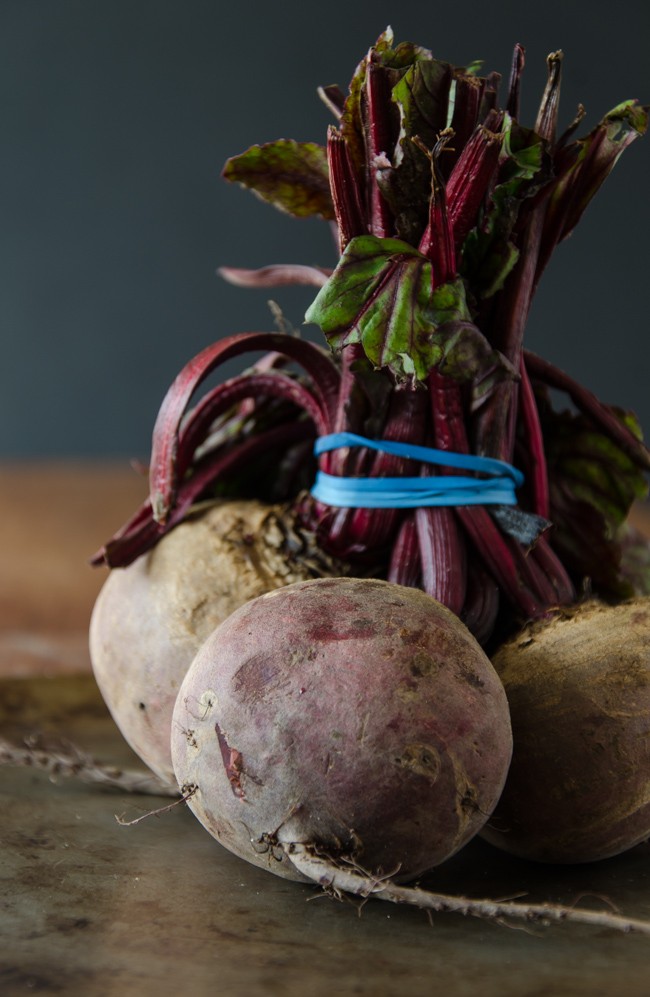
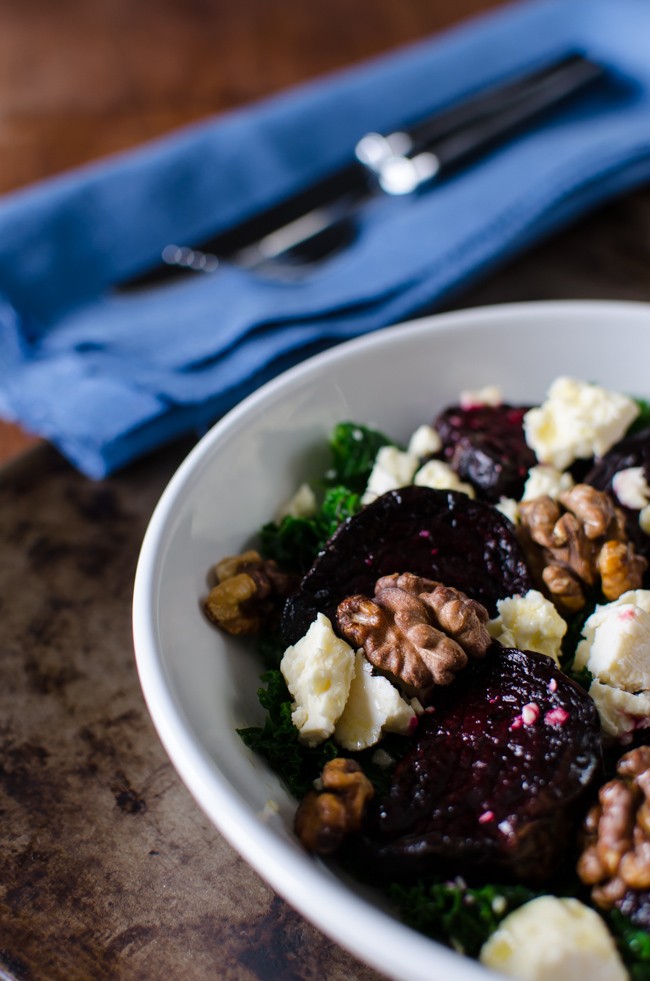
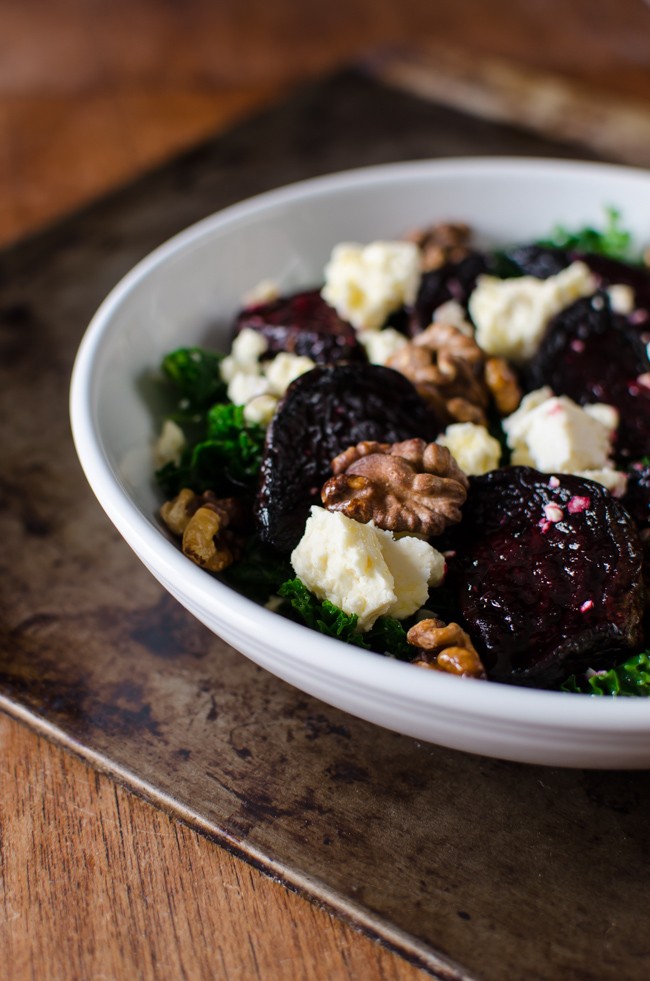
    Winter is a tough time for salads; the seasonal ingredients are limited to brassicas and root vegetables and then the weather leaves you wanting nothing but stodgy comfort food. But I craved a salad this week and when I found a beautiful bunch of beetroot in the supermarket I knew I had the makings of a satisfying winter salad. My heart did a little leap for joy.

    _1SK4841


    If your experience of beetroot so far has been pickled beets from a jar or even the vacuum packed ones then you need to try cooking your own. The difference is like the difference between canned and fresh tuna; incomparable. And there really isn’t much hassle in their preparation and I actually quite like the ‘I’ve just murdered someone’ hands (or you could wear rubber gloves). I wonder if that could be a Halloween freak night event; preparing raw beets!

    Beetroot, kale and and walnut salad

    enough for 4 people as side salad or 2-3 as main event
     
    bunch of raw beetroots, about 500g
    1 tablespoon of olive oil
    1 teaspoon of cumin seeds
    bag of prepared kale, about 350g
    handful of walnuts, about 50g
    150g goats cheese – I used ewes milk Wensleydale as it was on offer
    lemon vinaigrette – juice of half a lemon, a splash of white wine vinegar, same volume of olive or virgin rapeseed oil, large pinch of salt
     
    Preheat the over to 200 °C (fan) and line a baking tray with foil. Clean the beetroots and trim off the tops and roots; cut into chunky wedges. Put on the foil lined baking tray and drizzle over the olive oil and cumin seeds; toss until well covered. Cook for 30-40 minutes until tender and slightly caramelised around the edges. While the oven is on and hot toast the walnuts for 5 minutes. All both to cool.
    Blanch the kale in boiling water for a minute, drain and dunk into cold water to stop the cooking. You then need to fully dry the kale; either put in a salad spinner, pat dry with clean tea towels or wrap in a clean tea towel and whizz around your head like a lasso (you may want to do this outside, and don’t let go).
    Make up the vinaigrette by whisking the ingredients together.
    Make up the salad by layering the kale on the bottom, followed by the beetroot, crumble over the cheese, toss over the walnuts and drizzle over the dressing. Enjoy!
     
    _1SK4932 _1SK4924
     

  8. Breakfast Pancakes

    March 2, 2014 by sarah

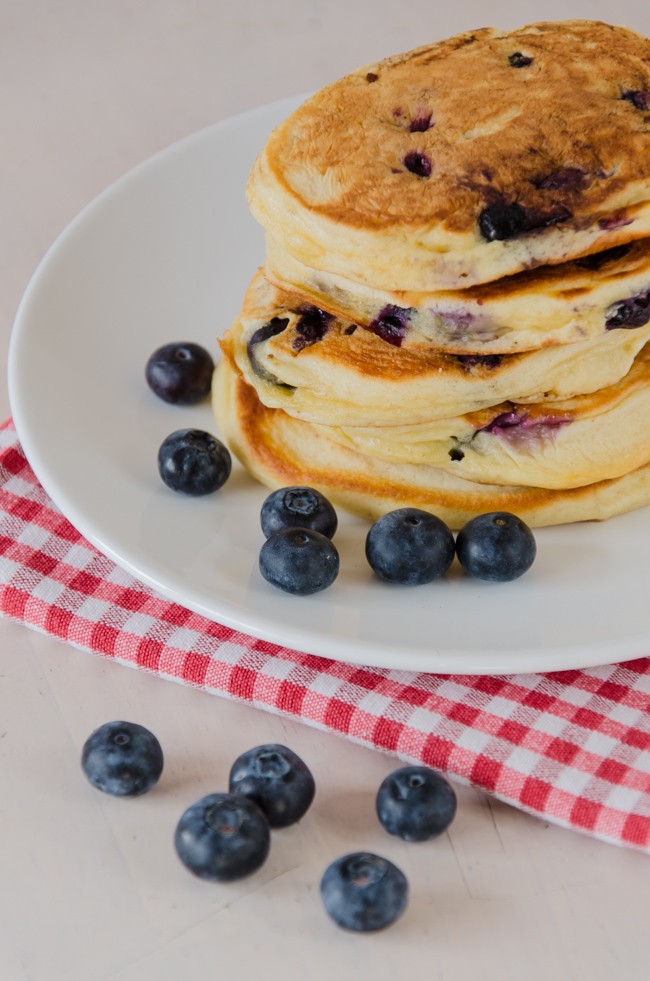
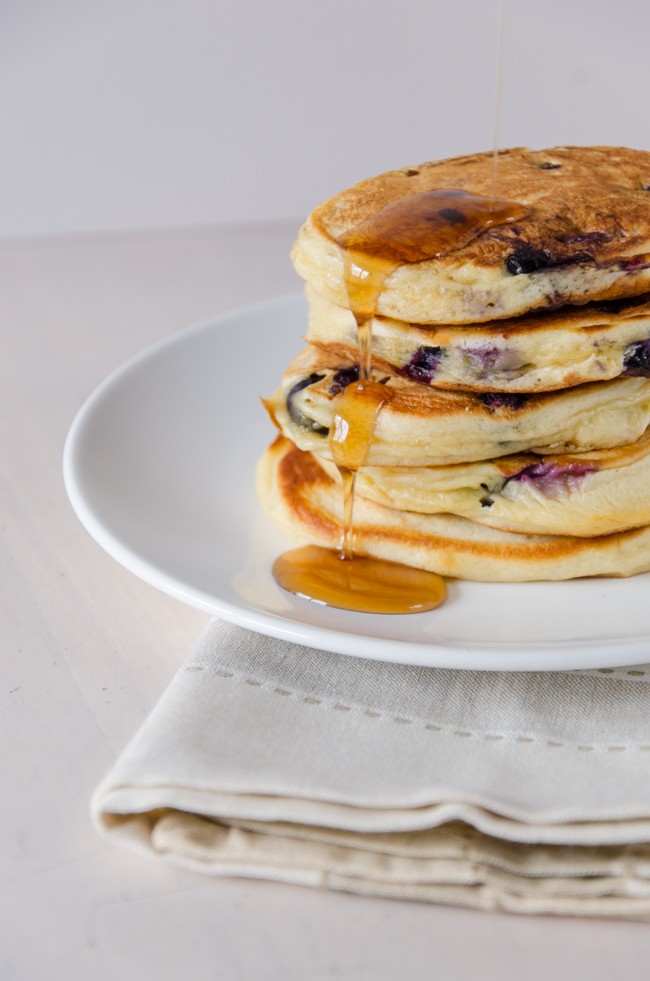
    Shrove Tuesday, alternatively known as ‘Pancake Day’ these days, is coming up this week so it is time to share a pancake recipe with you. These are not the pancakes of my youth and memories though I am still fond of the tart lemon and sweet sugar drenched crepe type and the excitement of trying to flip them! These pancakes are more of a macho breakfast type and indeed are the type to be found in American diners (or so I gather). They are similar to Scottish drop scones so I guess that is where they originated.

    This recipe is an adaption from the February edition of Waitrose Kitchen magazine. (Dangerous shopping there, but that is another story for another time). I bought buttermilk in readiness for making pancakes but I also made a second batch with an alternative to buttermilk and couldn’t tell the difference. If you don’t have buttermilk then either 1. add a couple of tablespoons of natural low fat yogurt to 250ml milk, or 2. add a good squeeze of lemon juice to 250ml milk (semi-skimmed or full fat) and leave to sit for 10 minutes before using. Some recipes also add a tablespoon or two of melted butter and this would enrich the batter but I try that for my recipe.

    I love the bursts of hot, sweet fruitiness from the blueberries but feel free to add other fruits; I am guessing that raspberries and chopped strawberries would go very well. If you do not add any fruit then try adding half a teaspoon of vanilla extract to flavour the mixture. How you serve these is entirely up to personal preference; my favourite is maple syrup and I finished off the last of the bottle today as I have been using most of it to top my morning porridge. Enjoy your lazy weekend mornings and have a proper breakfast!

    _1SK4879


    Breakfast Pancakes

    150g plain flour
    2 tablespoons of caster sugar
    1 teaspoon of baking powder
    1/4 teaspoon of bicarbonate of soda
    pinch of salt
    250ml buttermilk
    2 medium eggs
    handful of blueberries
    butter for frying the pancakes
     
    Mix together the dry ingredients in a medium sized mixing bowl. In a separate bowl or cup, break the eggs and whisk to break up the yolks. Pour the eggs and buttermilk over the dry ingredients and briefly mix with a whisk or fork but do not over mix – if should still be a little lumpy. Stir in the blueberries
    Heat a heavy based frying pan or cast-iron griddle until smoking hot then turn down to low. Add a knob of butter and spread around the pan. Blob in spoonfuls of the batter, leaving a good distance between they as the spread quite a bit. Leave to cook on the first side for 3-4 minutes until bubbles appear on the surface, then flip and cook on the other side for another 2-3 minutes. 
    The batter doesn’t keep so cook it all but the pancakes are easily warmed the next day in a low oven, microwave or even the toaster.
    _1SK4891

  9. Food Blog Photography

    February 23, 2014 by sarah

    I have had fun this weekend with my camera!

    I normally take photos for the blog in our conservatory because the light there is good. But that is the crux: the light must be ‘good’ to get ‘good’ photos. So when it is dark, like it is for most of the winter and certainly when I get home from work, or it is very overcast, like it has been every day this winter, I struggle to get good lighting. And photography is all about the light. I have the most success first thing in the morning on a cloudless day when the light is diffuse but these are so rare that I have been thinking about alternatives. So I have made our spare bedroom into a product studio. A spare table top on the bed, sheets of mounting board for the back drops and some white foam board as a reflector. The exposures are much longer so I need to use a tripod which is going to take some getting used to. I am used to hand holding, and often increasing the ISO to compensate, and so adjustments in position small or large were automatic and easy but now with a tripod I have to think about where I want the camera to be to get the angle I want and then move the tripod to get this. Day one, frustrating. Following days, hopefully progress.

    _1SK4831 _1SK4838


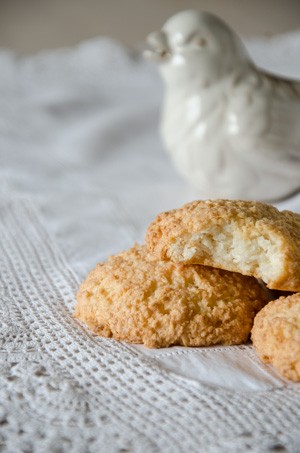
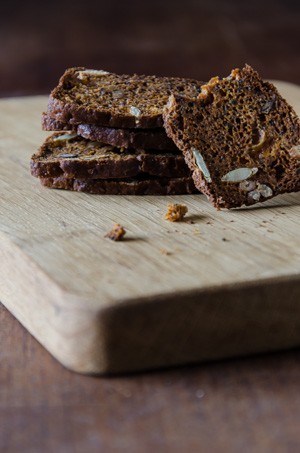
    A high-key photograph of coconut macaroons with a vintage vibe. Low-key photograph of ‘posh crackers for cheese’  on natural wooden background.

    The next stage will be to learn how to use flashes so I don’t need to rely on any natural light!

    I am loving my Nikon D7000 and 35mm 1.8 lens, though I am always surprised by the quality of photos out of my point-and-shoot a Nikon Coolpix P 7700.


  10. Spice 3 – Cardamom – middle eastern cardamom biscuits

    February 23, 2014 by sarah

    When I started reading about cardamom, I realised that I had been spelling it wrong for years. But then why do we pronounce it ‘cardamon‘? But I suppose that is the English language for you!

    Cardamom are small pods containing little black seeds of the most wondrous, sensuous perfume. It hints of the pages of the Arabian Nights, seductive ladies in diaphanous materials and exotic places! Cardamom is native to the Indian sub-continent so it is little wonder it is used is the cooking of these countries; it is related to ginger. It is the third most expensive spice, surpassed only by saffron and vanilla, but only a little is needed to impart its heady fragrance. Unsurprisingly it is used in a multitude of curries and rice dishes of the Indian subcontinent, but also in milky puddings and kulfi from this region. In the Middle East, it is often used to flavour sweet dishes and coffee, as we had in Morocco. Its furthest reaches of significance is in the multitudes of Scandinavian baked goods that use cardamon such as Finnish pulla, an enriched sweet dough scented with cardamom.

    There is a relative of the green cardamon, the black cardamon, which is definitely savoury and smokey, almost bacony, in flavour. I will use this in another entry as it is almost completely different in flavour and aroma to the green cardamom and cannot be substituted.

    The effort in this recipe in extracting the little seeds from the tough green pods and grinding them fine enough not to notice the bits in what you are cooking. Apparently, you can buy ready ground cardamom but the volatile flavours and aromas are very quickly lost. I achieved my ground cardamom by crushing the pods and using a nail to release the seeds into a pestle and mortar and using old fashioned elbow grease to grind the seeds, sieving them into the recipe to make sure it was fine enough.

    _1SK4790


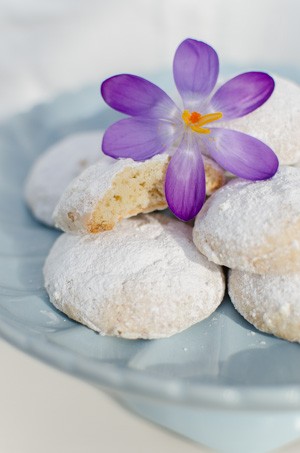
    Middle eastern cardamom biscuits

    225g unsalted butter at room temperature
    100g icing sugar
    1 teaspoon pure vanilla extract
    150g ground almonds
    150g plain flour
    1/2 teaspoon salt
    10 cardamom, seeds ground finely, sieved
    Topping – 100g icing sugar
                      – 20 cardamom pods, seeds ground to give about 1 teaspoon of ground powder when sieved 
     
    Preheat the oven to fan 150 C and line a couple of baking sheets with parchment paper.
    By hand or hand machine, cream the butter and icing sugar until light and fluffy. Add the ground almonds, flour, salt and first lot of ground cardamom and use a wooden spoon to mix thoroughly until comes together in a dough.
    Use a small ice-cream scoop or a dessert spoon to measure out the biscuits and using your hands, roll each into a ball and place on the baking trays with about 1″ between each ball.
    Chill the dough in the fridge for 30 minutes or the freezer for 15 minutes and then bake for 15-20 minutes until slightly coloured gold.
    In a bowl, mix the topping ingredients together. After baking, leave the biscuits on the trays for a few minutes until firmed up and then dunk in the topping mix while still warm. Put on a cooling rack to cool completely and then completely immerse in the topping mixture. They can be stored in the icing sugar mixture for up to a month.
    _1SK4809