RSS Feed

‘Home’ Category

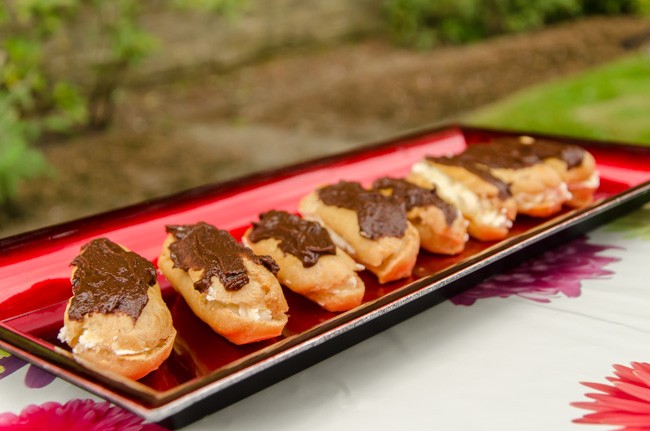
  1. Afternoon Tea – chocolate eclairs

    May 25, 2014 by sarah

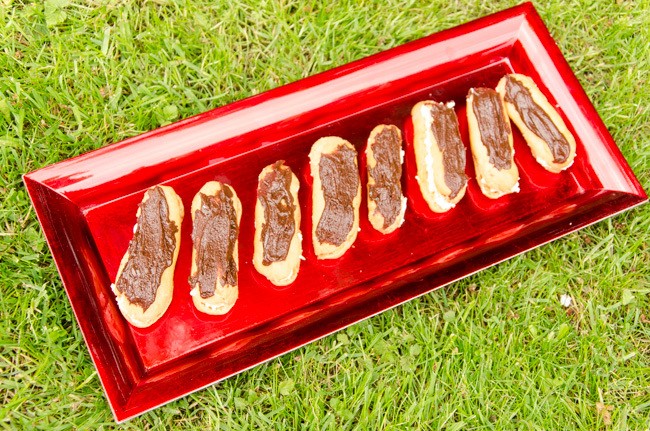
    A lovely thing to do when friends get together is to make something that can be shared around and enjoyed by all. And last Friday I had the occasion as the practice where I work had a communal Birthday lunch so that we could all celebrate (or not) our Birthdays on one day. More like a ‘unbirthday party’, for you who remember Disney’s Alice in Wonderland. The weather wasn’t too bad so we had a BBQ outside in the garden and I made something sweet for after. I love a fresh pastry and rarely eat cream so these pastries were a real treat.

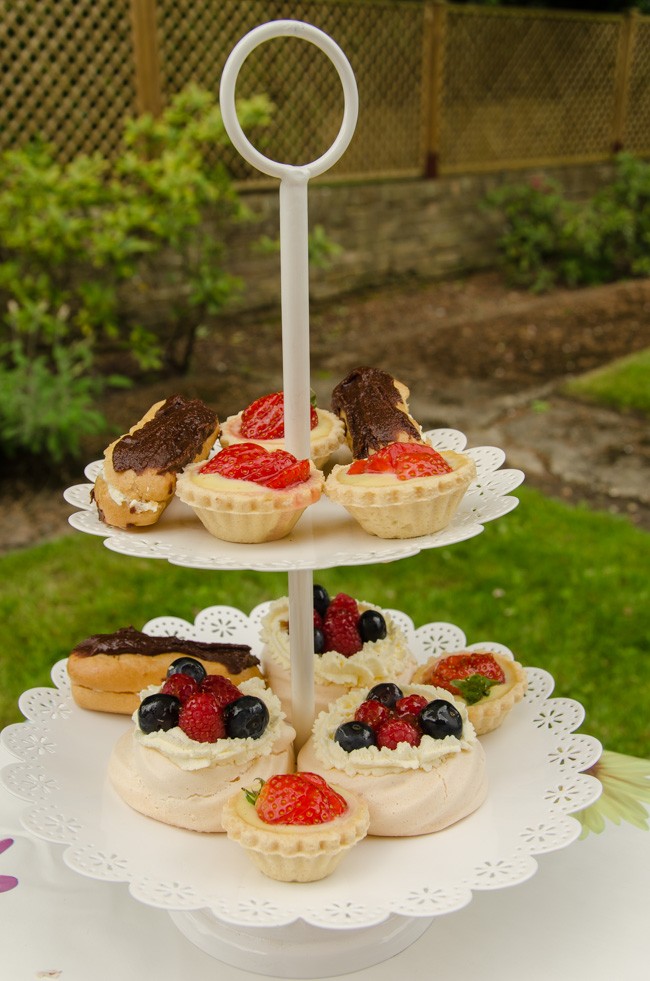
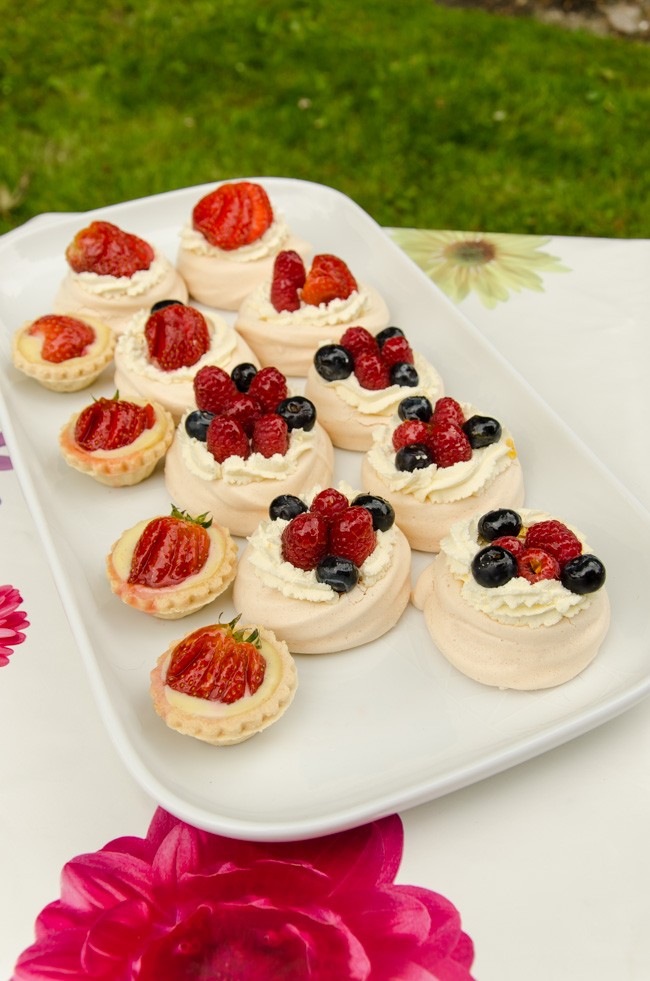
    I made chocolate eclairs, some meringue nests filled with cream and fruit and strawberry tarts. OK, I cheated a little; the pastry tartlet cases are bought not homemade but all the rest was made by my fair hand. This was only the second time I had made choux pastry and I have to say, it really isn’t too hard. In fact, I only just got over my phobia of making shortcrust pastry last year and I think that choux pastry is actually easier! Well, that’s done it. I am sure next time it will be a complete failure! I will share the recipes for meringue nests and crème patissière on a future post. If the weather is good this Bank Holiday weekend, why not treat your loved ones to some home made pastries as part of an afternoon tea. A lovely way to celebrate together.

    chocolate eclair (3 of 4)

    Cake stand of yummy homemade things!

    chocolate eclair (4 of 4)

    Platter of meringues and strawberry tarts

    Chocolate Eclairs

    Makes 18-20 mini eclairs or 12 full sized ones.

    For the choux pastry

    50g unsalted butter

    65ml water and 65ml milk

    Pinch of salt

    100g plain flour, sifted

    3-4 medium free-range eggs, beaten

    For the filling

    300ml whipping cream, whipped to firm peaks

    Or 450g crème patissière

    The icing

    50g plain chocolate

    2 tablespoons of water

    15g butter

    75g icing sugar, sifted


    chocolate eclair (1 of 4)

    Method

    1. Preheat the oven to 220°C/fan 180°C. Lightly greasy 2 baking trays or line with silicone paper.
    2. For the choux pastry, place the water, milk, butter and salt in a medium non-stick saucepan over a medium heat. Heat gently until the butter has melted then bring to the boil.
    3. Quickly take the pan off the heat, add all the flour at once and beat furiously with a wooden spoon until the mixture is completely smooth and comes together in a ball.
    4. Continue to beat on a low heat for a minute so the mixture comes together in a ball.
    5. Allow to cool slightly then beat in the eggs, one spoonful at a time into the dough. This is very hard work and you need to keep going until the pastry has a smooth shiny consistency and is paste like. You may not need all the eggs to reach the correct consistency as it must not be too soft as it needs to be piped.
    6. Transfer this pastry to a piping bag fitted with a 1cm (1/2 inch) plain nozzle and allow it to sit for 5 minutes to firm slightly. Now pipe the pastry in 3 inch (7.5cm) straight lengths (or full size eclairs are 6 “), leaving room between to spread. Apparently for a professional finish you can pipe into long lengths then freeze the pastry. Then cut the frozen lengths into uniform lengths and defrost before cooking.
    7. Bake the pastry at this temperature for 10 minutes then turn the temperature down to 190 °C/fan 170°C and cook for another 20 minutes.
    8. Remove the pastries from the oven and while still hot and pierce or cut to release the steam and if they feel damp on the inside, place back in the oven for 5 minutes.
    9. Allow to cool fully on a wire rack before filling. If not filling immediately, place in an air-tight container and use within a couple of days. If they are slightly soggy when you take them out, give them another 5 minutes in the oven.
    10. Pipe in the whipped cream or cream patisserie (use a star nozzle for the cream, plain nozzle for cream pat).
    11. For the icing, melt the chocolate slowly in a bain mairé with the water and butter. Remove from the heat and beat in the sugar until smooth. Pipe or spread over the top of each eclair.

    One last thing. The icing recipe didn’t work too great (I found it in Mary Berry’s book) but that may have been because it set firm before I was ready for it so I had to rewarm it and that is when it went grainy. Just to warn you if it looks like it is not going to work, perhaps just go with melted chocolate.chocolate eclair (2 of 4)

  2. Vintage Style Wedding on a Budget

    May 24, 2014 by sarah

    I thought I would share with you some of the lovely photos of our wedding. I can’t believe that we are coming up to our fourth wedding anniversary; the time seems to have slipped by. And before you ask, yes, we are just as happy as ever. Cute! And it is also a milestone for my better half; the longest he has ever lived in one place.

    Our wedding was on a strict budget for two reasons; we were short of money as Jim had been unemployed for six months so I would have to pay for most things and we both believe that you shouldn’t start married life with debt (apart the mortgage). But looking back on it, even if I had had a larger budget I wouldn’t of done anything different. We had everything that was important to us. I would of liked a lovely sunny day, but even money can’t buy that!

    wedding (3 of 13)

    Church flowers done by a friend of the family

    wedding (2 of 13)

    Church flowers done by a friend of the family


    My tips for budgeting a wedding:

    1. Before you start, decide how much you can comfortably afford by saving up before the wedding or working more overtime or selling stuff.

    2. Now put aside a chunk of this (I suggest 10%) and the remainder is your budget. This reserve is because everything costs more than you think.

    3. Between the both of you, decide on two or three aspects of the wedding that are important to both of you. We decided on food and photography. Expect most of your budget to go on these things as they are important; the rest is ‘dressing’.

    4. Think outside the box. In other words, don’t think or mention ‘wedding’ when looking at venues, dresses etc. Village halls are much cheaper than hotels!

    5. Personalise the day and put in some of your personality. For example, make the decorations or invitations, hire a swing band.

    6. Ask favours and rope in friends and family to help with things like the set up and clear up, and possibly even the chauffeuring.

    7. Reduce the number of people you invite and reduce the length of the party – both of these will save pounds.

    8. Making stuff yourself doesn’t always save money when you take into account the time it will take you and material costs.

    I also made back some of the money I had spent by selling or reselling some of the things on eBay – I even got a sizable profit from the vintage china!

    wedding (4 of 13)

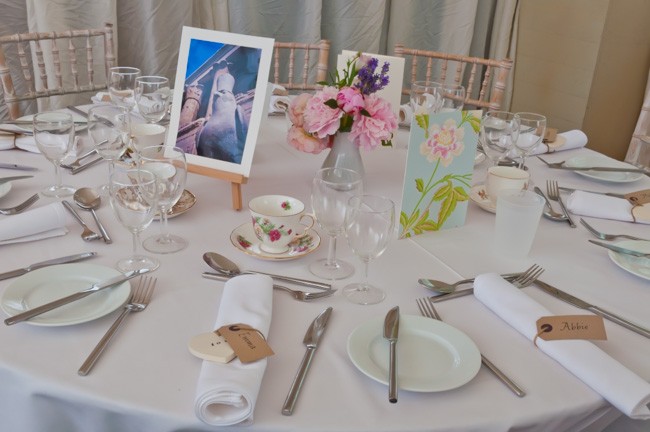
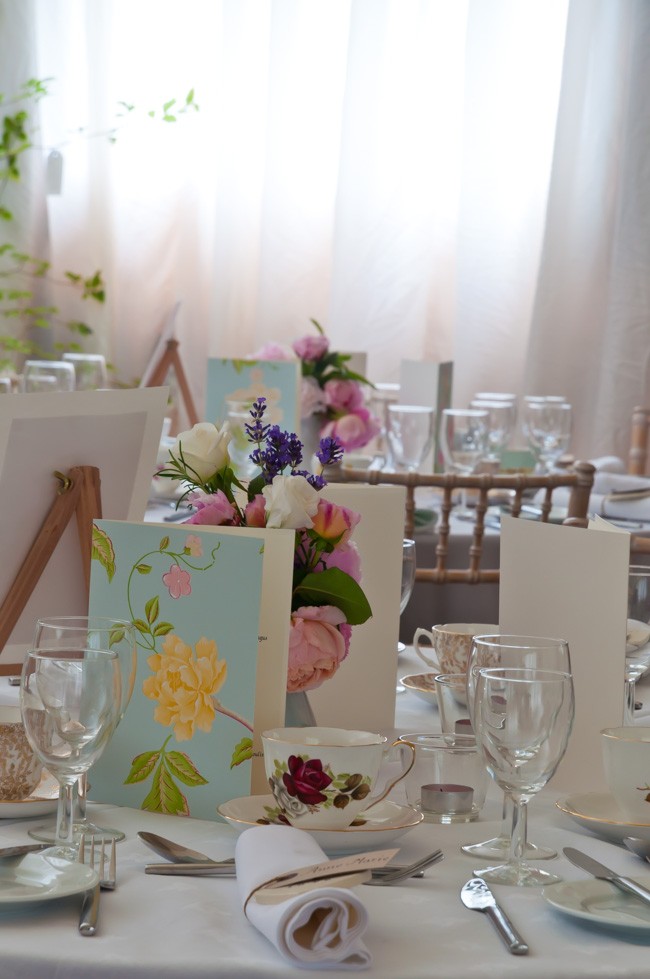
    Place settings of vintage china, handmade menu cards, favours of wooden hearts and name tags

    wedding (5 of 13)

    I made the table flowers – mix of garden and bought flowers in Ikea vases

    wedding (8 of 13)

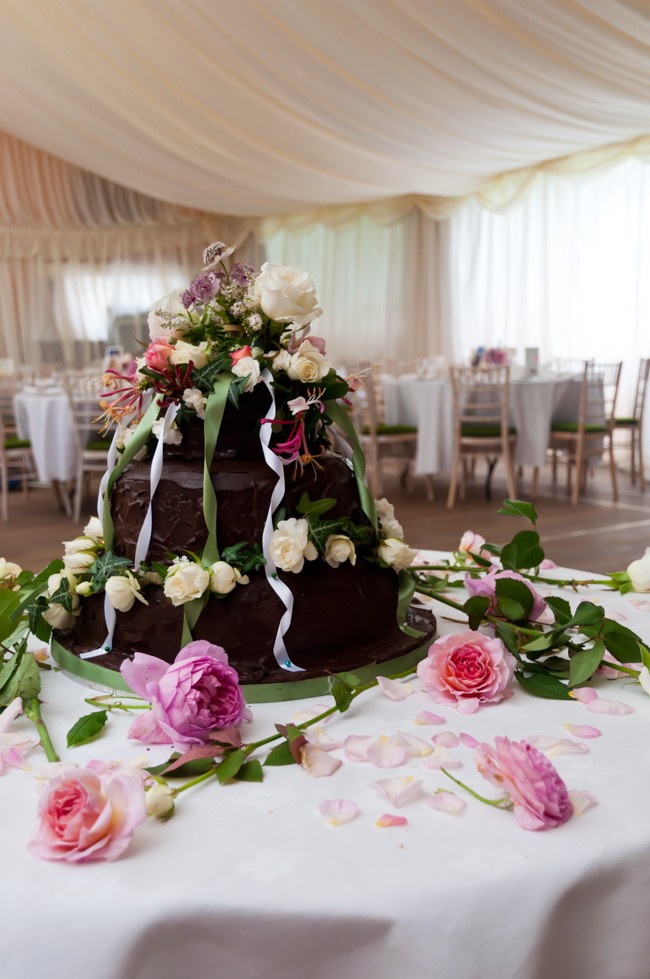
    My mother made the cake – multiple people decorated it when the chocolate ganache finish had a mishap.

    wedding (9 of 13)

    I made my own jewelry after seeing how much it was to buy.

    wedding (13 of 13)

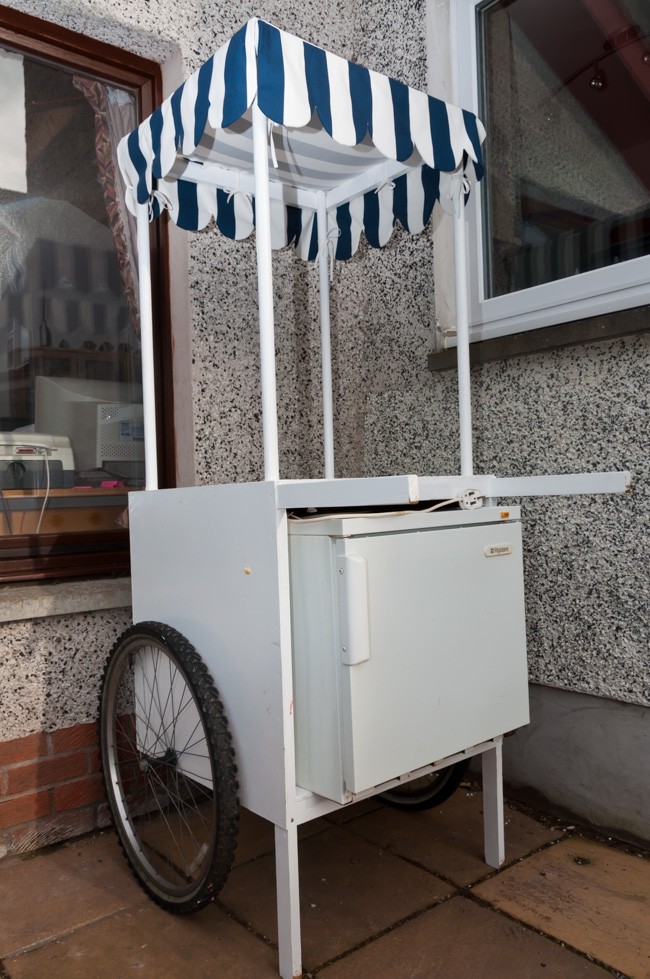
    I wanted an ice-cream cart of van but couldn’t afford to hire one so my Father made this, I bought a small freezer off eBay and filled it with homemade and bought ice cream!

    wedding (10 of 13)

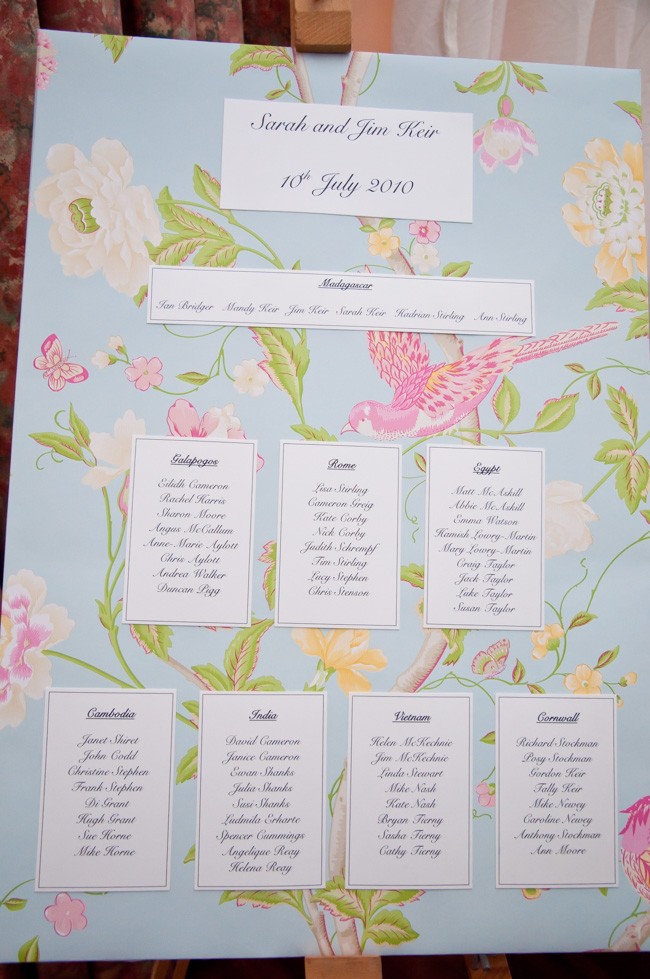
    I made the table plan with a home printer and pretty wallpaper on foam board.

    wedding (11 of 13)

    Another view of the jewelry I made – hair comb, diamante pins and earrings.


  3. Monster Egg

    May 17, 2014 by sarah

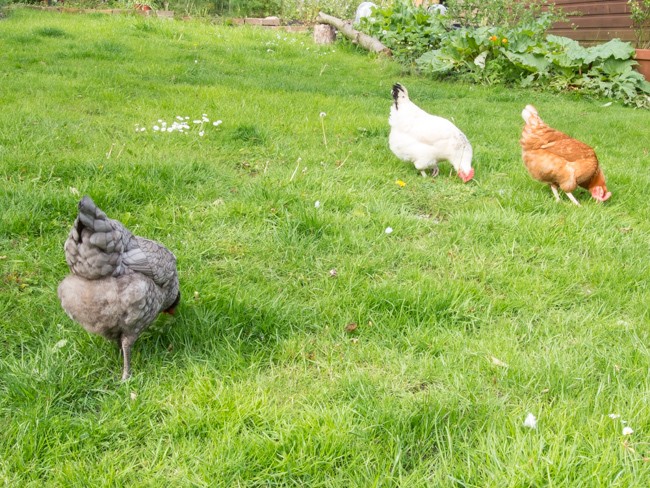
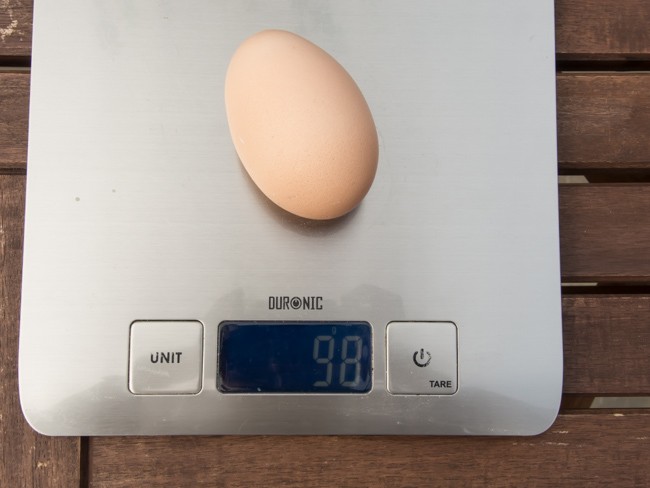
    When I opened the nest box today, I could not believe the egg that was there – a monster. I know this must be Mrs White’s egg as the other two are pullets so are laying medium sized eggs at present. This one though weighed a whopping 98g! Here they are enjoying the freedom of the garden before they started digging up my veggie beds.

    egg (1 of 3) egg (2 of 3) egg (3 of 3)


  4. All the greens of Spring

    May 14, 2014 by sarah

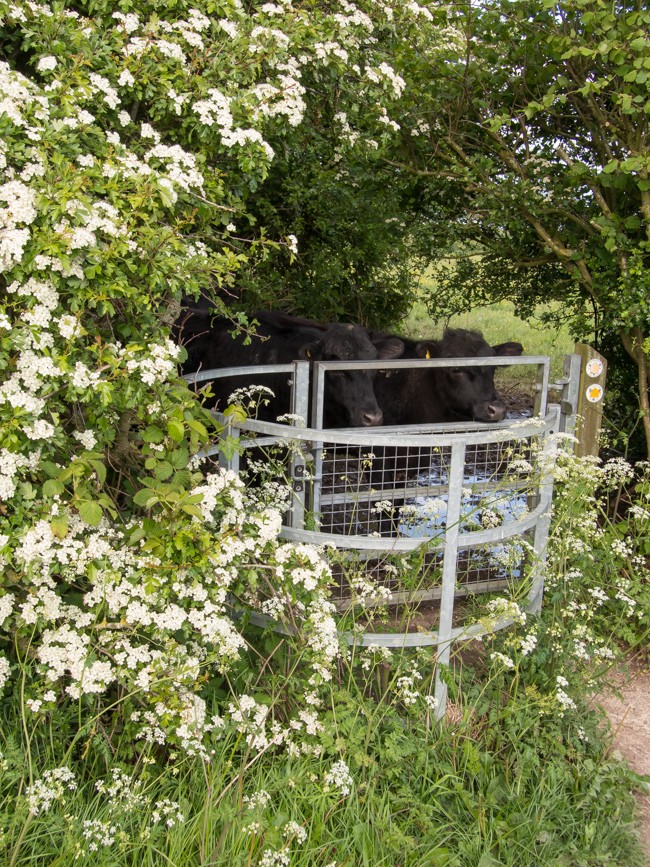
    Having just come back from foreign climes, where the environment is much more arid than home, means I am fully reveling in the luscious greenness that is May in England. No dusty or faded colours paint the landscape green here. It is as if everything has been slapped with the freshest glossiest paint of every green shade imaginable. The frothy lace of cow slips fills the gap between hedge and path and hawthorn blossoms drip from every branch above and delicately fragrances the air. It seems I am not the only one rejoicing in the fullness of Spring; every little bird is singing at the top of his little voice as he flits from bush to bush busying himself with household chores. And the cows are chasing us along the footpath, though as I turn to confront them the breaks are applied so suddenly as to make the ground thunder under their hooves. What joys!


    spring (7 of 7) spring (6 of 7)


    We are incredibly lucky to be living near one of the best bluebell woodlands in the country at Ashridge Estate. My heart was beating with anticipated excitement as we drove through the prettiest little village of Aldbury to get to Ashridge. And then it gave a little skip as we turned a corner on the path and there was the most amazing surreal blue sea spread out below the fresh young green of the tall beech trees. There was a fantastic display this year and yet every year it surprises me at how blue it all is. In another week or two it will be just a memory again.

    spring (2 of 7)

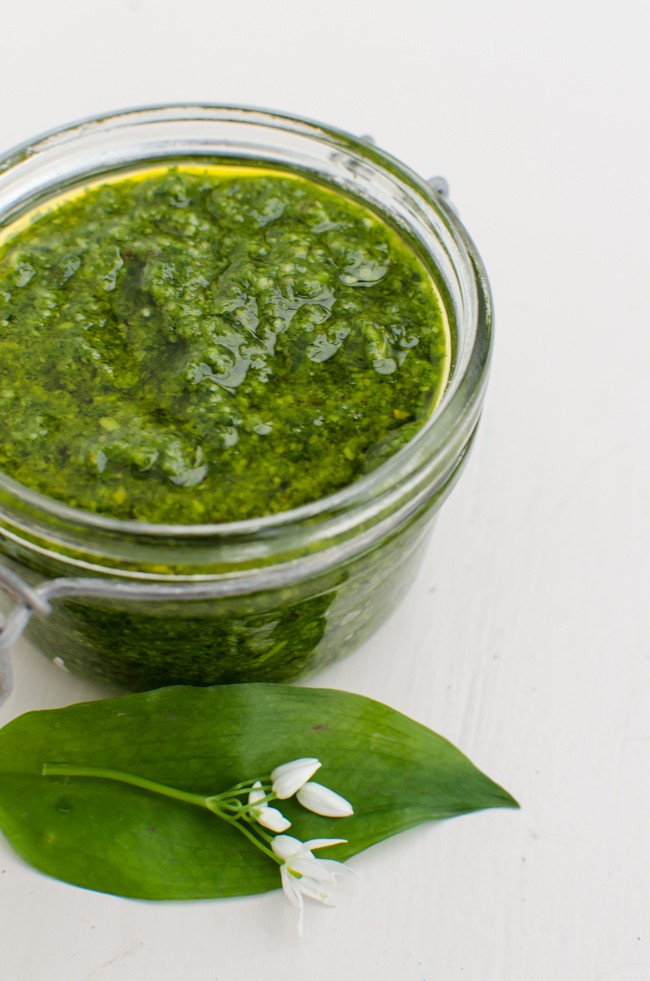
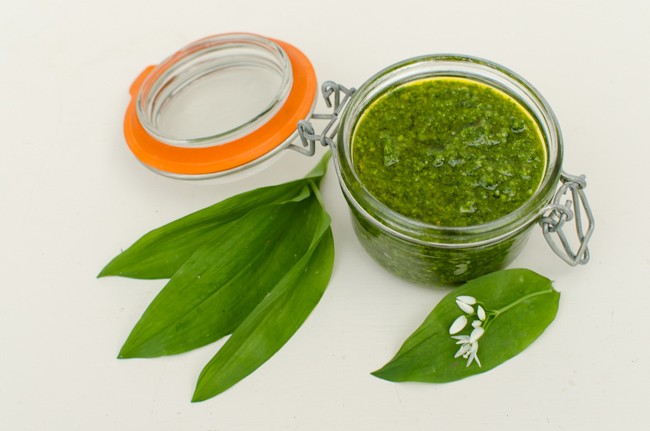
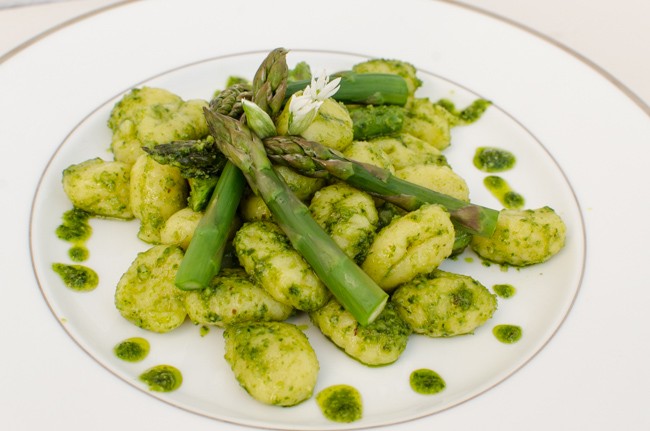
    While at Ashridge, we picked some wild garlic leaves as I always had in the back of mind that there must be something of use in them seeing as how they smell so strongly as you brush past on the footpath. And boy, I was not disappointed; raw the crisp leaves are crunchier than spinach with a green taste and pungent aroma of garlic; cooked, the softness is comparable to spinach and the garlic is tempered to a light scent. I ate handfuls straight from the carrier bag; I had leaves folded into a soft egg omelet. I was still left with half a carrier bag and yet wanting to preserve their uniqueness for longer than the leaves would last even in the fridge. And then I remembered a dish that John Wright from River Cottage cooked us when we went on the River Cottage hedgerow course a few years ago; wild garlic pesto. Of course, John made his with pig nuts which we spent many happy hours digging out of their water meadow but in real life only a sadist would want to waste time digging up a tiny pea sized bulb of a plant to make a dish. (Sadly, I have been known to go to such lengths) So I made mine with walnuts brought back from Iran, and I have to say I do not think the recipe suffered for the change. Indeed, if the feeling takes you then please make fresh gnocchi for the second recipe but also do not feel guilty using good quality ready made gnocchi; I don’t.

    spring (9 of 3) spring (8 of 3)

    Wild Garlic Pesto

    60g young wild garlic leaves (please look this up in a book to be sure what you are picking)
    1 small garlic clove (if you don’t think the leaves are garlicky enough!)
    50g nuts – pine nuts are traditional but walnuts, hazelnuts or almonds would work
    60g parmesan cheese finely grated
    zest of half a lemon
    150-200ml light olive oil or rapeseed oil (do not use virgin olive oil, you will not taste it)
     
    In a small food processor, blitz the garlic leaves and garlic clove with a good glug of the oil.When chopped down, add the nuts and blitz again until the nuts are fine. Add the cheese, lemon zest and a good pinch of sea salt and blitz again to mix. Add the remaining oil in small lots until the desired consistency is reached. Store in a sterilised jar with more oil over the top. Keep in the fridge and use within 2 weeks.
     
    spring (10 of 3)

    Gnocchi Primivera

    A 300g packet of fresh gnocchi (do not use the long-life vacuum packed packets in the pasta isle)
    2 tablespoons of fresh wild garlic pesto
    100g English asparagus
    a good shaving of fresh parmesan
     
    Cook the gnocchi according to the packet – using just dump them in boiling water and they are ready when they float. Steam the asparagus. Drain, reserving a little of the boiling water.
    Put the gnocchi back in the pan with the asparagus which you have chopped into short batons and stir through the pesto.
    Serve up and liberally sprinkle over large shavings of parmesan.
    Put the gnocchi

  5. Appletini Time

    May 9, 2014 by sarah

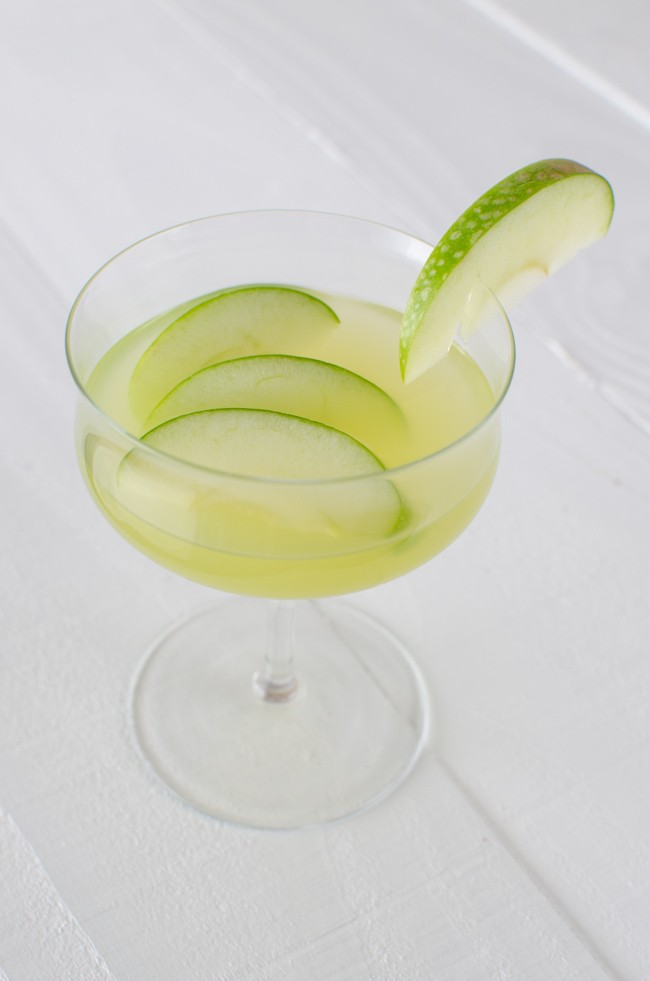
    It is Friday evening and that means cocktail time! Only kidding, but it is a good way to start the weekend. This recipe is deliciously fruity and a bit sour, my favourite combination in a cocktail.

    apple martini (4 of 5)

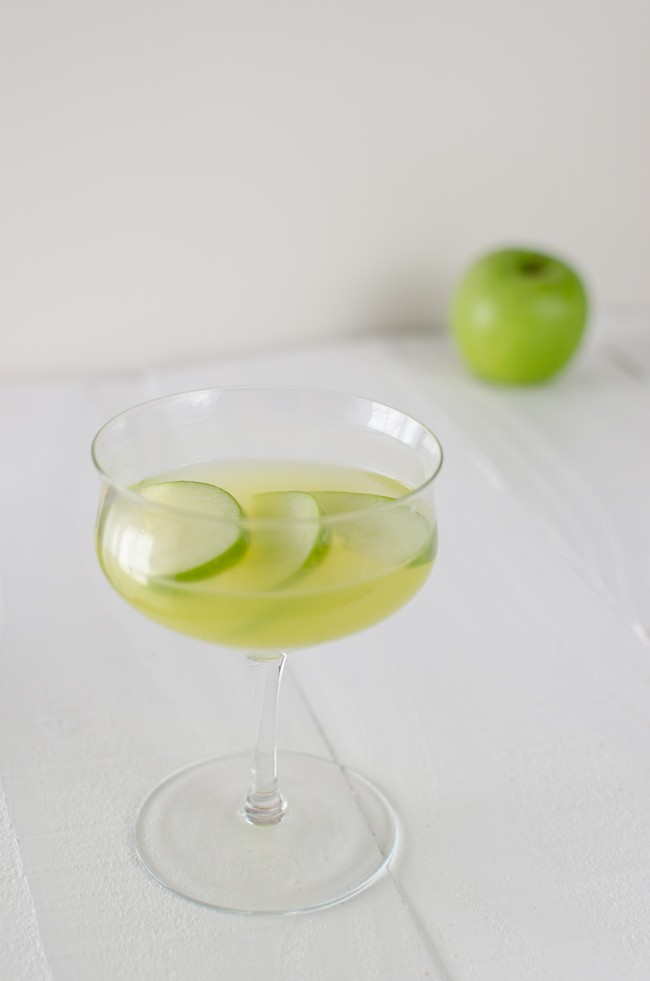
    Apple Martini

     
    Combine 2oz vodka and 1oz green apple snapps in a cocktail shaker and fill with ice. Shake until well chilled. Pour into a cocktail glass and top up with fresh apple juice. My personal preference is about 50% alcohol to 50% apple juice and some more ice. Garnish with green apple slices.
     
    apple martini (3 of 5)
     

  6. I am back!

    May 7, 2014 by sarah

    I am back from my holidays; I need to tell you about Iran and show you some pictures. In the meantime, I am sorry but you will need to put up with some  random pictures as I caught the most humongous cold on the flight back and I am currently the sneezing snot monster. Sorry for the icky description but I hope to be back on form soon.

    apple martini (1 of 5) apple martini (2 of 5) apple martini (5 of 5)


  7. French Chocolate Tart

    April 26, 2014 by sarah

    When you read this, we will be on our holidays in Iran. Isn’t modern technology great? I have been so looking forward to this trip; exotic and unknown. I am also looking forward to sharing with you when I get back, especially on the food.

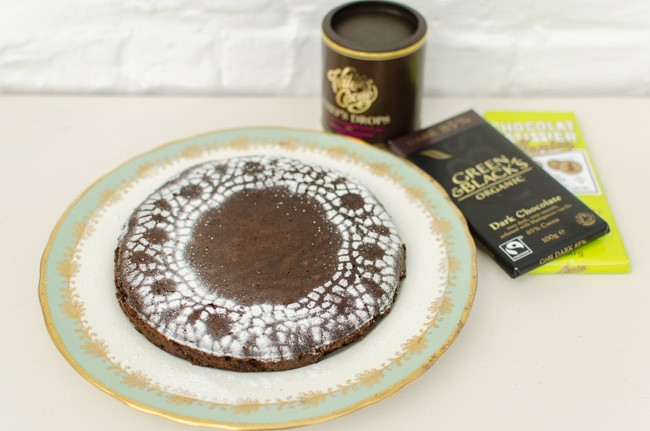
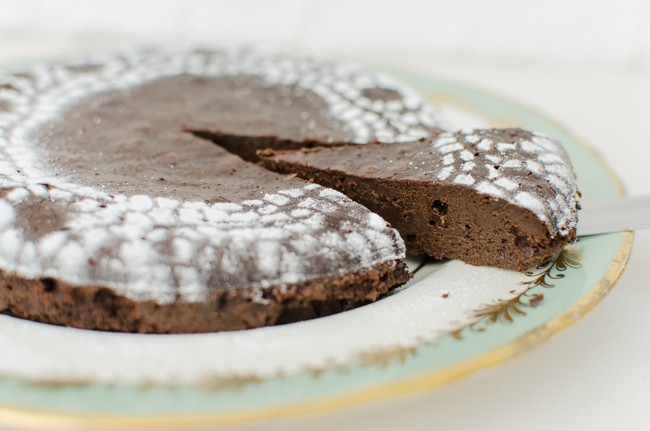
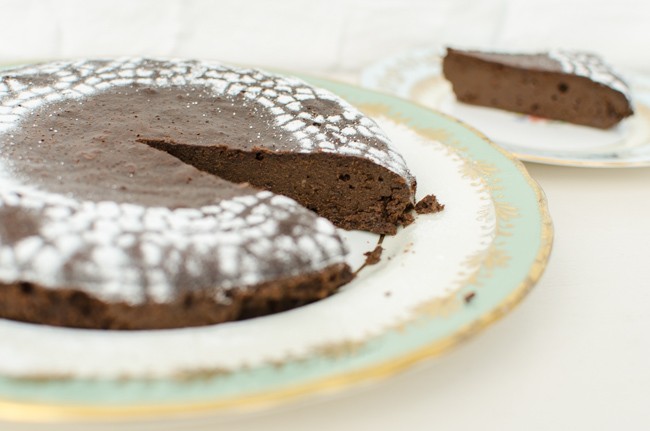
    This recipe is a stand-by for dinner parties or get to togethers because it is thrown together with minimal fuss and made in advance. Despite the speed at which it is put together, the resulting tart is luscious and very chocolaty. The taste depends on the quality of the ingredients so do not skimp and buy the best chocolate and butter you can. Hope you have occasion to use it too; please invite me!

    chocolate tart (1 of 3)


    Ingredients

    • 150g dark chocolate, broken into pieces
    • 135g unsalted butter, chopped
    • 55g caster sugar
    • 1 tablespoon brandy or orange-flavour liqueur
    • 3 large eggs (total weight in shells 200-220g)
    • ¾ tablespoon plain flour

    chocolate tart (2 of 3)


    Method

    1. Preheat oven to 180 ⁰C/fan 160 ⁰C.
    2. Generously grease a 18cm diameter springform tin. Line the base with baking parchment and grease this too. Wrap the outside of the tin with tin foil so it will be water tight up to half its depth.
    3. In a saucepan over a low heat, melt the butter, chocolate and sugar, stirring frequently until smooth. Remove to heat and allow to cool to below body temperature and add the liqueur.
    4. In a large bowl, beat the eggs lightly until a little foamy. Sift over the flour and then beat in. While whisking the eggs, pour over the chocolate mixture and beat until smooth.
    5. Pour into the prepared tin. Sit the tin in a deep roasting tray and pour boiling water around the edge to come 2cm up the sides of the tin.
    6. Bake for 20-25 minutes until the edges are set but there is still wobble in the middle. Take the tin out of the water and cool the tin on a cooling rack until completely cool then remove the cake from the tin. Decorate with icing sugar if wished.

    chocolate tart (3 of 3)


  8. Rhubarb fool

    April 18, 2014 by sarah

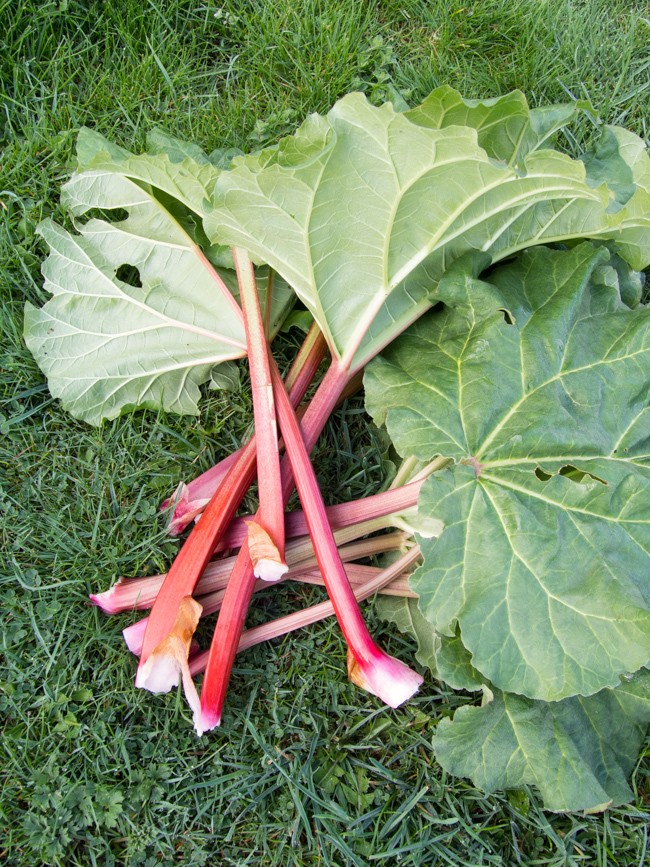
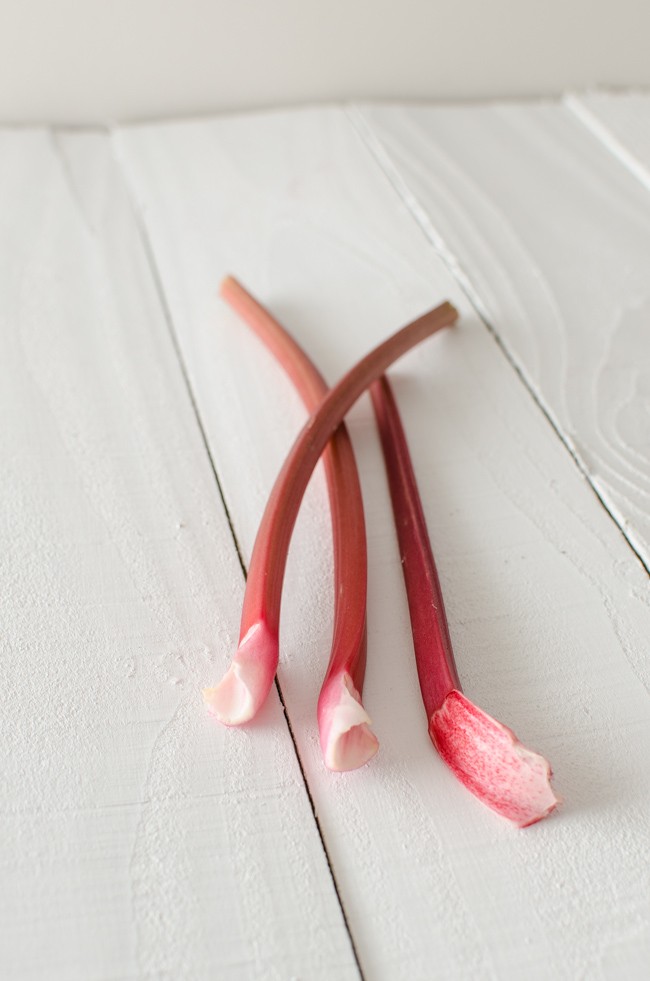
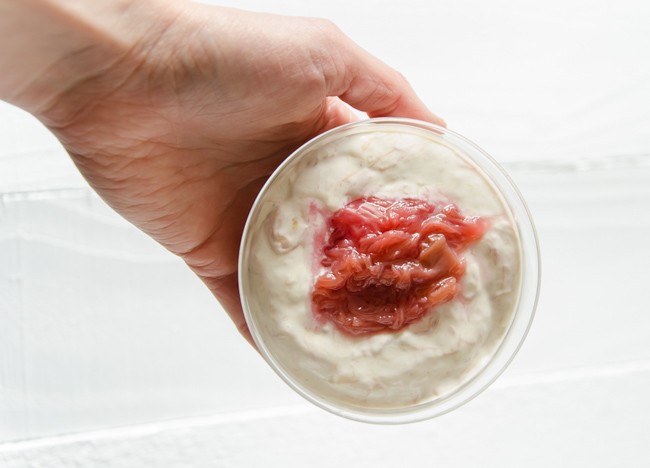
    The first rhubarb of the Spring is a special thing and deserving of a kind of reverence. The first crop from the garden; the start of hopeful bounty from the earth. And then the pale pink to deep red stems that haven’t yet been turned green with age. So here is my homage to the first rhubarb of Spring. Yes, you can buy it at Christmas in the supermarkets but that is not the same as harvesting your own. But if time is pressing, rather than saying there is no time to make a real pudding, cheat and use the excellent ready made custard available to buy. I admit it. I did.

    rhubarb (1 of 5) rhubarb (5 of 5)


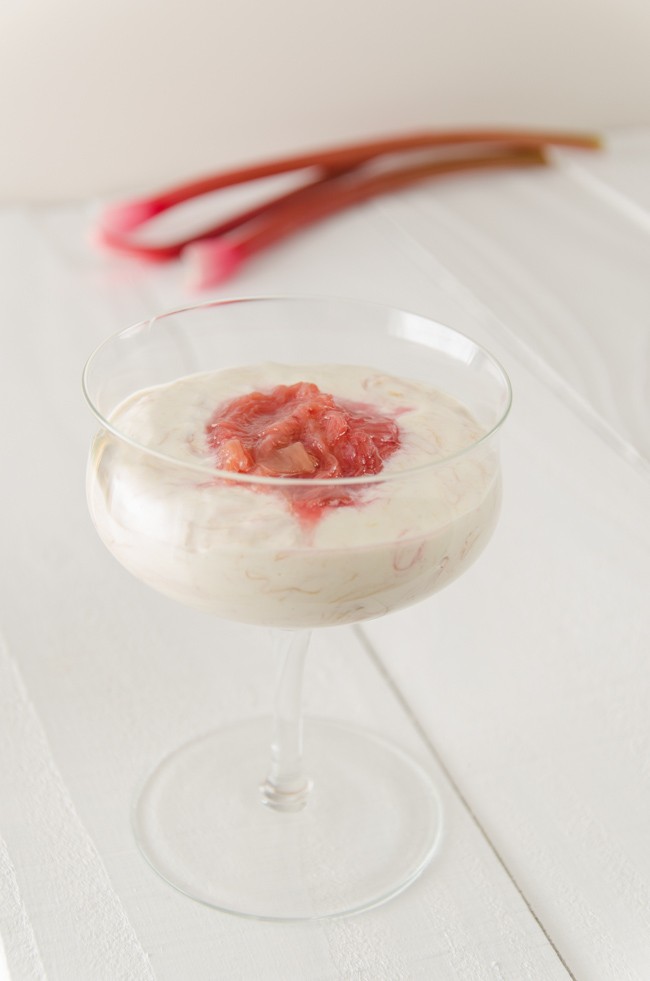
    Rhubarb Fool

    • 180ml/ half pint of double cream, cold from the fridge
    • Half the amount of the custard from the recipe below or half of a pint/500ml tub of good quality vanilla custard (e.g. Waitrose Madagascan vanilla custard)
    • Medium bunch of fresh spring rhubarb
    1. Cook the rhubarb – I like to chop the rhubarb into short sections and put in a shallow baking dish with a good sprinkling of caster sugar and bake in a medium oven for 20-30 minutes until soft. Alternatively you could do the same in a pan on the hob. Allow the rhubarb to cool fully.
    2. Whip the cream until soft peak stage.
    3. Fold together the whipped cream, custard and rhubarb which should be in roughly equal proportions i.e. a third of each. Carefully spoon into pretty glasses and refrigerate until required.


    Proper English Custard

    Ingredients

    • 570ml/1 pint milk (whole milk or add some cream to reduced fat milk to same volume)
    • 1 vanilla pod or ½ tsp vanilla extract
    • 4 eggs, yolks only
    • 30g/1oz caster sugar
    • 1 level tablespoon cornflour
    1. Bring the milk (with cream if adding) and vanilla pod to simmering point slowly over a low heat.
    2. Remove the vanilla pod and scrape the seeds into the milk.
    3. Whisk the yolks, sugar and cornflour together in a bowl until well blended.
    4. Pour the hot milk and cream on to the eggs and sugar, whisking all the time with a balloon whisk.
    5. Return to the pan, (add vanilla extract at this point if using) and over a low heat gently stir with a wooden spatula until thickened. Take off the heat and cover with cling film so that the cling sits on the surface of the custard so that a skin does not form.

    rhubarb (4 of 5) rhubarb (2 of 5)


  9. Salted Caramel Popcorn

    April 12, 2014 by sarah

    It is Saturday night and to me that means movie night. These days it is most often an ‘at home’ movie on DVD rather than a cinema experience. Apart from a special trip to The Rex, I don’t like going to the odious Odeon or the cynical Cineworld; over priced tickets for a standard chair, sticky carpets covered in popcorn, noisy customers, and no bar! Not nearly as pleasant as our own sofa, glass of wine in hand and a bowl of this delicious popcorn. I guess this is why our DVD collection would rival that of a well stocked rental shop!

    By the way, if you haven’t been to The Rex, you really MUST!

    popcorn (1 of 2)

    Salted Caramel Popcorn

    100g butter
    100g soft brown sugar
    2 tablespoons golden syrup
    1-2 teaspoons sea salt, depending on taste
     
    Make a batch of popcorn, either old fashioned in a pan or a bag of plain microwave popcorn.
    Oil a large baking tray and tip over the popcorn, discarding any unpopped kernels. Preheat the oven to fan 160 ºC.
    Melt the butter, sugar and syrup in a small pan, stir until melted and then boil for 4 minutes.
    Pour this sauce over the popcorn and toss with 2 spoons (it will be VERY hot and cause burns) until the popcorn is coated or the sauce goes stiff.
    Pu the tossed popcorn in the preheated oven for 5 minutes. Take out and toss again, sprinkle over the salt and cook for another 5 minutes. Repeat again if the popcorn isn’t evenly coated.
    Leave to cool for 10 minutes before attempting to eat – otherwise you WILL burn your mouth!
     
    popcorn (2 of 2)

  10. Marmalade Loaf Cake and Crystallised Flowers

    April 6, 2014 by sarah

    OK folks, a brief posting for a cake I made last weekend as I am totally pooped! I would of thought I would have more energy now Spring has finally arrived, but as usual there is too much to do and too little time! I made some marmalade last Saturday so to make space for the fresh stuff, I went through the cupboards to find any of last years marmalade. There was only one jar left so a third went into this cake. I just need to find a recipe for the rest – any suggestions?

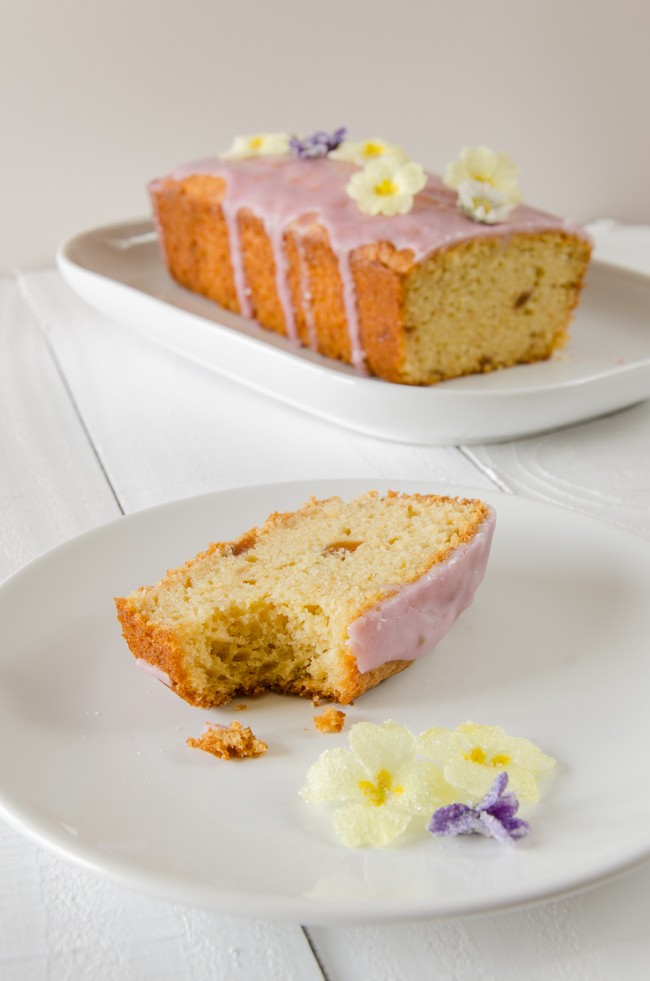
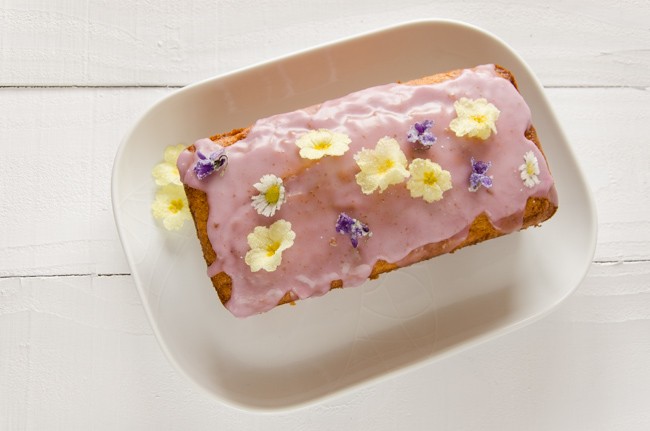
    This cake is lovely and zing and oh so spring like, especially with the crystallised flowers (ahh, pretty). I saw a recipe in a magazine using them recently and jotted it down as something to do. I was thinking of how to decorate this cake and these flowers were surprisingly easy. Take one egg white and add a dash of cold water and whisk to break up the white. Use a small clean paint brush to brush the egg white all over the flowers and then hold over a second bowl and sprinkle over caster sugar. Leave on a baking rack to dry for 24 hours. Make sure you use edible flowers (see this website for a good list of flowers). I used primroses, daisies and violets. I then used the left over egg and sugar in the recipe so nothing was wasted. I am happy when nothing is wasted!
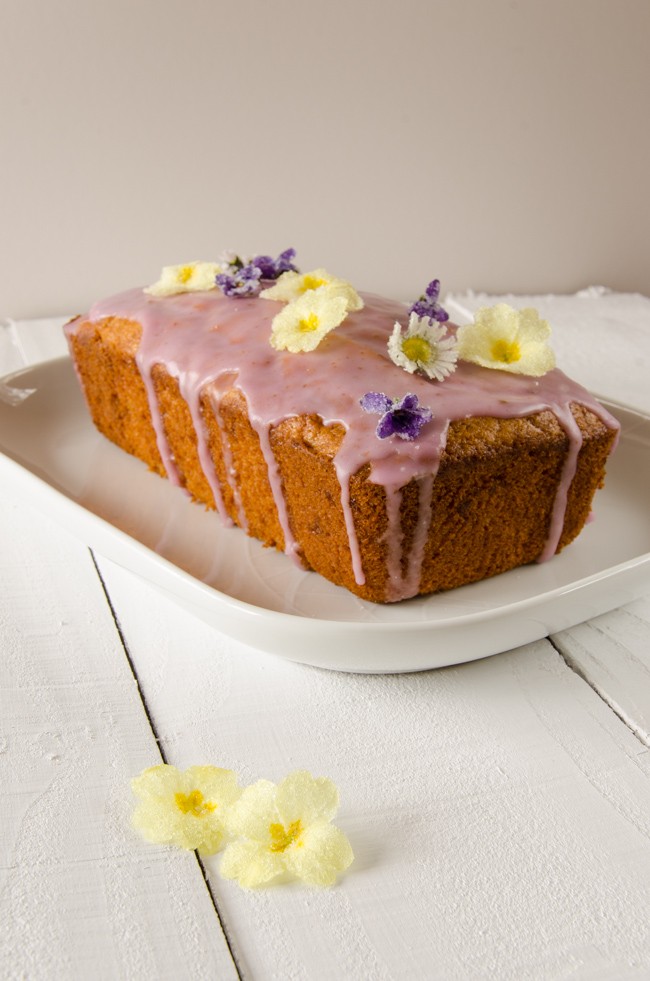
    marmalade cake (1 of 3)

    Marmalade Loaf Cake


    • 225g self-raising flour
    • 1 pinch salt
    • 115g margarine
    • 85g caster sugar
    • 1 teaspoon orange rind, finely grated
    • 1/2 teaspoon baking powder
    • 2 eggs, beaten
    • 2 good tablespoons thick cut orange marmalade
    • 2 tablespoons milk


    1. Preheat the oven to 170 C / fan 150 C. Grease a 1lb loaf tin (or a 6 inch/15cm round cake tin).
    2. Cream the margarine and sugar in a large bowl.
    3. Add all the other ingredients and use hand mixer to mix well but don’t over do it; it should look like thick batter.
    4. Don’t worry about the occasional wee lump, remember there’s orange rind in the mix! Pour the mixture into the prepared tin.
    5. Bake in the center of the preheated oven until golden brown, about 1 hour. Allow to cool for 5 minutes in the tin, then tip out onto a wire rack.
    6. While the cake is still warm, spread a thin layer of warmed marmalade over the top. Allow to cool, then slice and enjoy.
    7. Alternatively, when cool ice with glace icing and decorate with crystallised spring flowers.

    marmalade cake (3 of 3) marmalade cake (2 of 3)