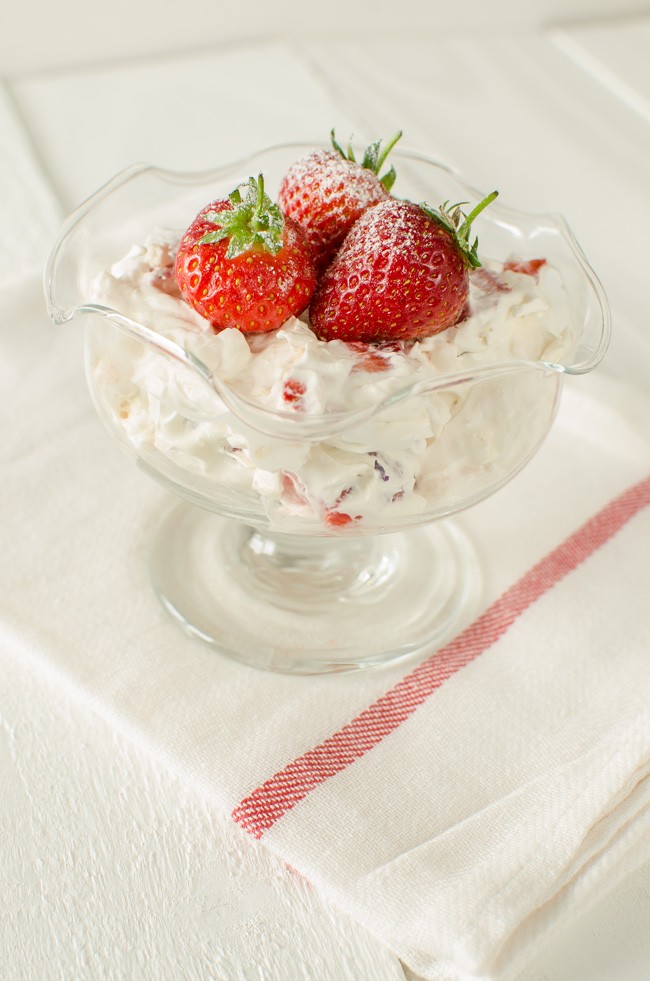
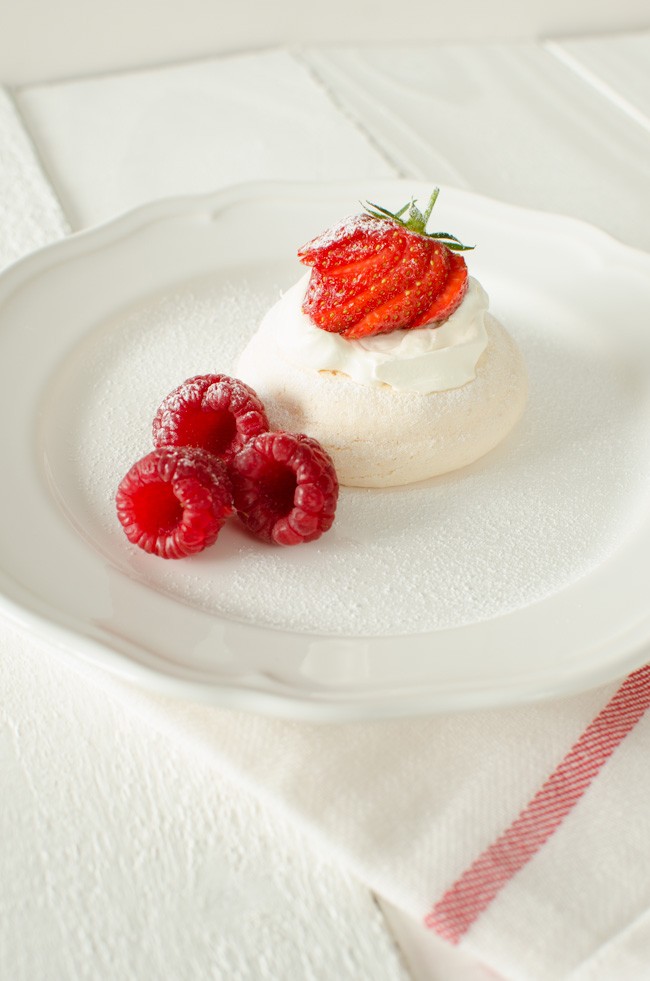
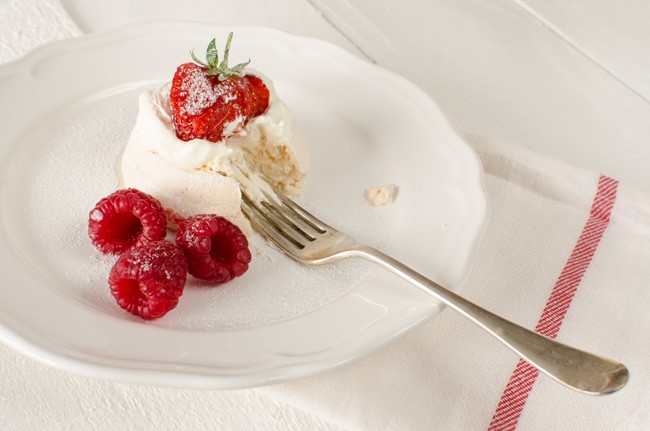
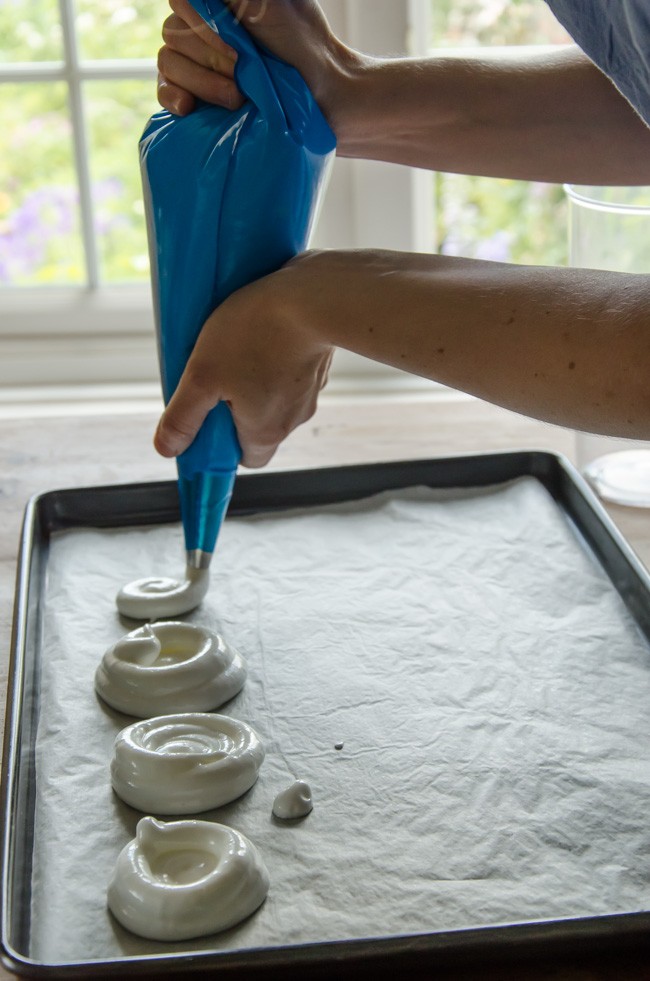
Meringue. A word that can instill fear into the heart of even the most experienced cook. Sometimes it works and sometimes it doesn’t and usually you can never work out why. But understanding more about eggs and the chemical reaction that makes meringue can help demystify it and hopefully prevent so many failed egg dishes. Though I can knock out a batch of meringues without much thought, I still get some disasters though they always taste better than they look! A meringue is never a failure, you might just have to opt to serve Eton mess rather than neat nests. There is nothing better than sweet meringue, smooth and silky cream and tart berries.
Egg whites consist over 90% water and various proteins make up the rest. When you whisk egg whites, you are breaking down the protein structure so that the protein strands lengthen and air bubbles become entrapped within this lattice structure. When whisking egg whites it is very important to have scrupulously clean bowl and whisk. I prefer a metal or bowl as it is supposed to help the egg whites trap more air or if using a glass bowl, I clean it first with kitchen paper with a little vinegar and left to dry. It is also very important not to get a single speck of egg yolk in with the whites so it is a good idea to break the eggs individually into a small bowl before adding the whites to your larger bowl to avoid messing up the whole lot. A drop of lemon juice or a pinch of cream of tartar is often added to the egg whites at the start of beating as it is supposed to help stabilise the bubbles. This is unverified; I think I need to do more experimentation to see if it makes a noticeable difference. Very fresh eggs whisk the best as the white is firm and not runny. This is part of the reason why I got chickens of my own. Interestingly, fresh eggs make awful hard boiled eggs as they are impossible to peel! Remember that eggs you buy in the supermarket will probably be at least a week old by the time you buy them and the ‘best before date’ will be up to 5 weeks after they were laid!
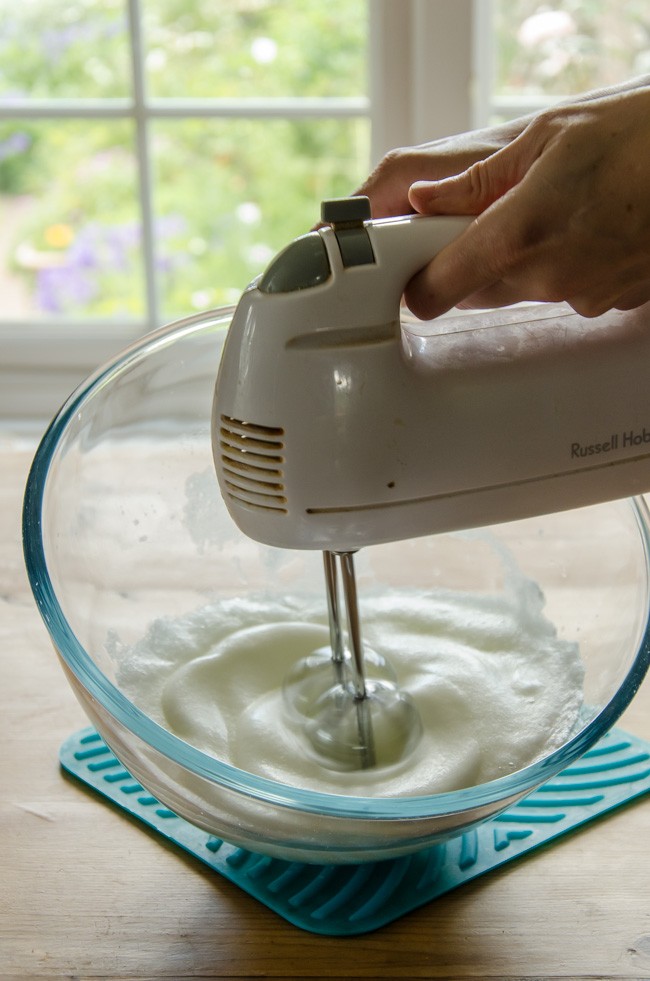
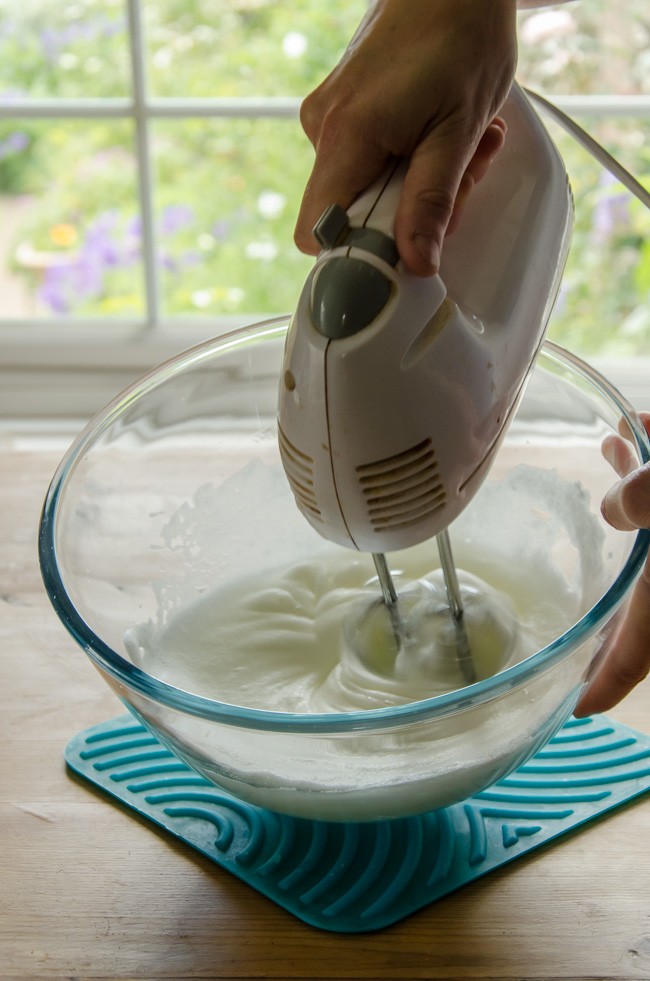
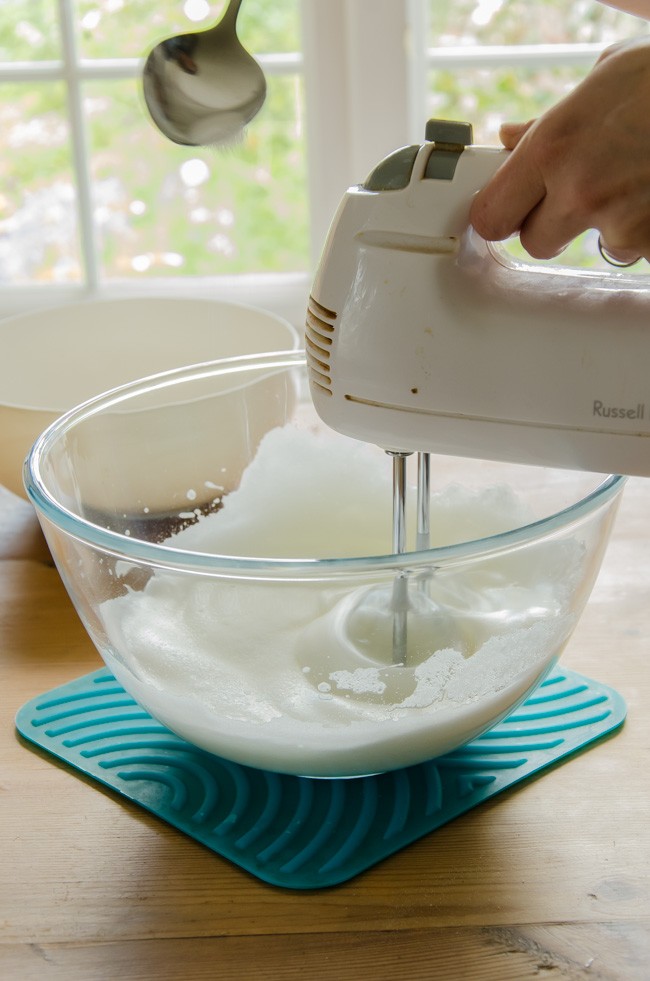
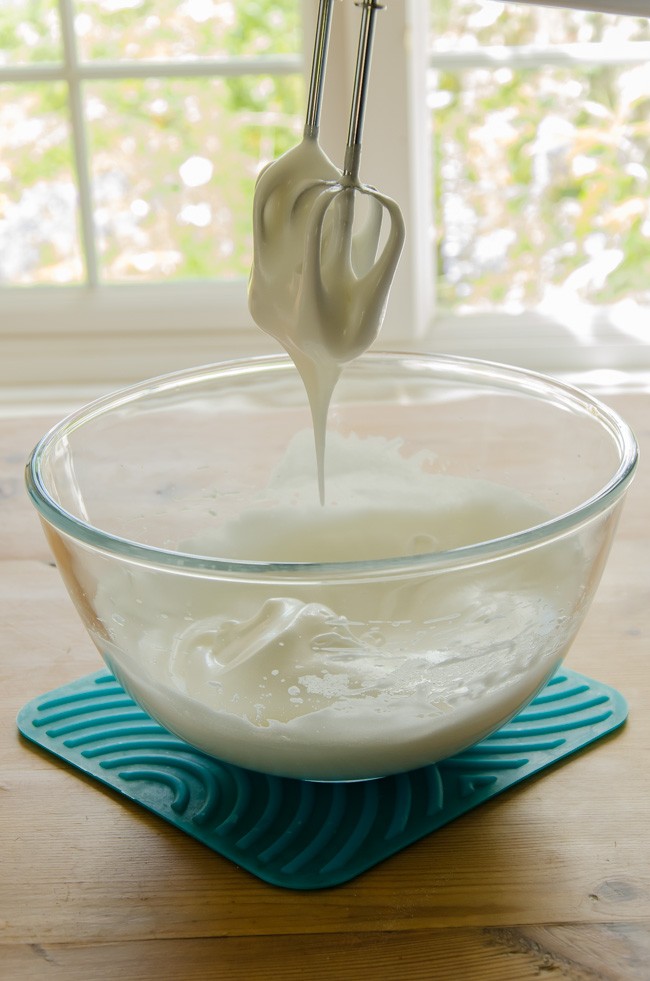
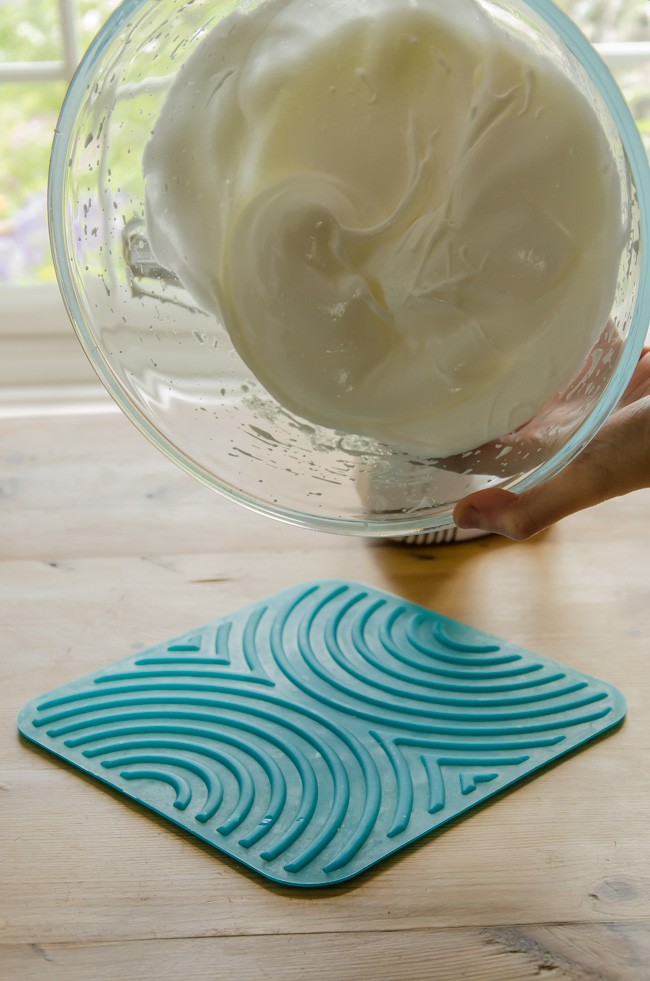
When you start whisking eggs, start on a slow speed for a minute or so before increasing the speed. The soft peak stage, as used for souffles and mousses, occurs when you lift the whisk out of the egg whites and the peak slowly folds over into the mixture. The bottom of the bowl may feel slightly liquidy and slip around the bowl. The stiff peak stage happen fairly soon after so keep watching and testing. Egg whites beaten to this stage are used for meringues and you can tell when you have reached this stage as the peaks when you lift out the whisk are firm and do not sag. Also the whole bowl should be whisked to the same stage so at firm peak stage you should be able to turn the bowl over your head and not get a santa hat of egg whites! To prevent meringues from weeping when cooking, you must make sure the sugar is thoroughly dissolved in the egg whites and that you use very fine sugar.
I don’t know if equipment matters too much when whisking meringues; after all, it used to be done with a hand whisk. Think of those muscles! I use a handheld machine but would love a stand machine, especially if it came with whisk attachments rather than the all purpose ones I currently have. I am not sure it would make a huge difference to my meringues, but there is only one way to tell! I do put a silicone mat under the bowl as I whisk to prevent the bowl from spinning off the counter.
There are three types of meringues and I will give the recipe for simple ones below. Swiss meringues are probably what we are all familiar with. The egg whites are beaten to soft peak stage, half the sugar is added and whisking continues until stiff peaks are achieved and the mixture is glossy; then the rest of the sugar is folded in. This mixture is suitable for simple piping like the nest I made for the afternoon tea or pavlova layers or toppings for pies, but it must be used quickly other it turns back to liquid. Italian meringue is made by adding hot sugar syrup to whisked egg whites and whisking until cool. This meringue is more stable and is the best choice for piping delicate items. Cooked meringue, also known as meringue cuite, is made by whisking the egg whites with the sugar in a bowl over boiling water and this is the most stable type of meringue.
One final note on making meringues and that is you MUST use baking parchment, also known as silicone paper, to line the trays. Greaseproof paper has a wax coating that resists water so is used for wrapping and layering food and with sticky food like dough, but the coating melts in the oven so the food then sticks to it unless you pre-grease it like for a sponge cake. Baking parchment has been treated so that the non-stick properties do not disappear in the heat of the oven; essential for high sugar foods such as meringues, macaroons and even sponge cakes that you do not pre-grease the paper lining the tin such as genoese sponge.

